How to Make a Captured Beads Bracelet with Semi-Precious Beads.
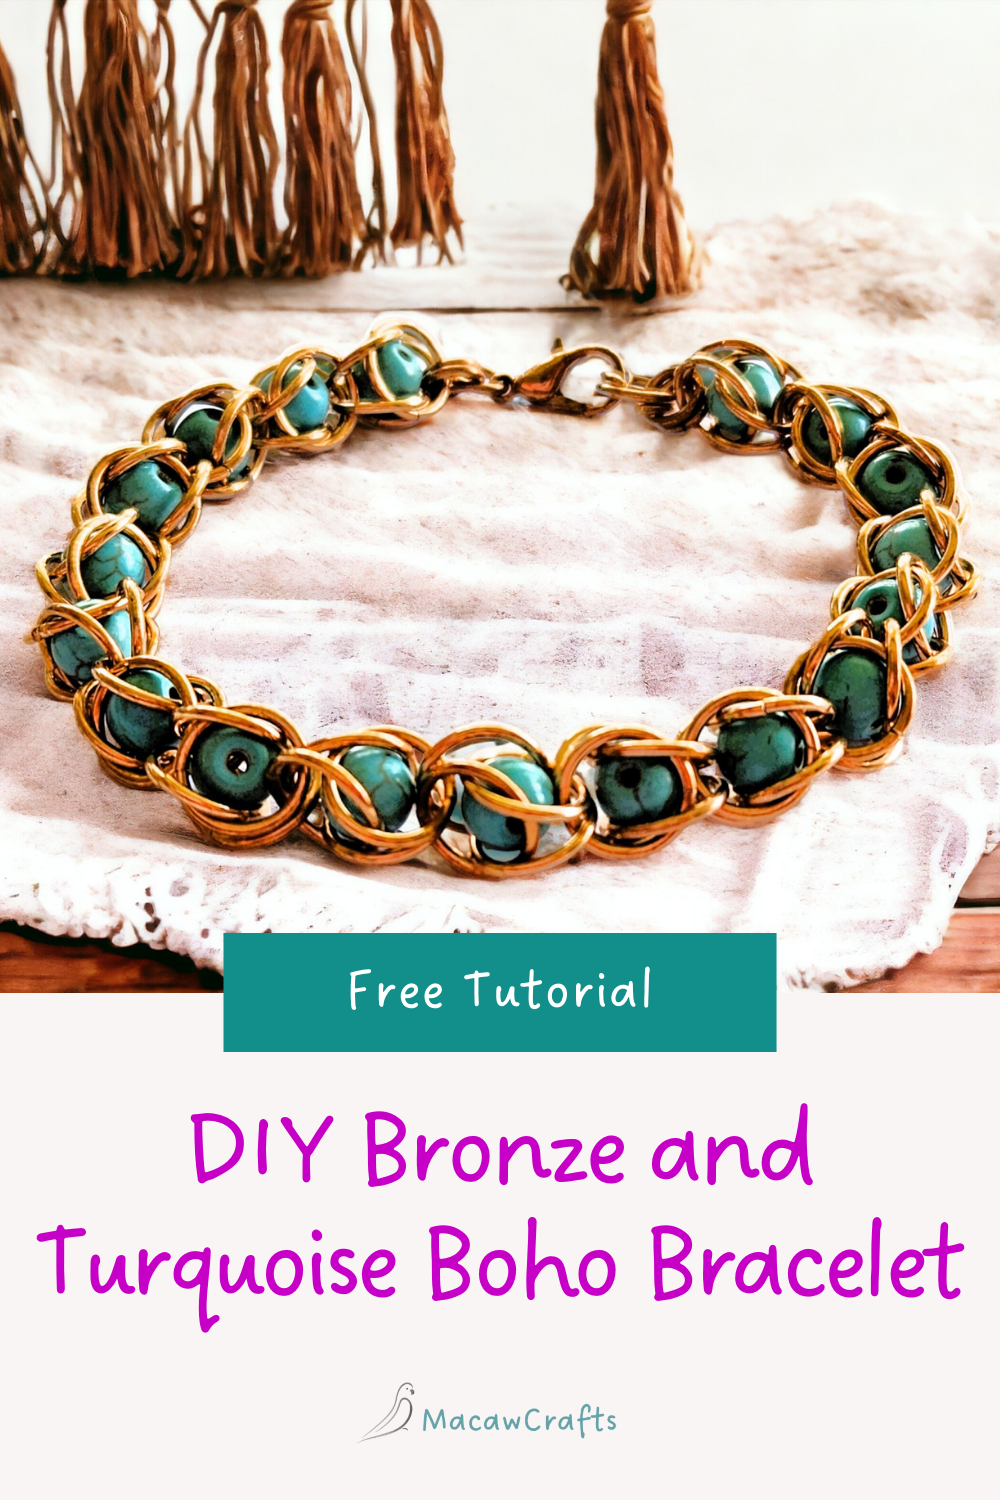
Hello fellow crafters! Today, I'm sharing another of my beginner jewellery tutorials, called captured beads. I've made a fair few of these bracelets as well as necklaces and earrings, and they're always popular. I love using semi-precious beads like turquoise, amethyst, amazonite, rose quartz and jade, but you can use any beads you like.
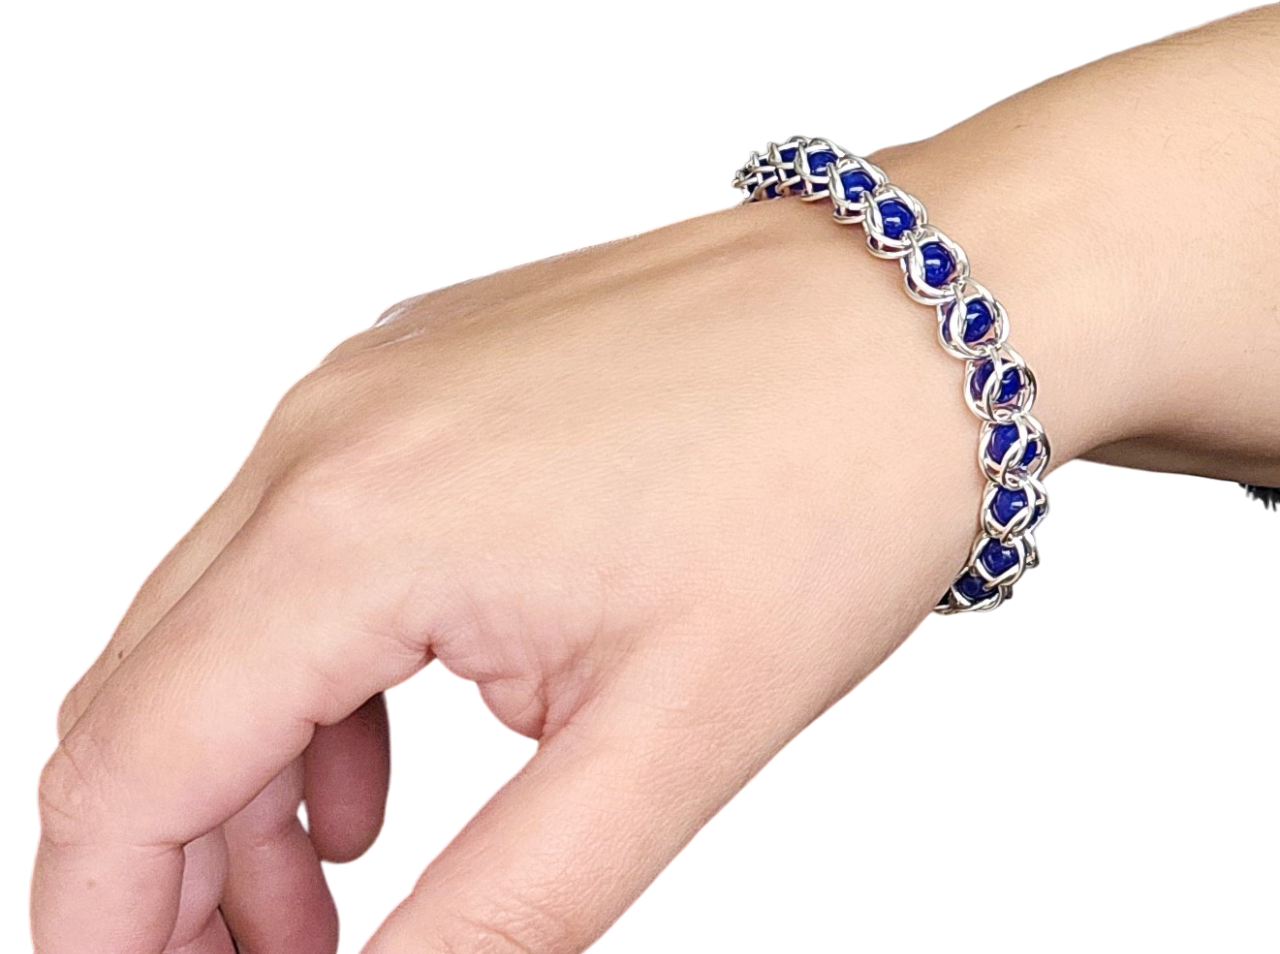
Here's one I made using blue jade beads and silver-filled jump rings, so you can see what it looks like on:
This is a perfect design for making birthstone jewellery. You can also make a chunkier version by using bigger beads and jump rings. Keep reading to find out the exact sizes that work, and for how to make the necklace as well.
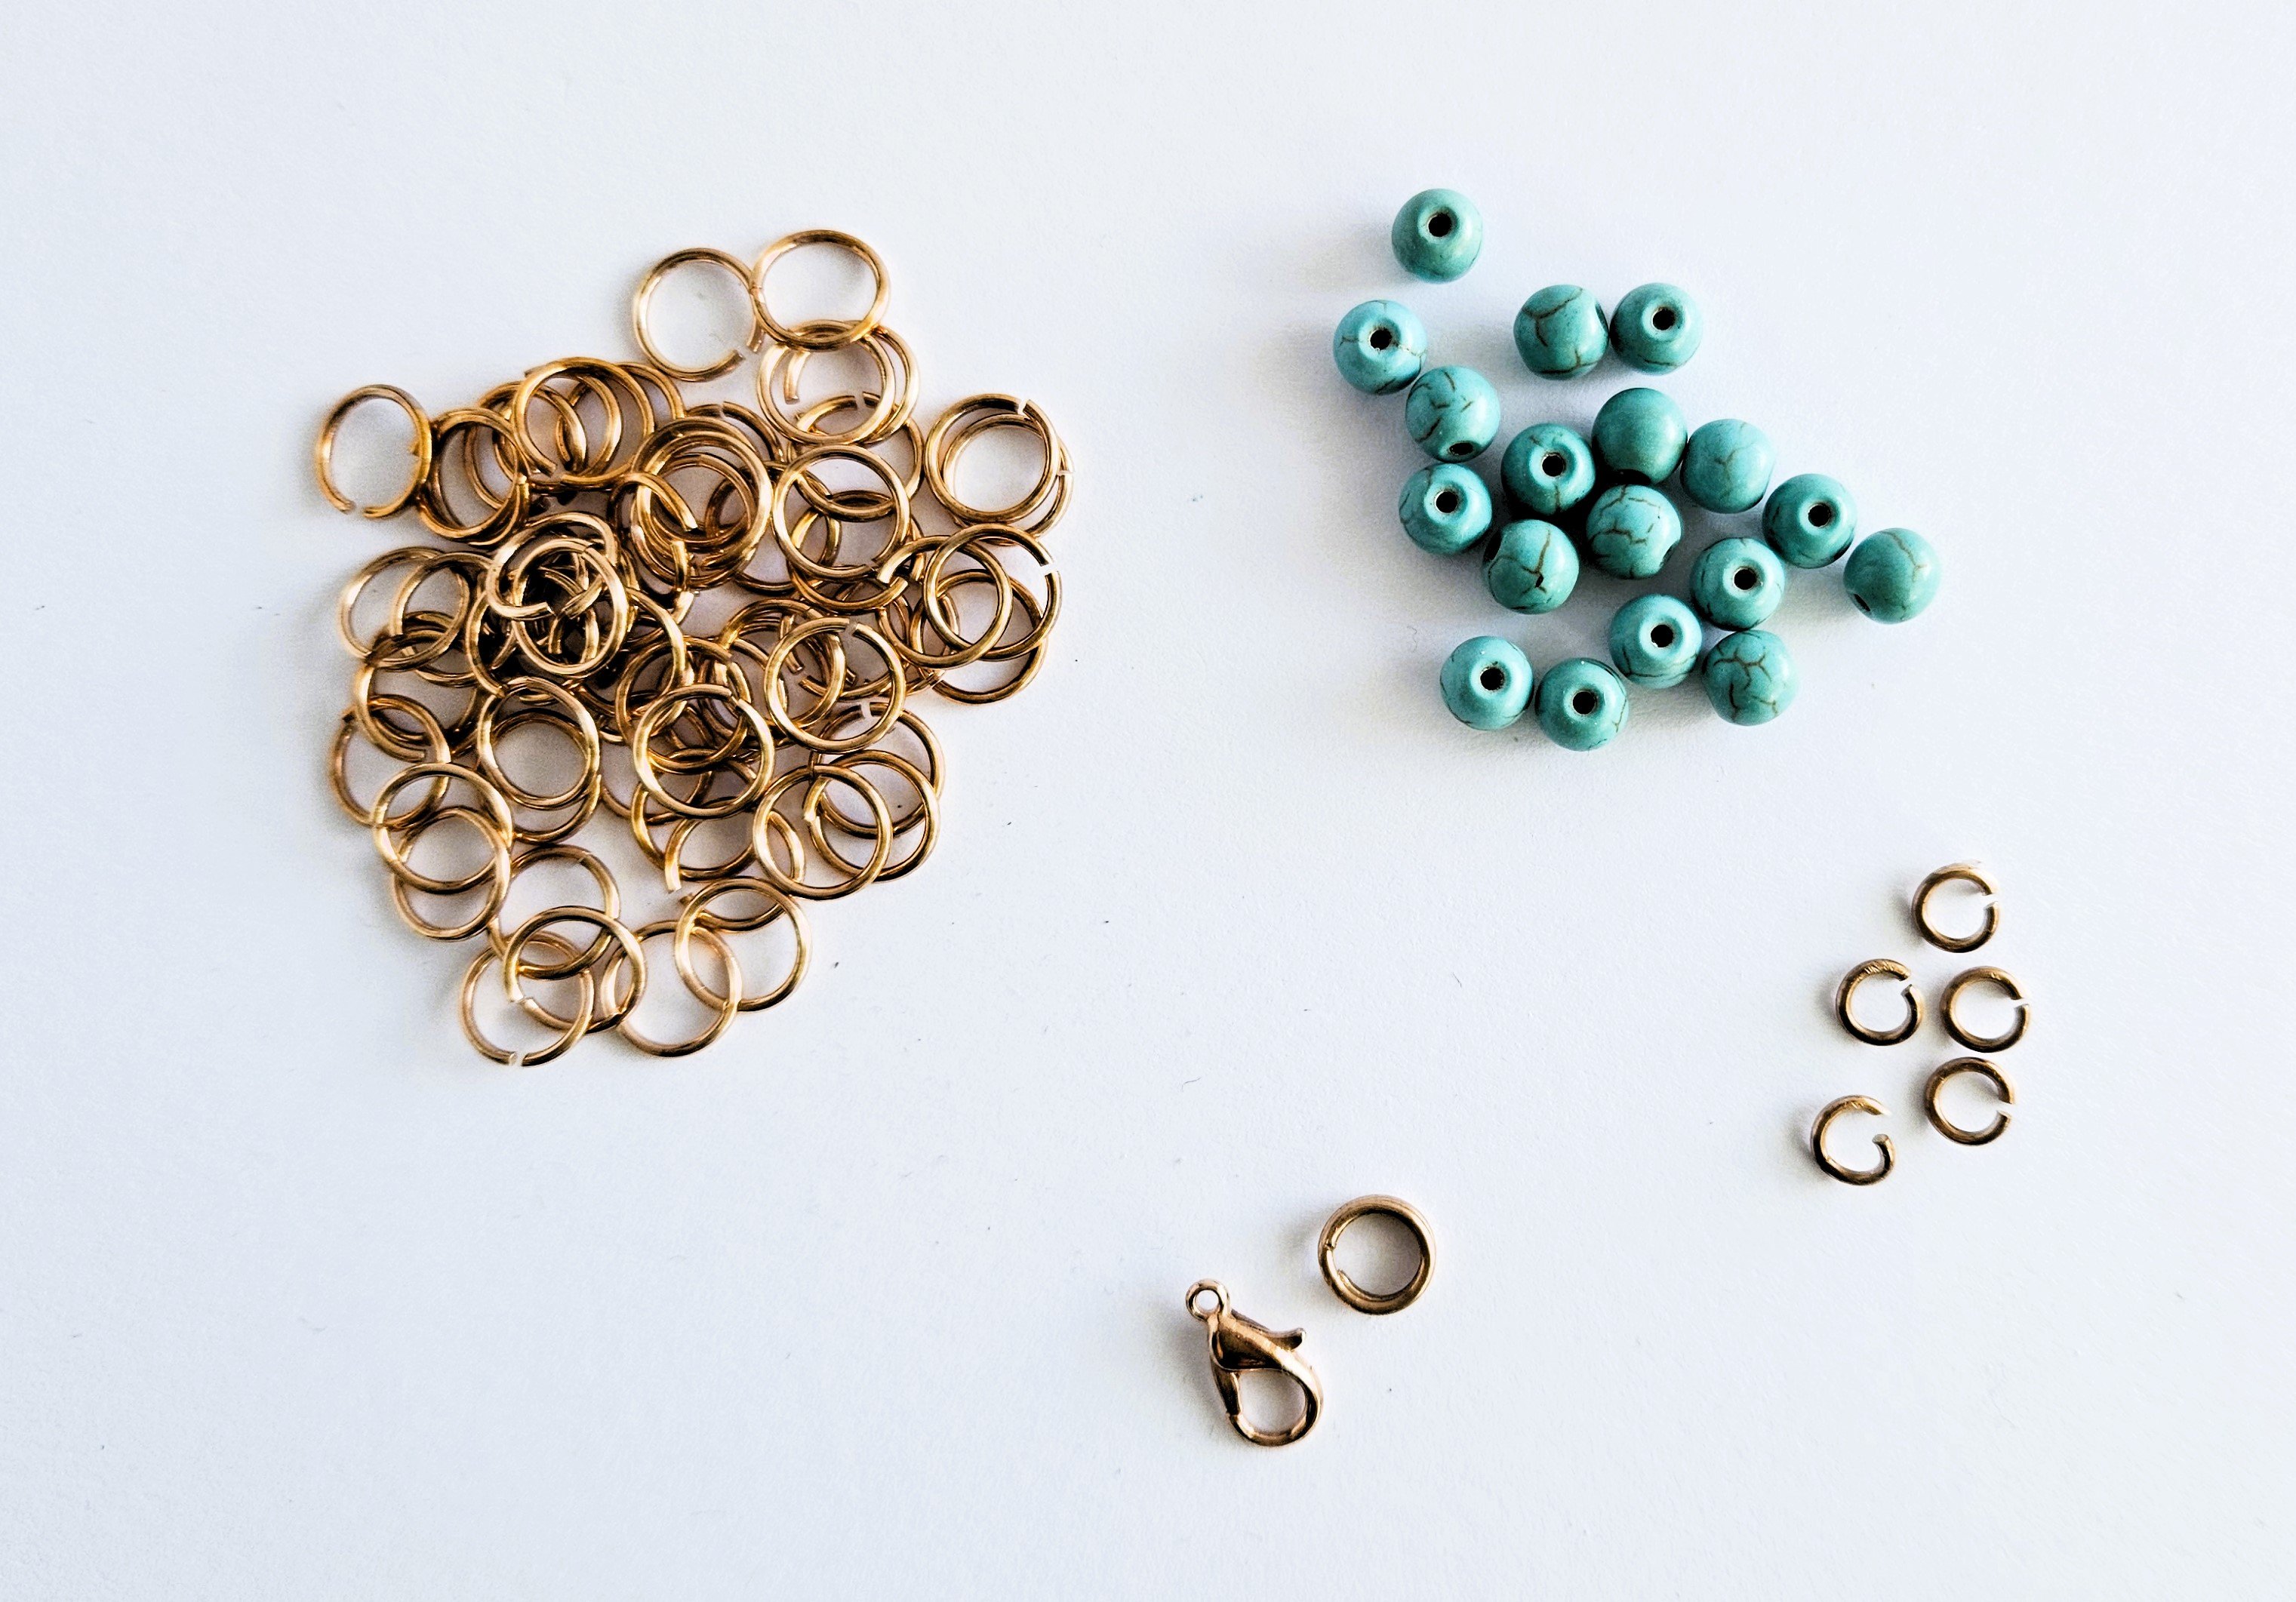
You will need:
- around 16-20 6mm round beads
- 64-80 x 6.5mm inner diameter jump rings, made with 1mm thick wire
- 5 x small jump rings
- 1 clasp
- 2 pairs of smooth-jawed jewellery pliers
A note about the jump rings:
If you're making your own rings, you'll need 1mm thick wire and a 6.5mm mandrel to wrap the wire around. If you want to make a chunkier bracelet, you'll need 1.2mm thick wire and an 8.5mm mandrel.
You'll be opening and closing a lot of jump rings to make this bracelet, so I've created a short video for anyone who is not sure of the correct technique, which you can watch here.
A note about the beads:
You can use any round beads for this project, but the sizes are important to be sure that they will fit properly inside the rings. For the standard size, you need 6mm beads, and for the chunky version, you need 8mm beads.
Unfortunately, there are sellers out there who sell beads of non-standard sizes that are labelled as being 6mm etc. I alway buy from online shops that specialise in beads, rather than generic hobby shops or Amazon.
Captured Beads Bracelet and Necklace Tutorial
Step 1:
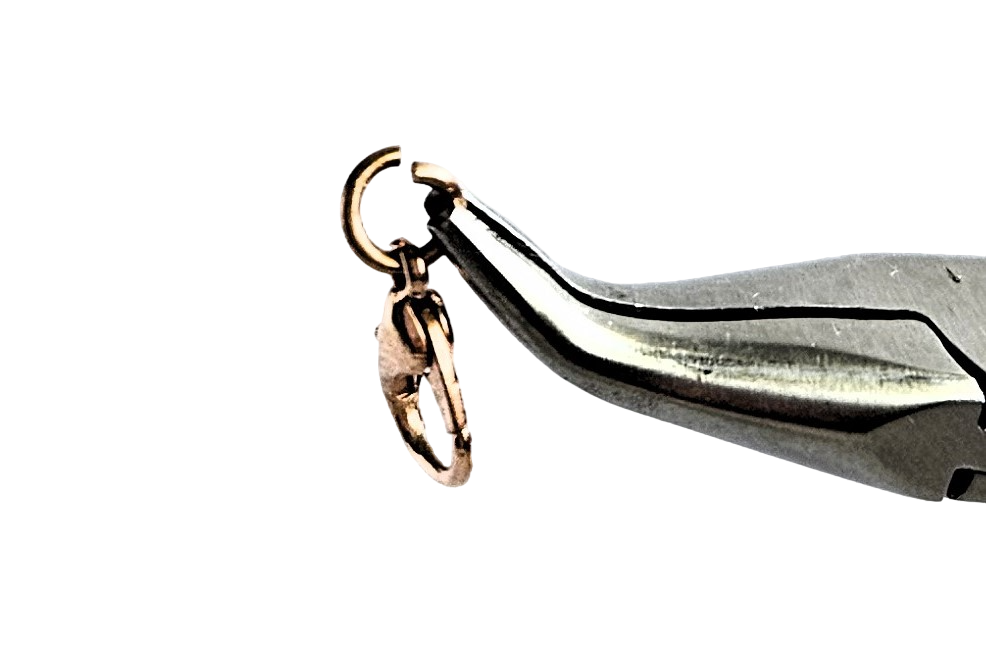
Open up one of your small rings. Loop it through the hole in the clasp, then close it.
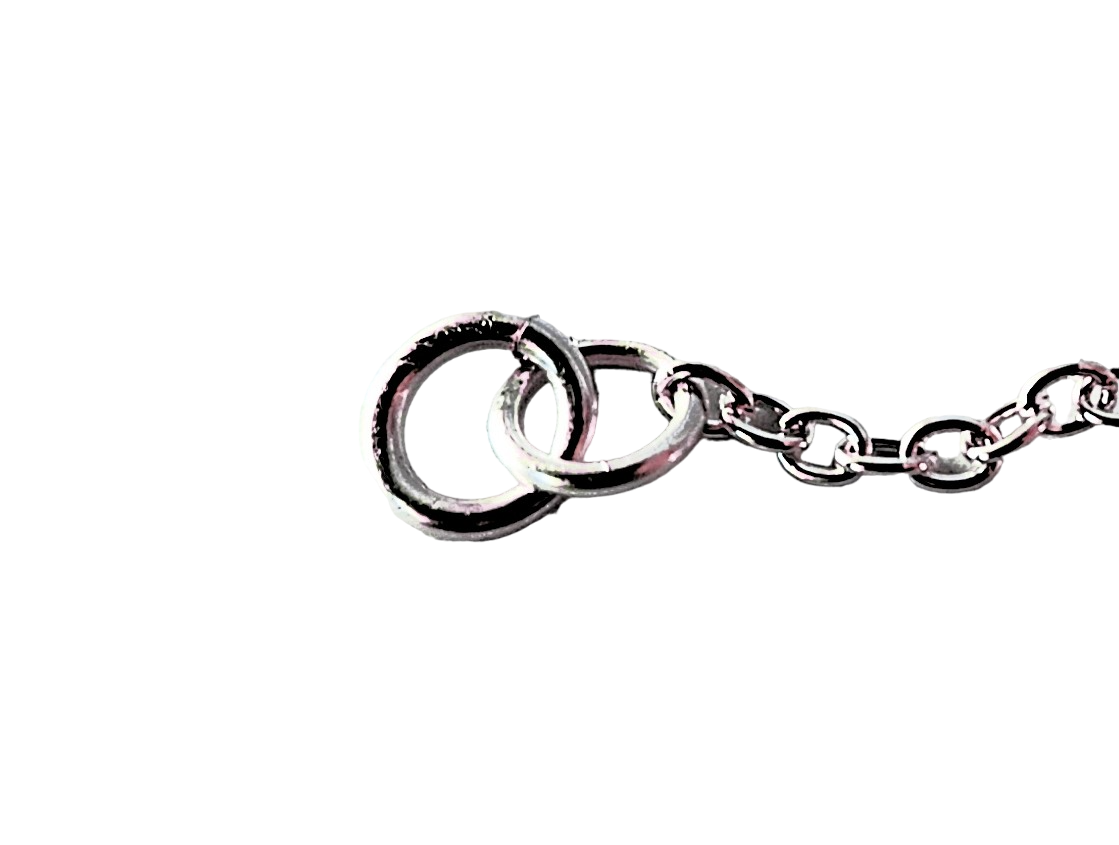
Step 2:
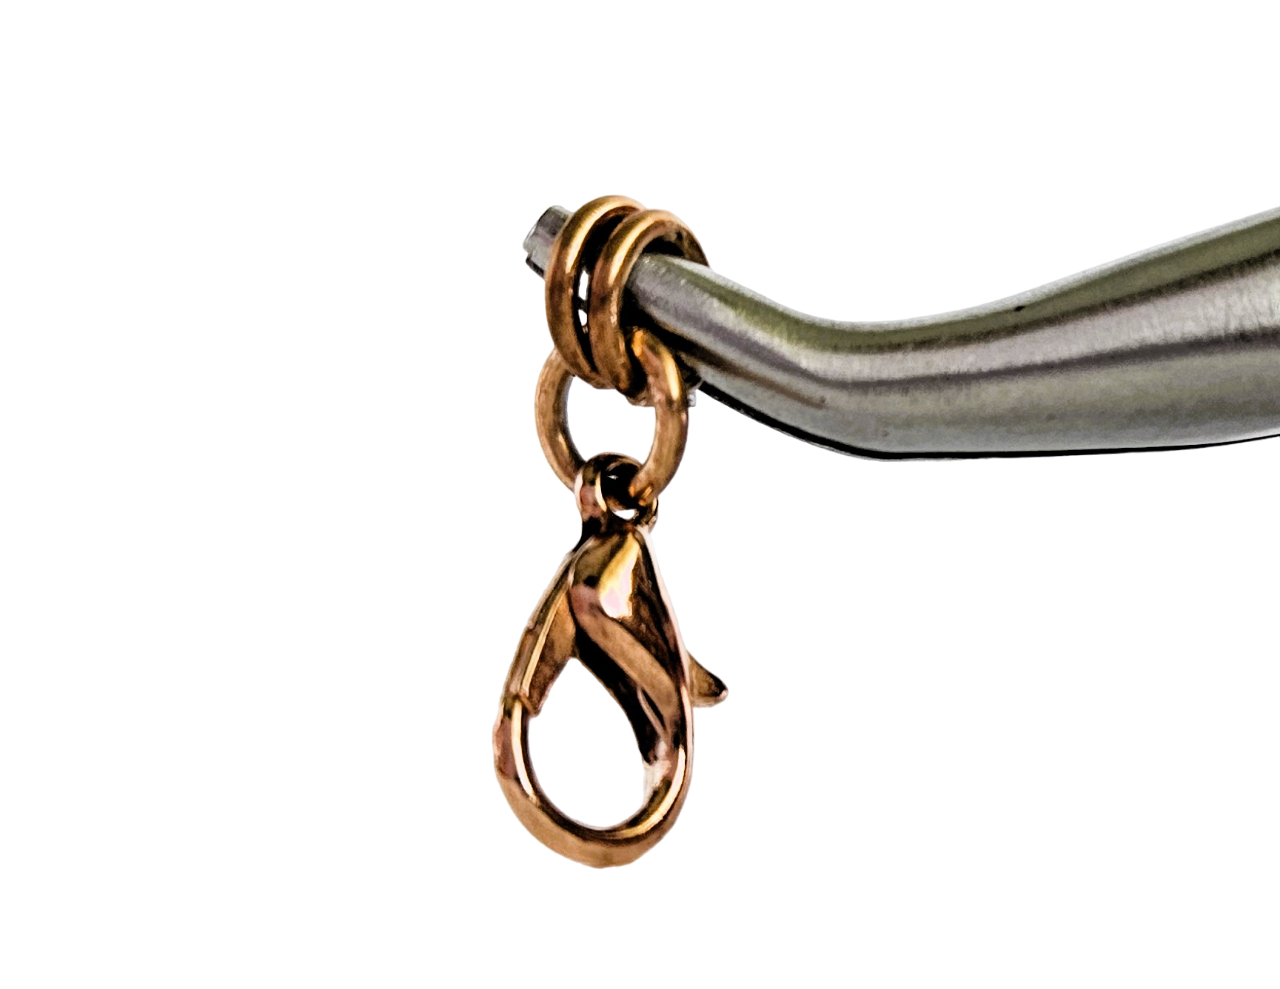
Take two more small rings and add them to the first small ring, making sure they sit side by side, and don't go through each other.
Step 3:
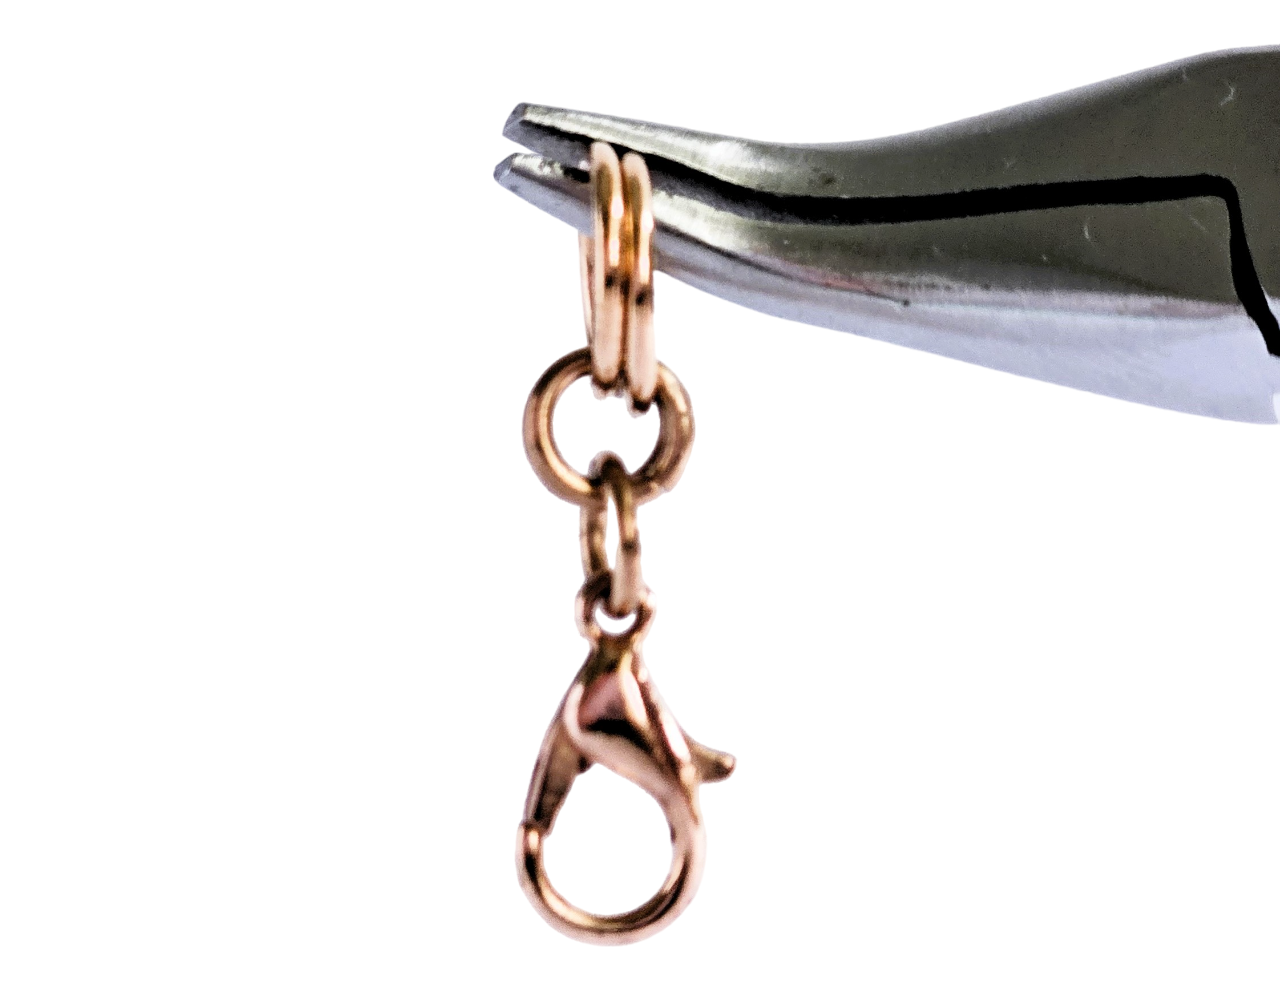
Open a few of your big rings for the next few steps. Loop two big rings through the two small rings from step 2, then close, again making sure they sit side by side.
Step 4:
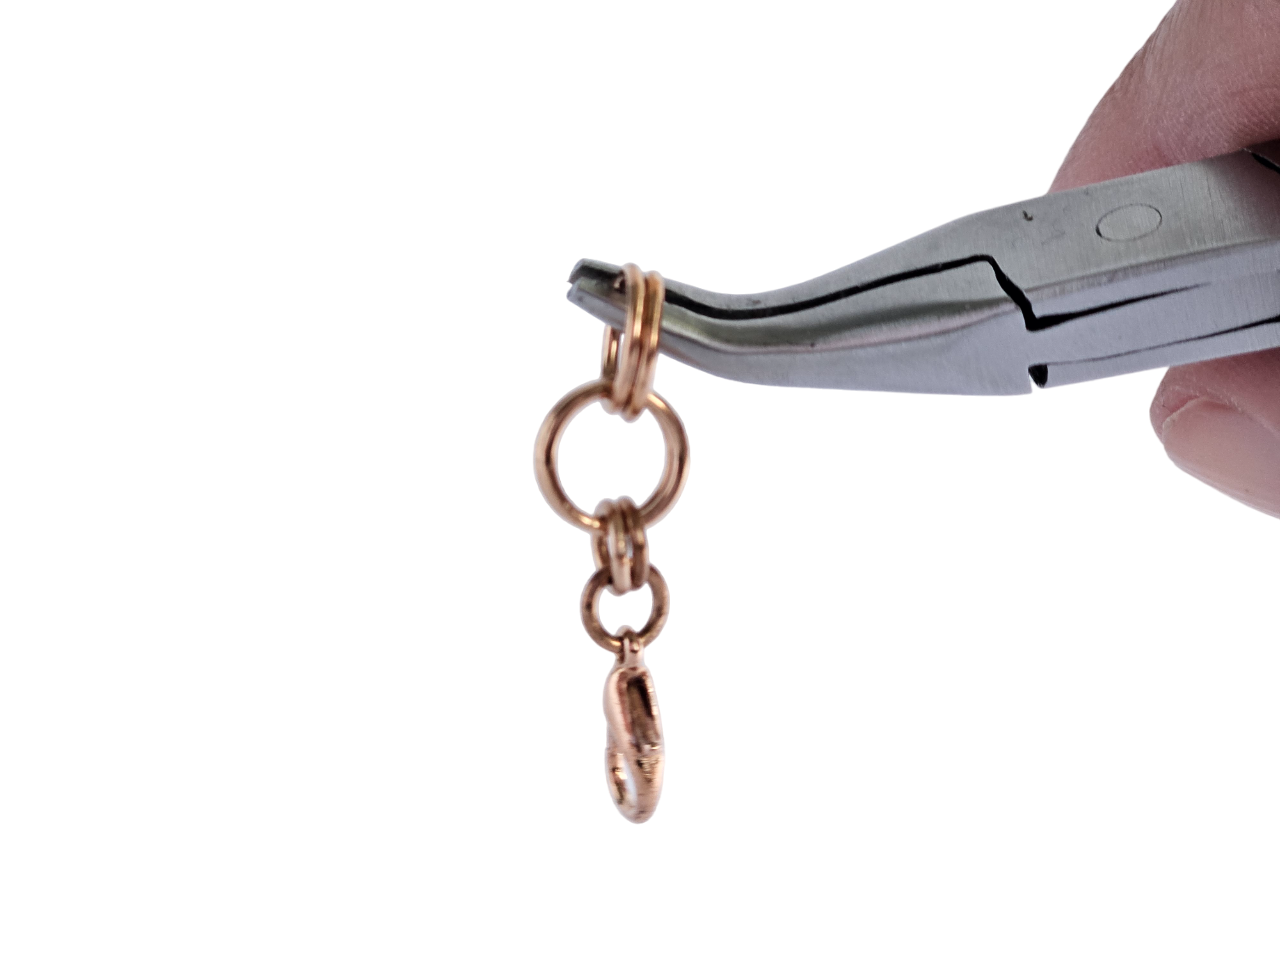
Add two more big rings to the last two big rings to make a 2-in-2 chain.
Step 5:
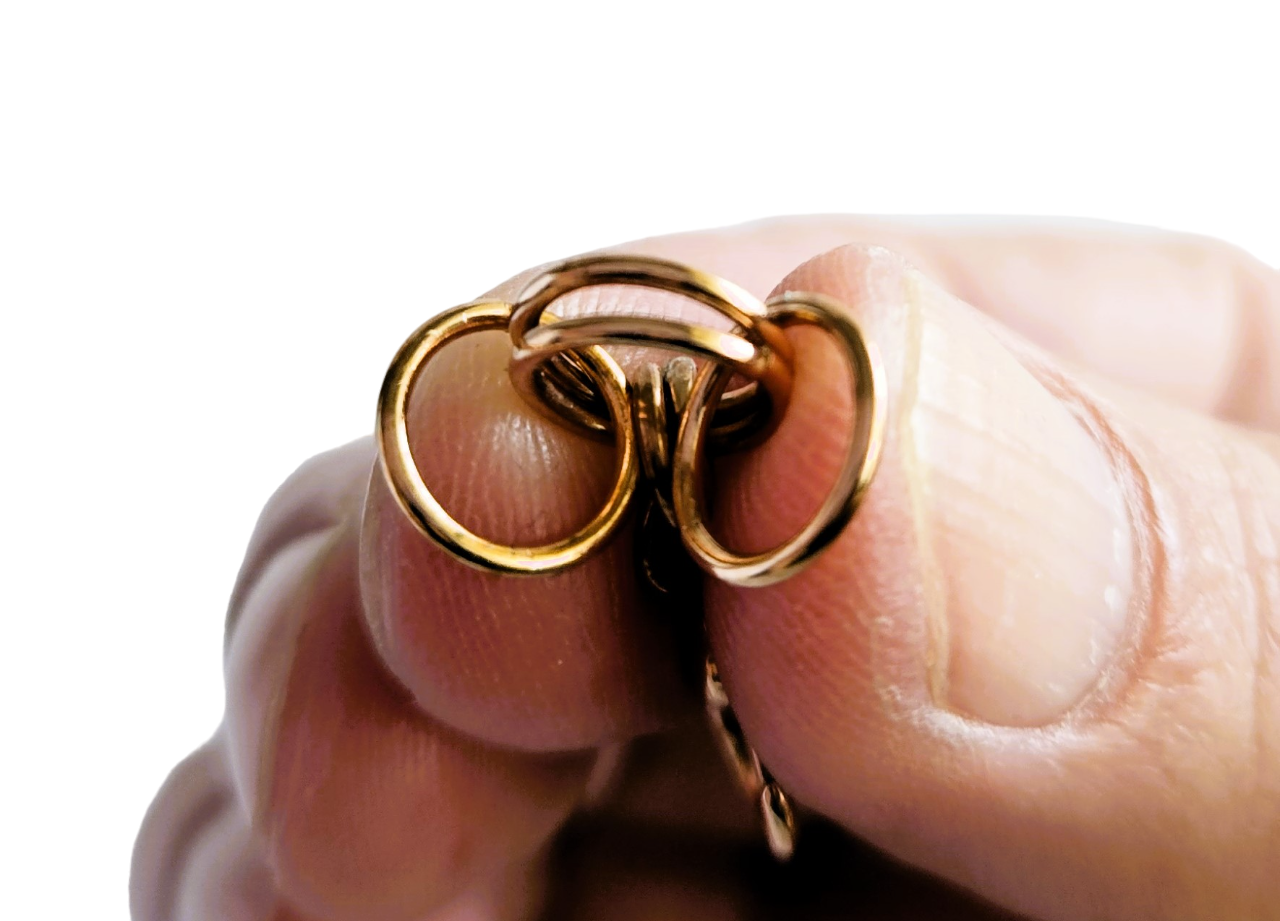
Next, grab the sides of the bottom two big rings, and let the top two big rings fall to the side. I've found I prefer doing this with my non-dominant hand, so I can handle the beads and pliers with my dominant hand, but you find the way that feels right to you.
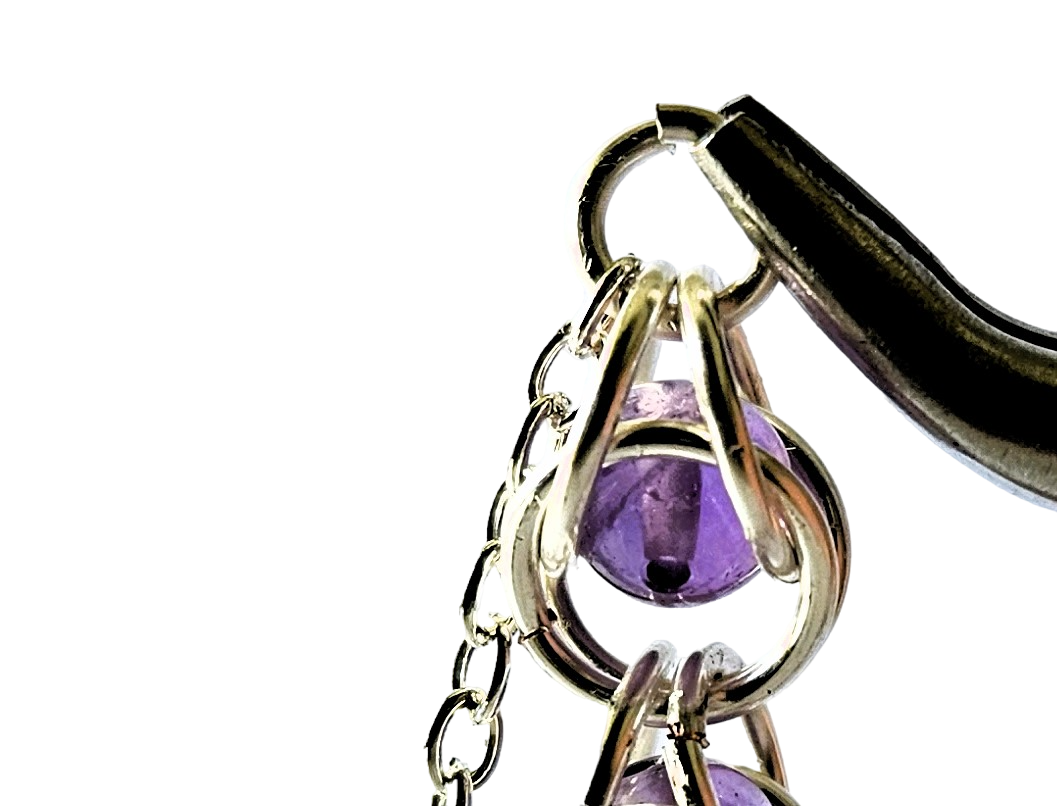
Step 6:
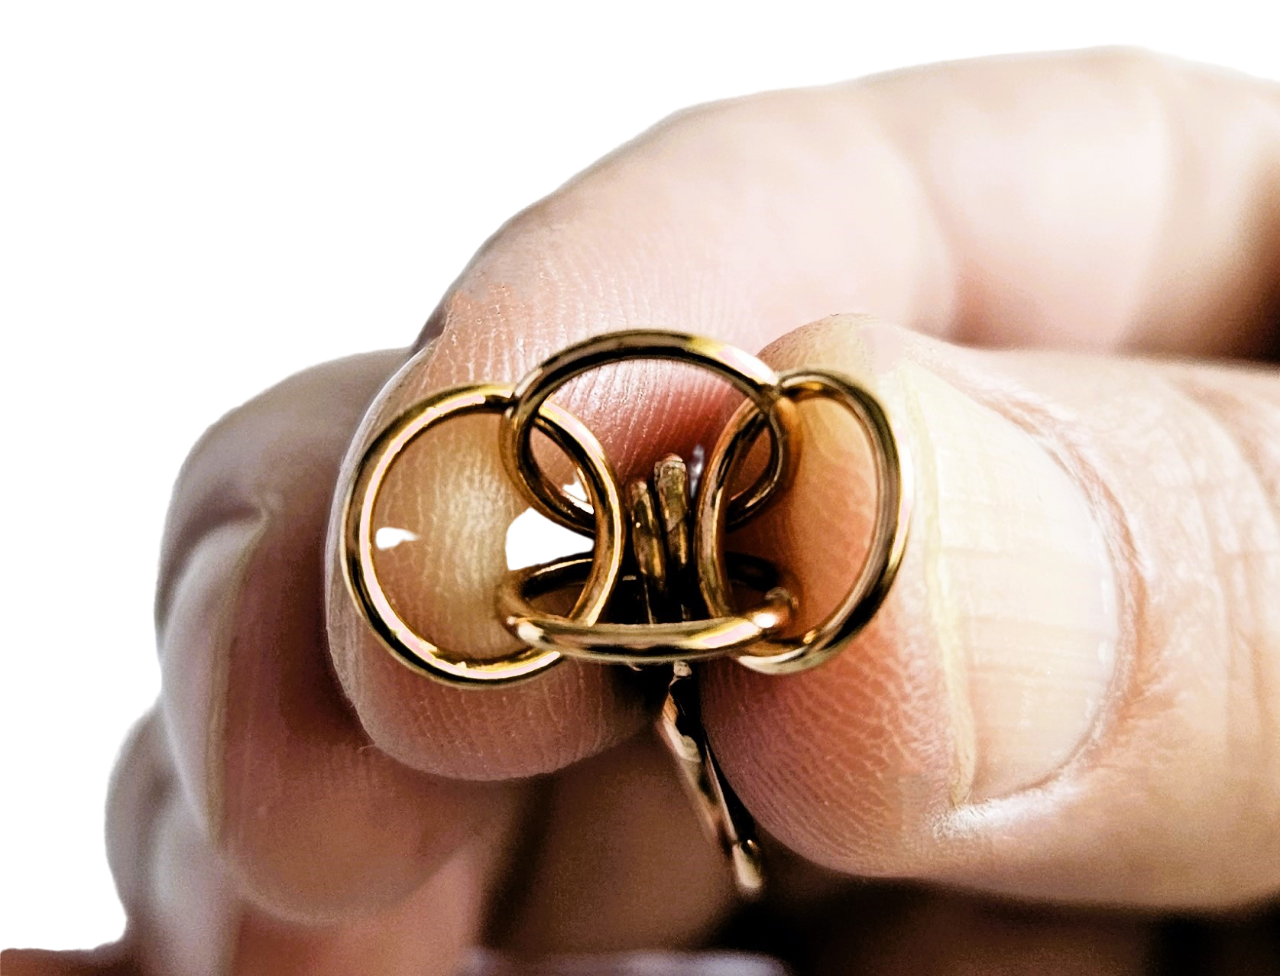
Use your finger to spread the bottom rings (the rings you grabbed in the last step) to make room to drop a bead inside.
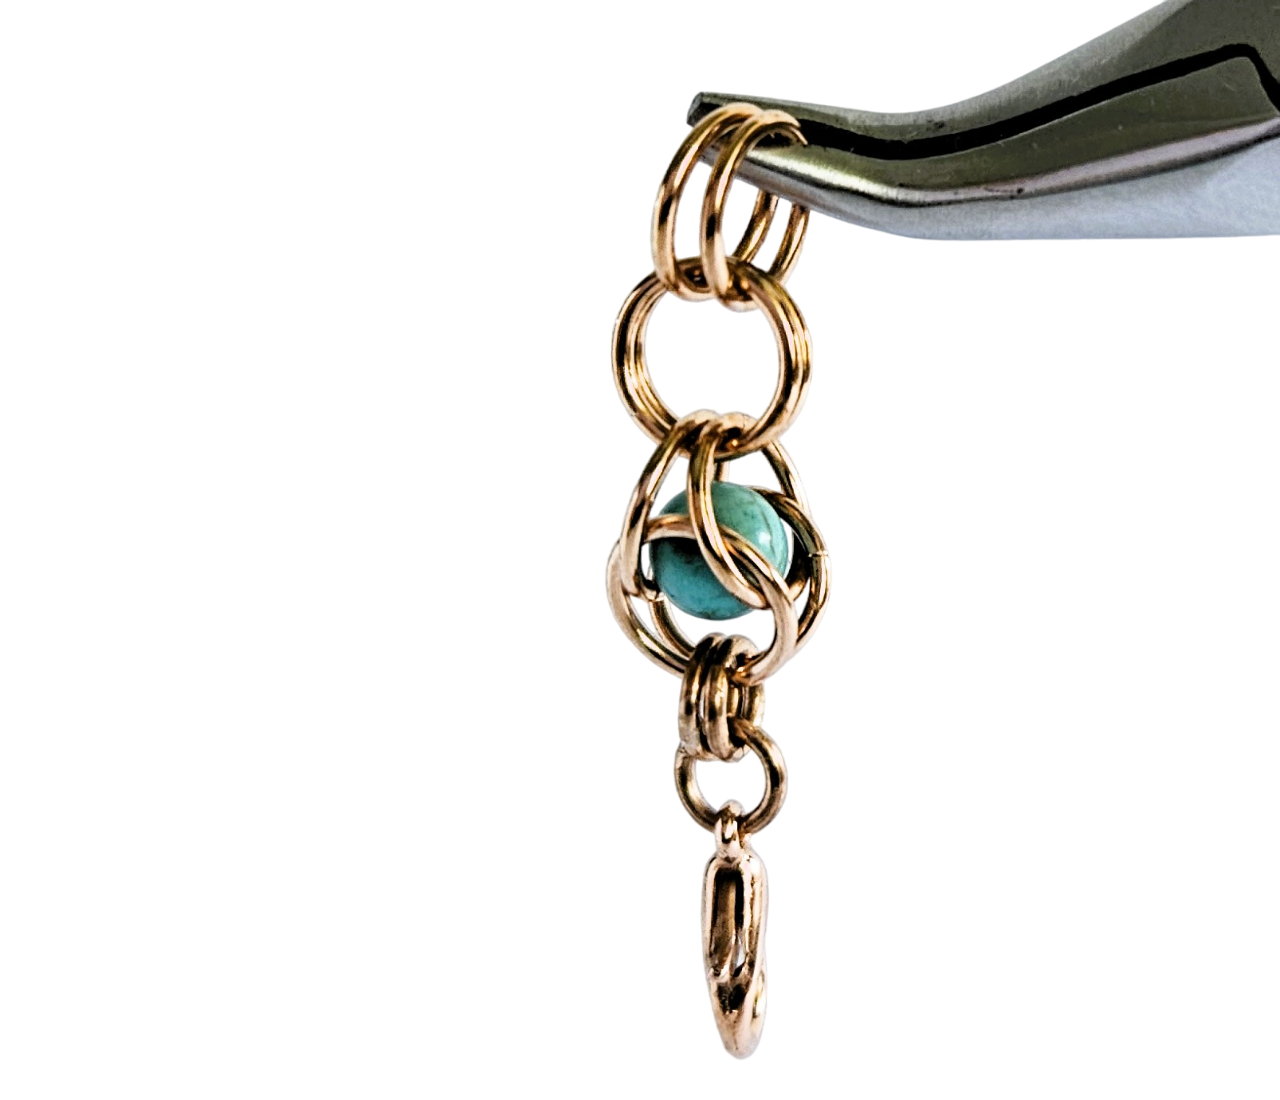
Step 7:
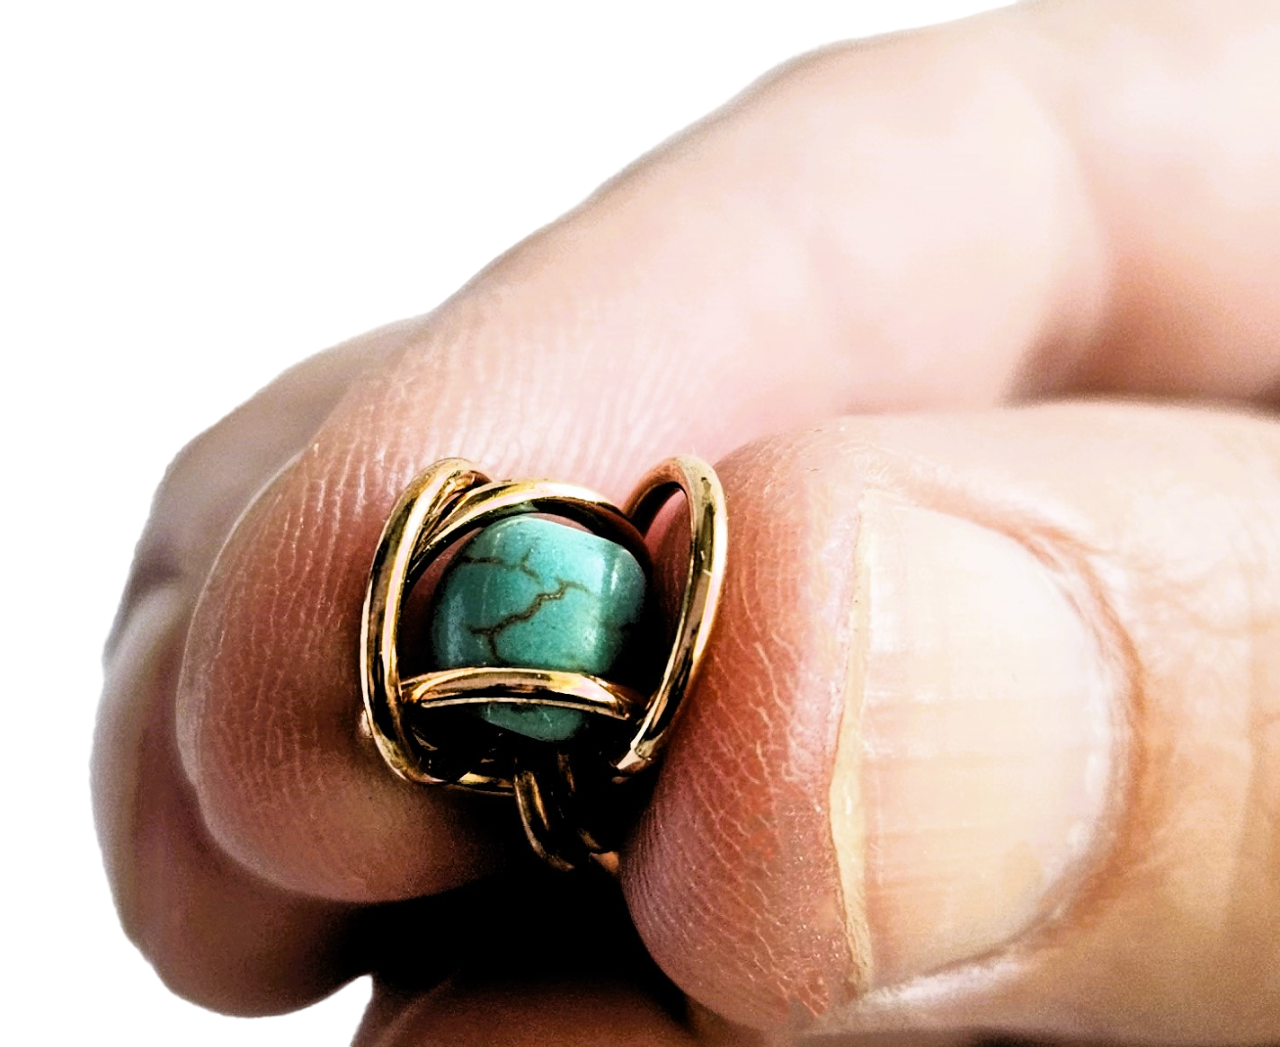
In goes your first bead!
Step 8:
Push the two rings on the side together. These were originally the two top rings.
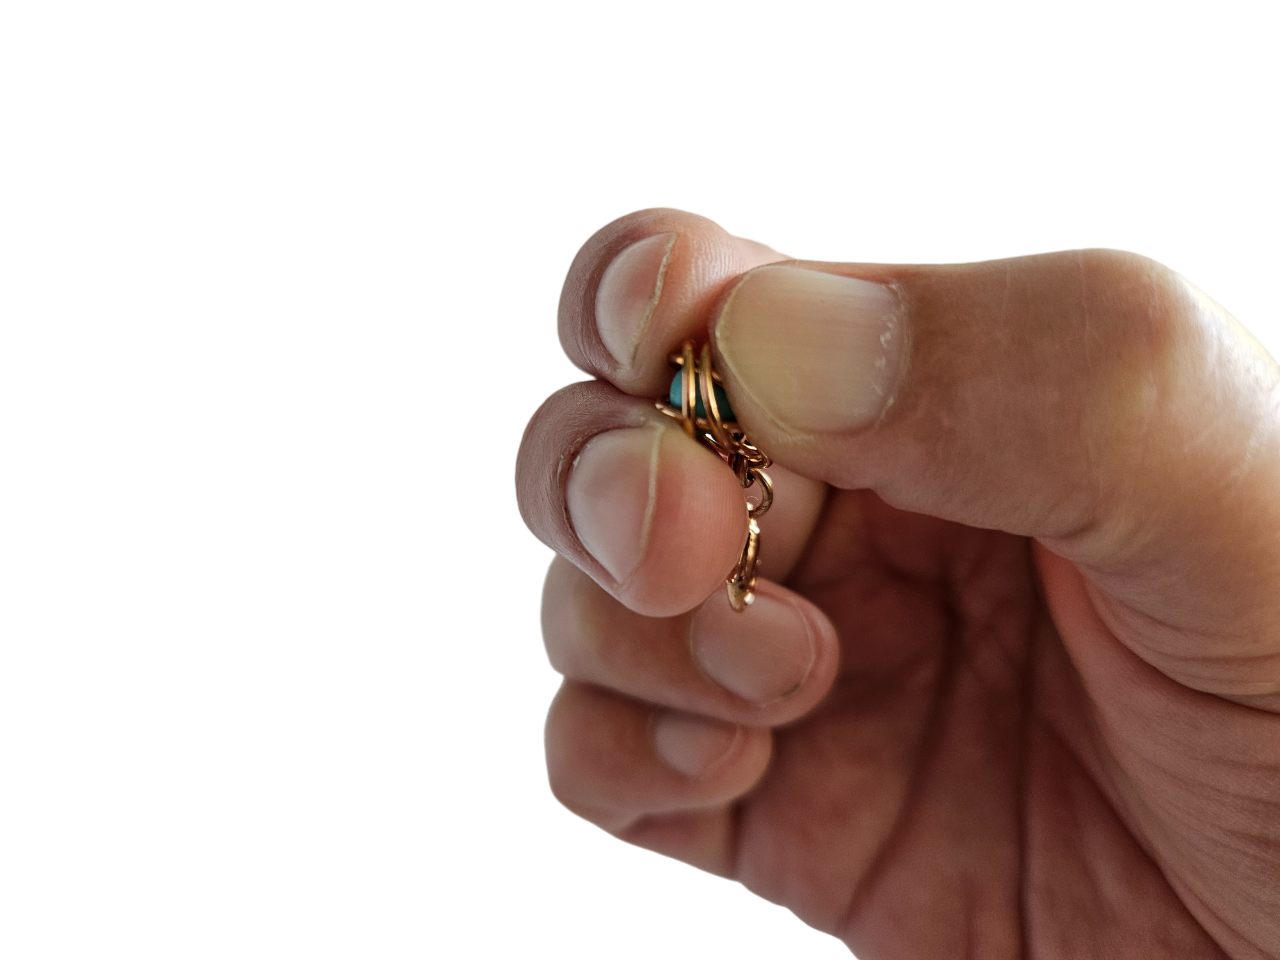
Step 9:
Pick up another big ring with your free hand and loop it through those two rings you just pushed together. Once you've done that, you can take both pairs of pliers to close it. Add a second big ring going through the same place.
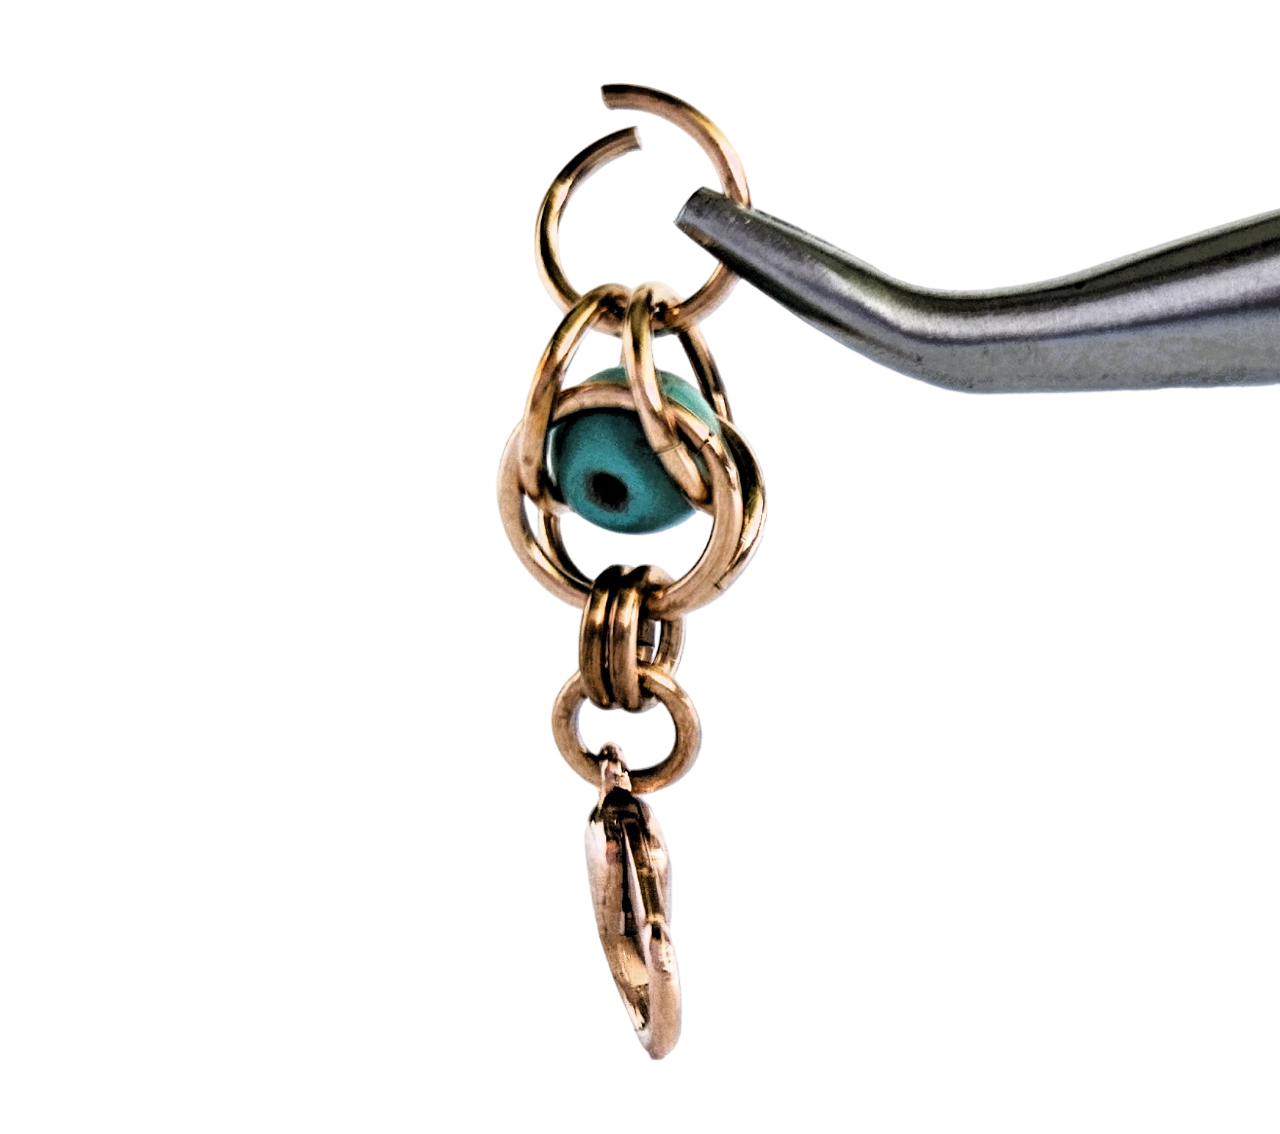
Step 10:
Add two more big rings to create another 2 in 2 chain. Now, you can go back to step 5 and repeat the process.
Step 11:

Once you have your bracelet at the length you want it, take a small ring and loop it through the last two big rings, but don't close it yet!
Step 12:

Finally, add your clasp ring to the open small ring, then close it. The clasp ring should either be a split ring, or a thicker jump ring, so your bracelet closure is nice and strong.
Turning your bracelet into a necklace
There are a couple of ways you can do this. The first is to simply carry on adding rings and beads to make it longer, and create a choker-length necklace, which is the necklace length that's in vogue for 2024. Or, you can add chain to either end of your bracelet to make a longer necklace.
Here's how you go about that:
You'll need some loose chain, which you can get on Amazon or from a jewellery supply shop.
First, use all 20 beads for the beaded section, so it is 8 inches long. Then, use jewellery cutters to cut two lengths of chain 7 inches long (for a 22 inch necklace).
Loop a small ring through the last two big rings and add one end of a chain to the small ring. Then close the ring. Do the same on the other side, so you have both lengths of chain attached to either end of the beaded section of your necklace.
On one end of the chain, add a small ring and then your clasp ring.
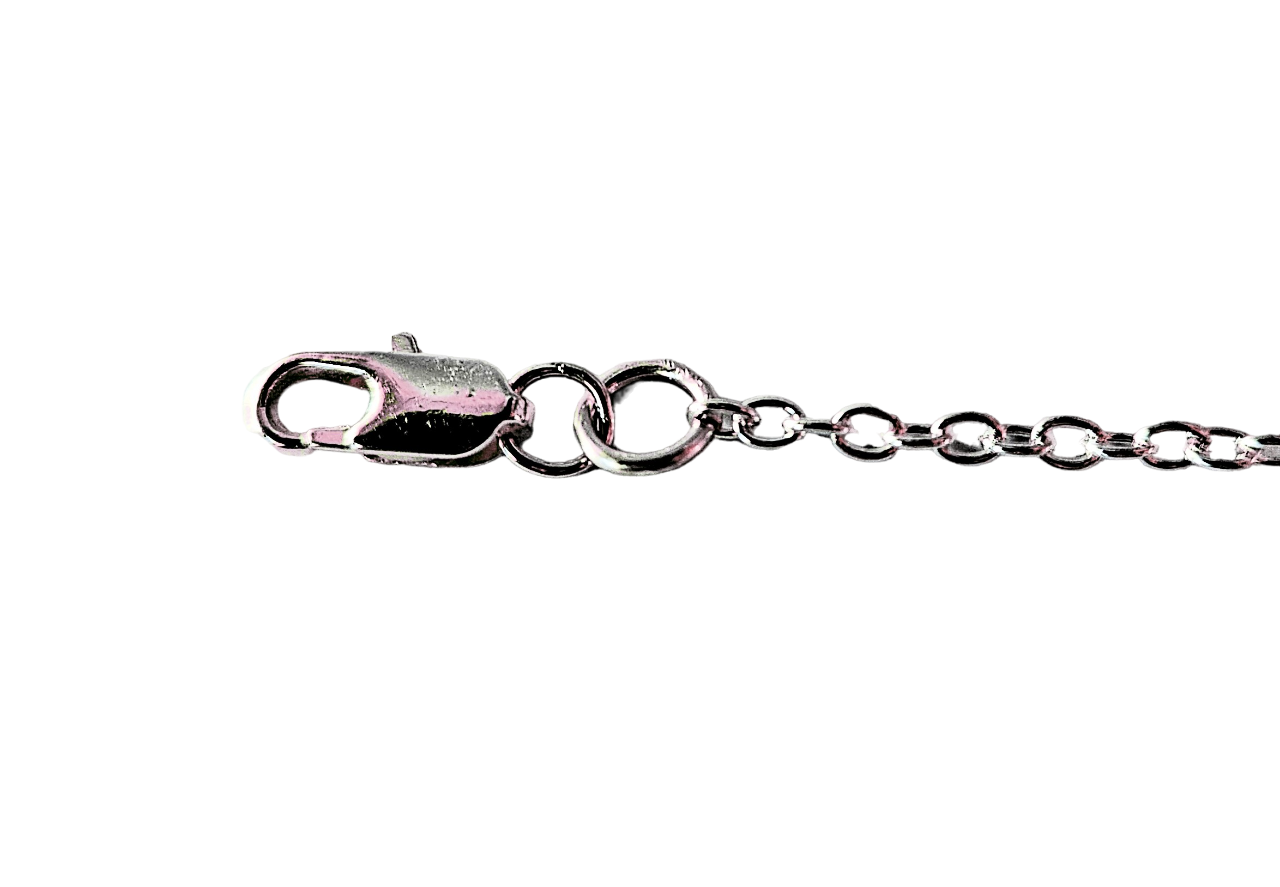
On the other end, add a small ring and then your lobster clasp.
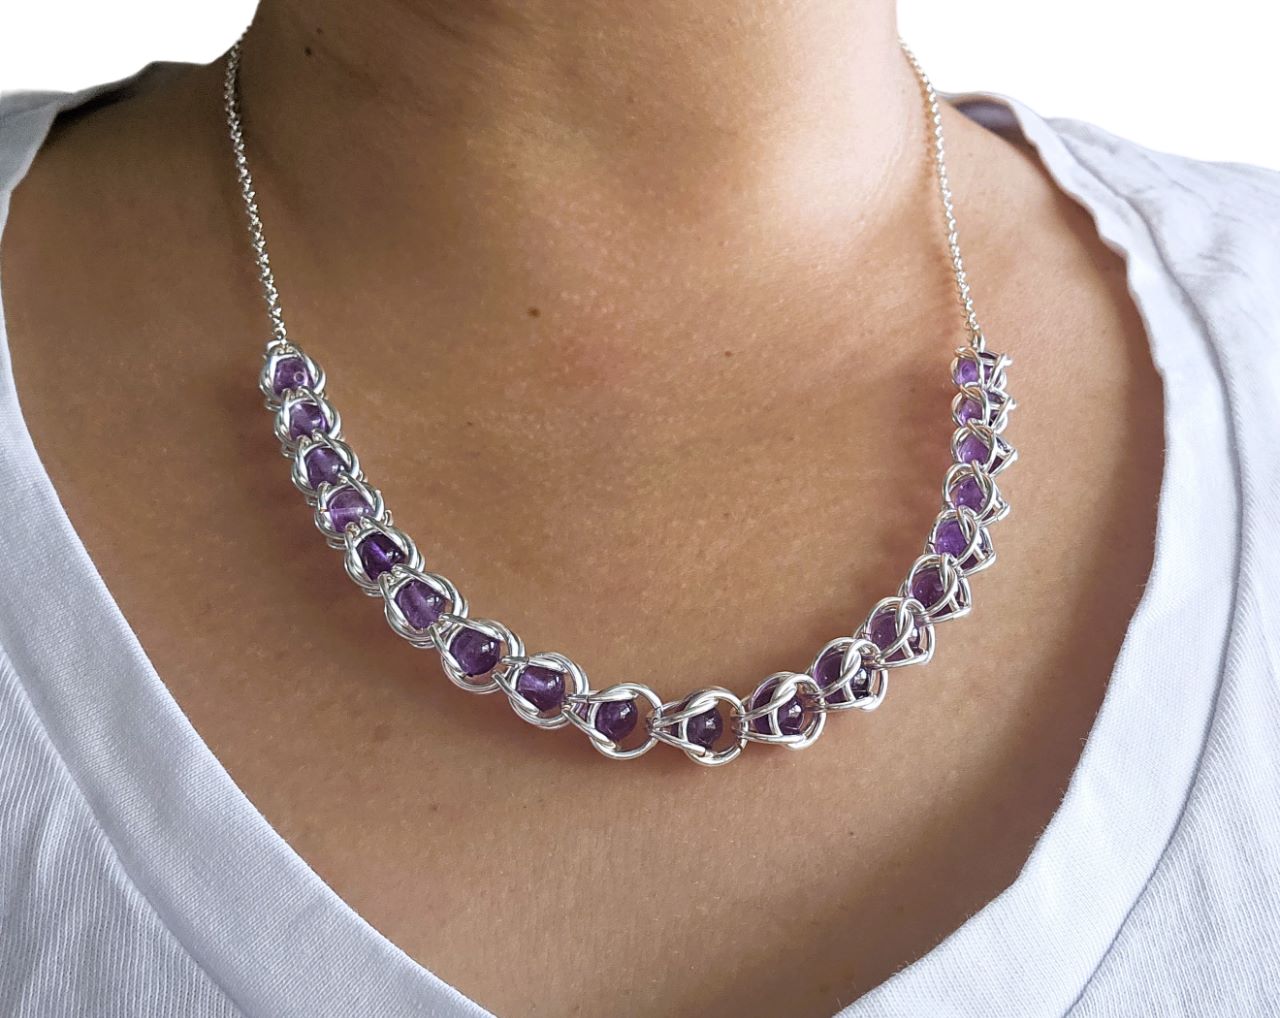
And that's it! Here's what it looks like on:
If you want to get started straight away, you can find ready-made craft kits in my Etsy shop.
Custom Requests
I love receiving custom requests from customers who want a really personalised piece of jewellery, so don't be afraid to contact me either via this website or on Etsy. Here are a few ideas to get you started:
1. Upgrade to stirling silver rings
2. Request different beads
3. Get more rings and beads to make a fully beaded choker
4. Ask for a different chain length for a shorter or longer necklace (the pieces of chain are precut in my kits).
5. Combine 2 kits in 1 - for example a necklace and matching earrings - the overall cost will be cheaper than buying the two kits separately, as the savings in postage and packaging will be passed on to you.