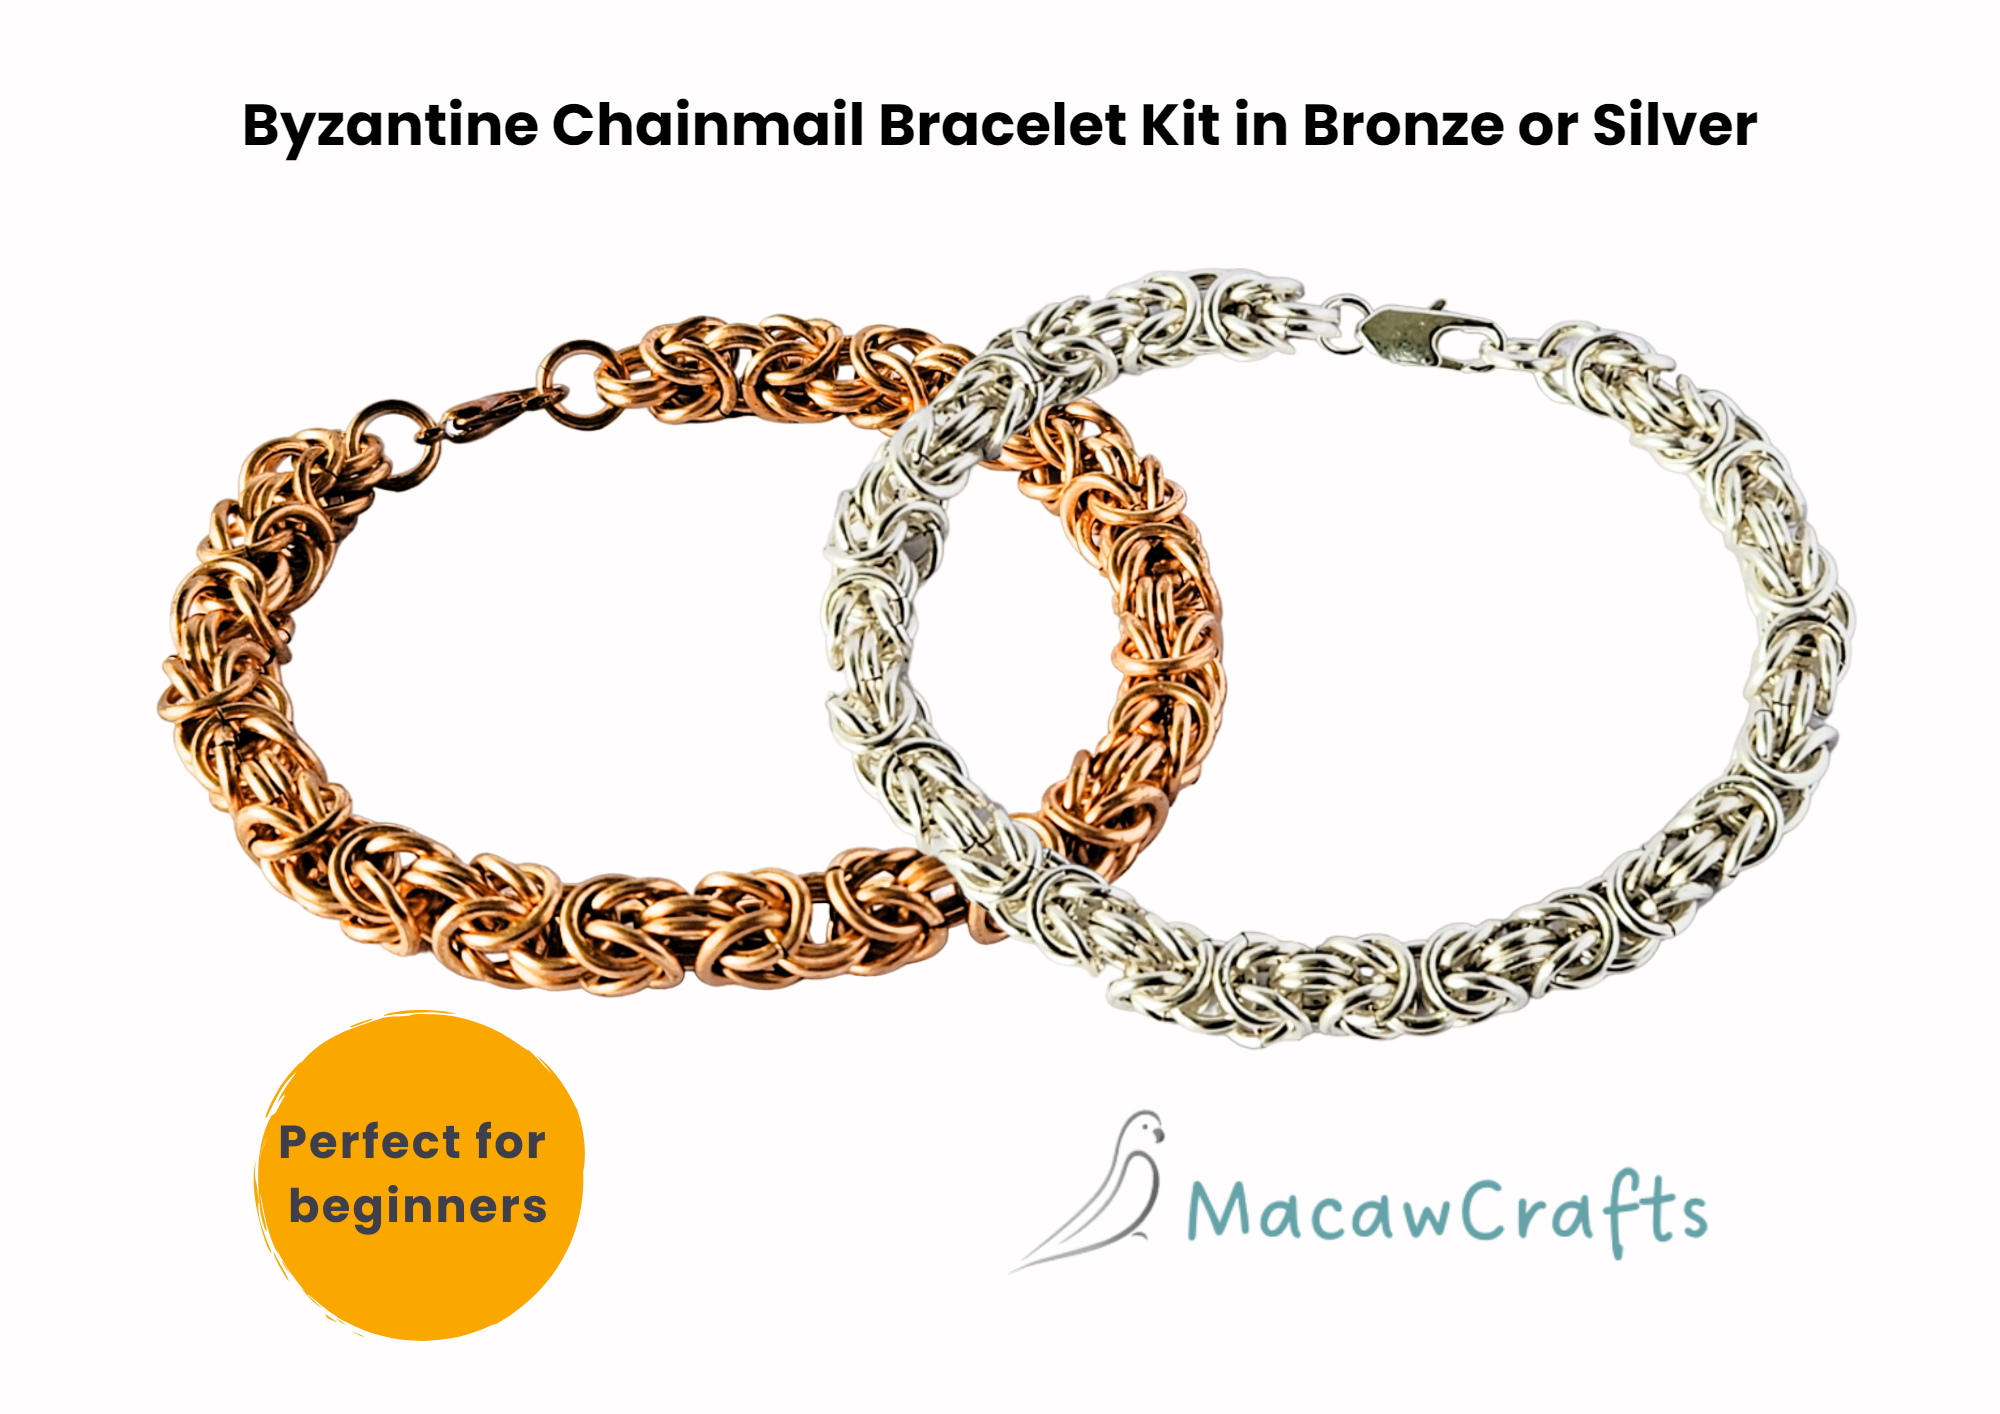
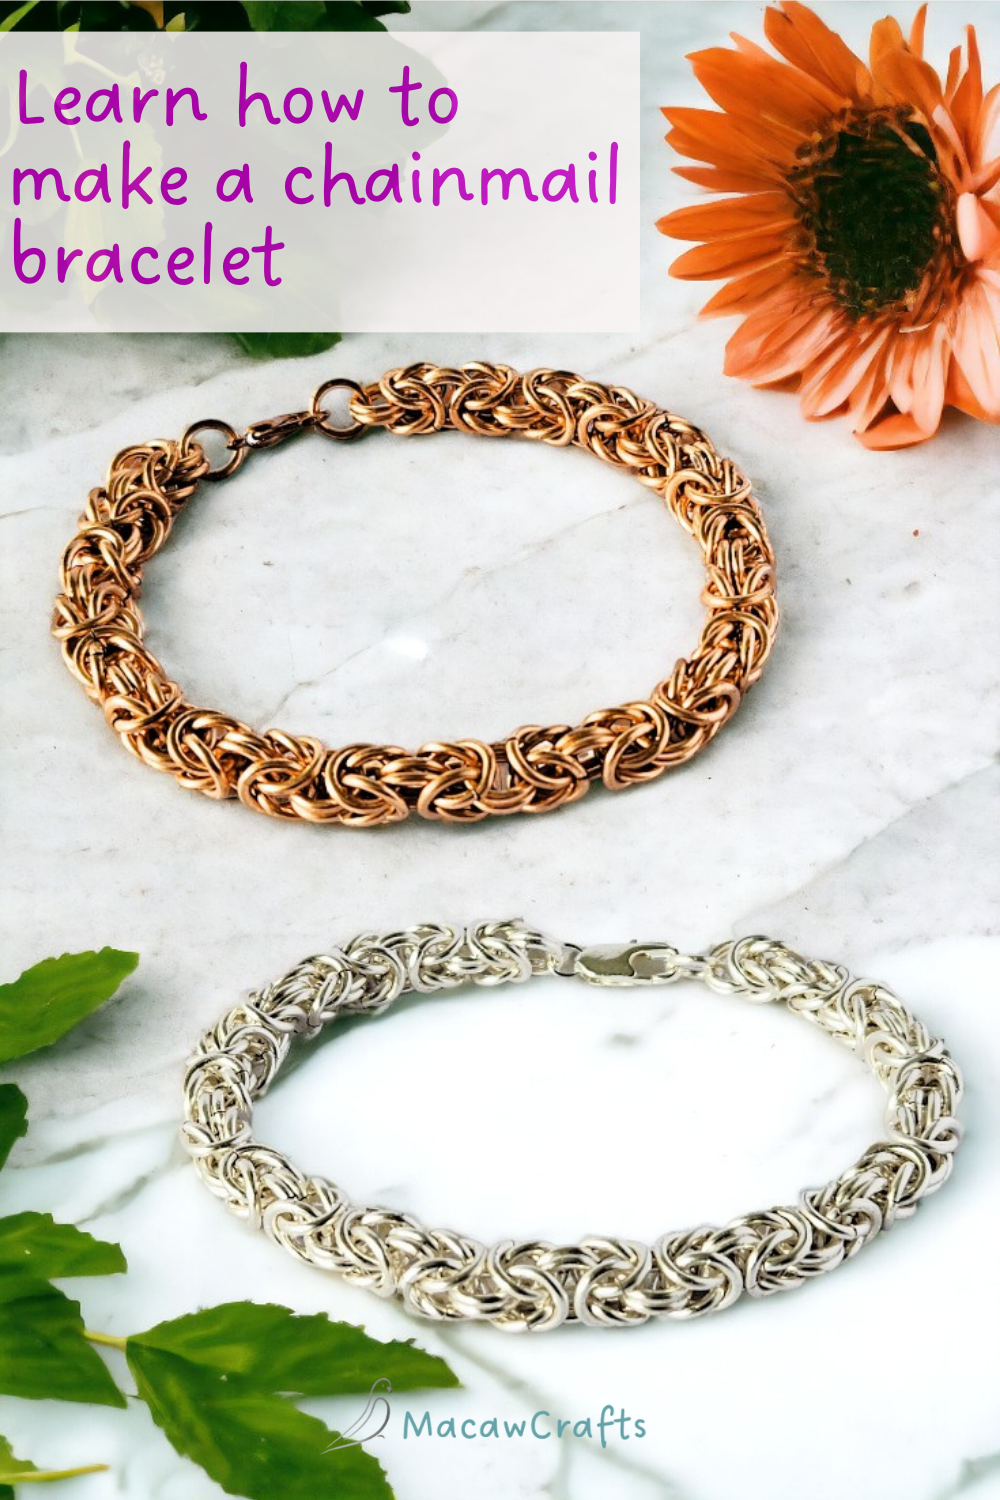
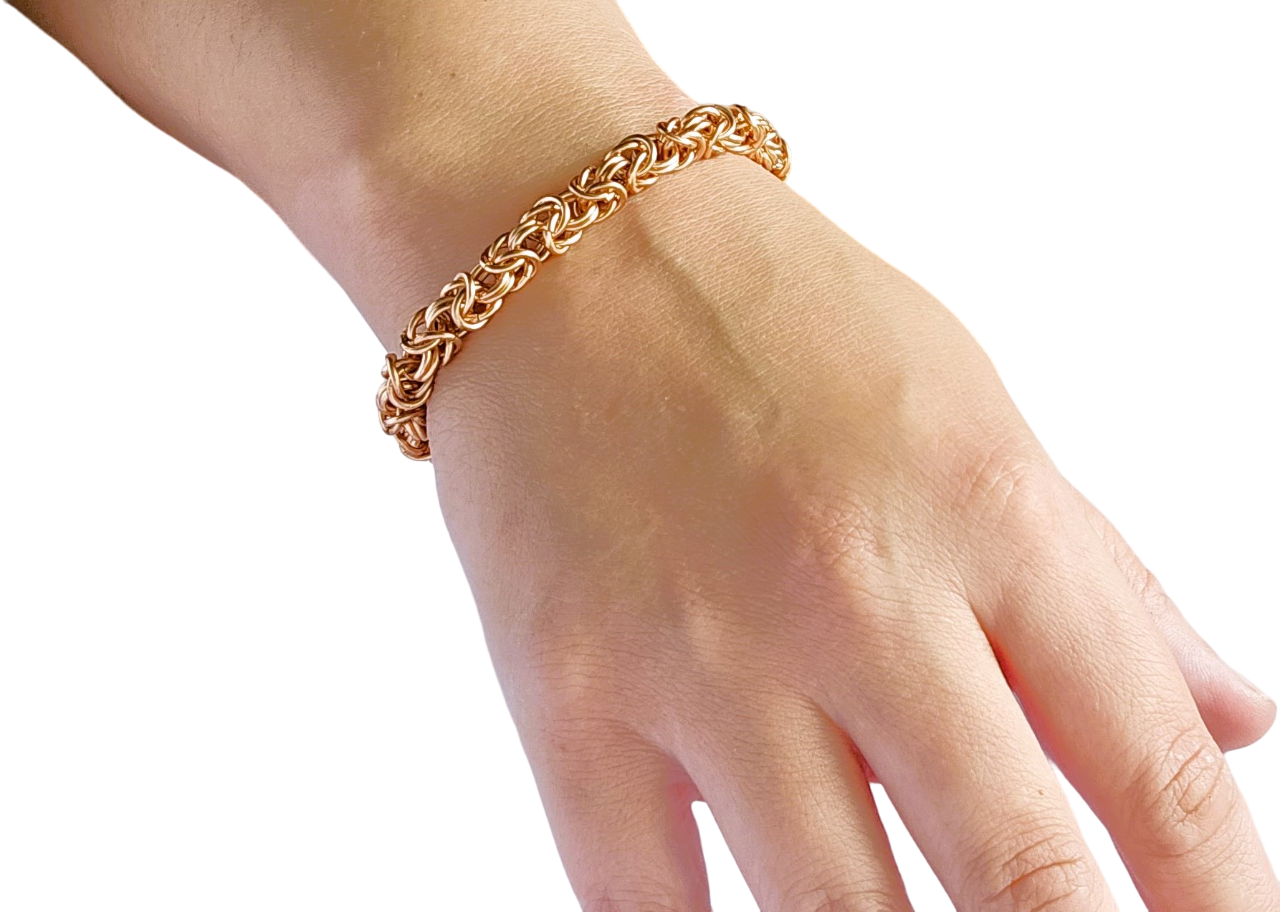
How to Make a Chain Bracelet Using The Chainmail Byzantine Pattern.
Hello fellow crafter! Today, I want to share with you the very first chainmail weave that I tried - byzantine. It was the beginning of my fascination with chainmail jewellery making, and if this is the first time you're having a go at creating this type of jewellery, it might well be the start of a new hobby for you, too!
Today's tutorial is ideal for beginners, and the finished bracelet could make a lovely handmade gift for a man or a woman. Or, of course, you can keep it for yourself and show it off to your friends and family ;) Let's get started!
You will need:
- Around 160 jump rings
- A clasp
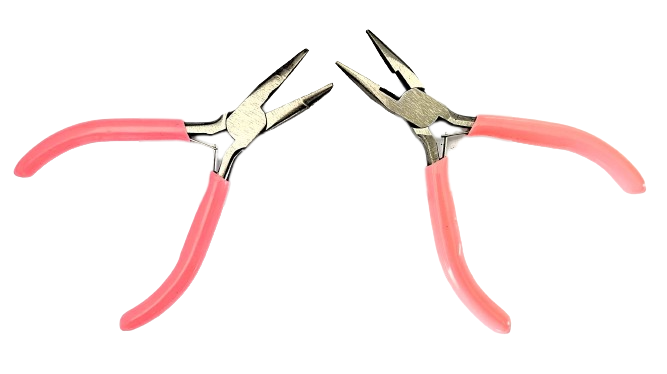
- 2 pairs of smooth-jawed jewellery pliers
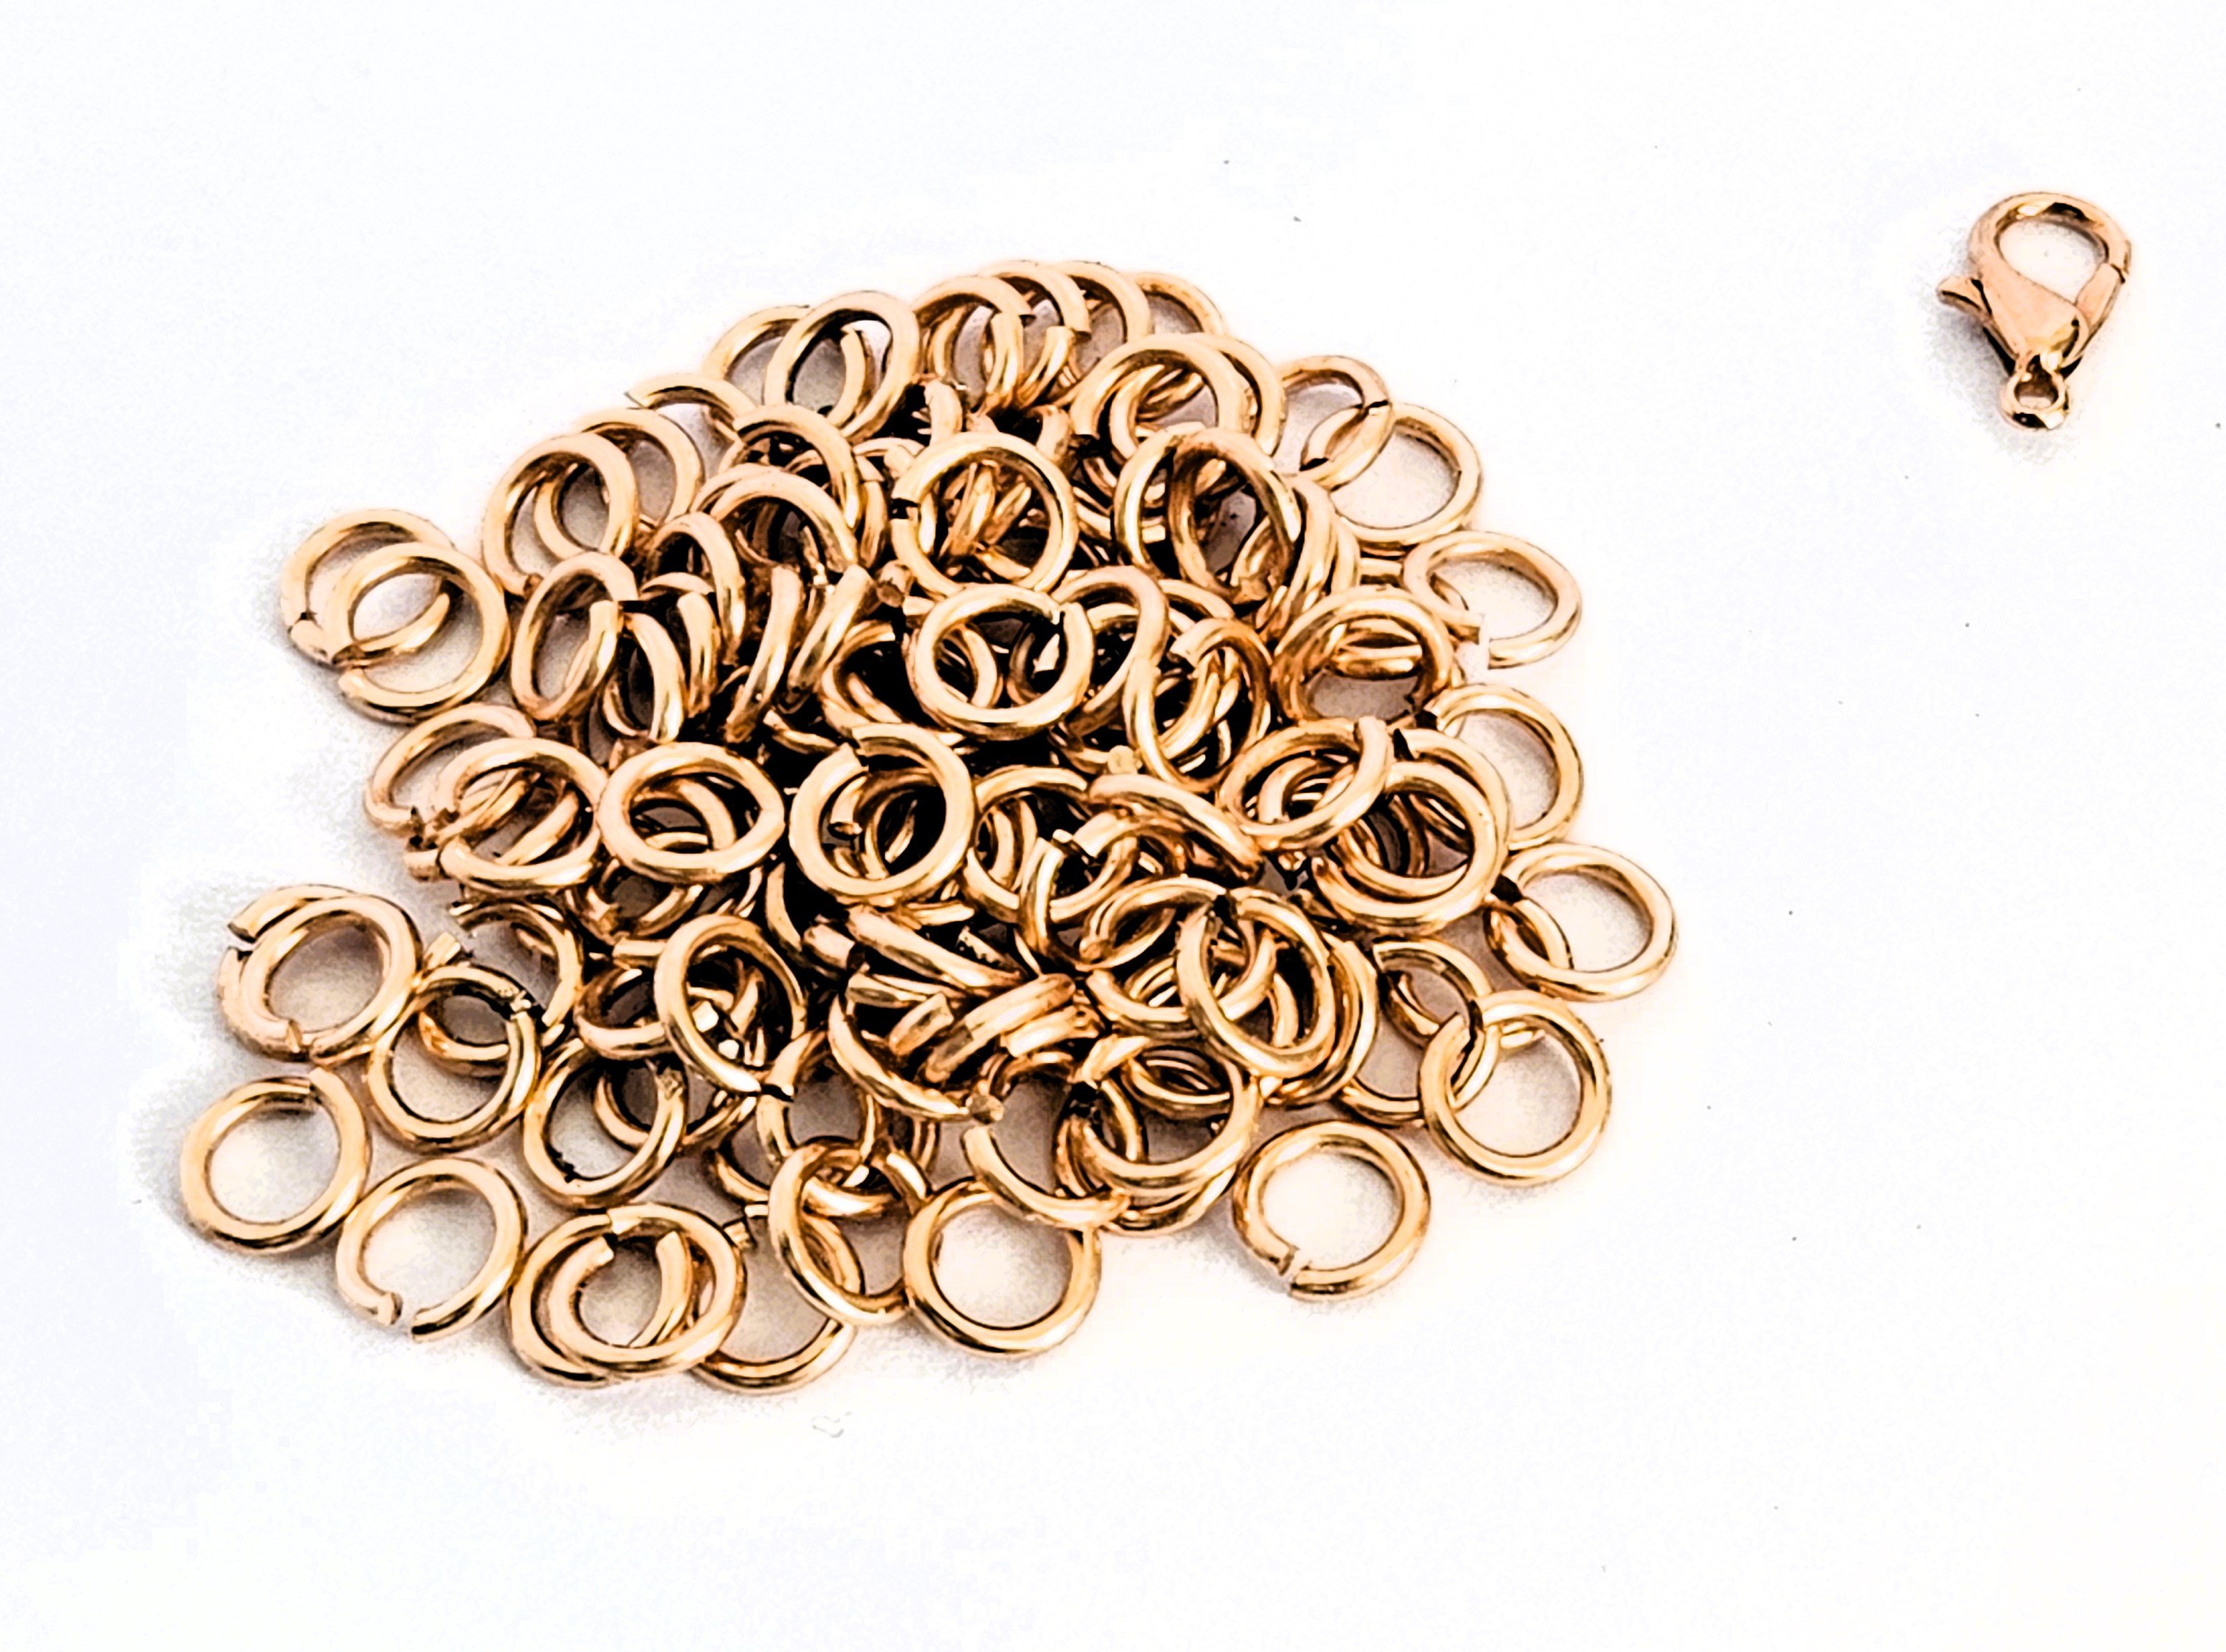
A note about the jump rings:
Most chainmail weaves require a specific size of jump ring and byzantine is no exception. For a slimmer chain, you need jump rings made with 1mm thick wire and with an inner diameter of 3.5mm. For a thicker chain, you need jump rings made with 1.2mm or 1.25mm wire and with an inner diameter of 4.5mm. You can make the rings yourself by winding wire around a mandrel that is the required thickness (I use knitting needles) and then sawing the coil with a jeweller's saw. If you'd rather skip that part, you can also get the kit that has everything you need here.
A note about the pliers:
I recommend a pair of chain nose pliers and a pair of bent nose pliers, but you can also use 2 pairs of flat nose or chain nose pliers.
Opening and Closing Jump Rings:
As you can probably tell, you're going to be opening and closing a lot of jump rings to make this bracelet. Just in case you're a newbie jump ring opener, I've made a video just for you. Go ahead and click the button below to watch it :)
Byzantine Chain Bracelet Tutorial
Step 1:
Open your first ring. Loop it through the hole in the lobster clasp, then close.
Step 2:

Open 2 more rings and loop them through the first ring, then close. Make sure they don't go through each other, but sit side by side.
Step 3:
Add 4 more rings in the same way to make a 2 in 2 chain.
Step 4:

The next step can be tricky the first time you try it, but, once you've got this first one, the rest of the bracelet is much easier.
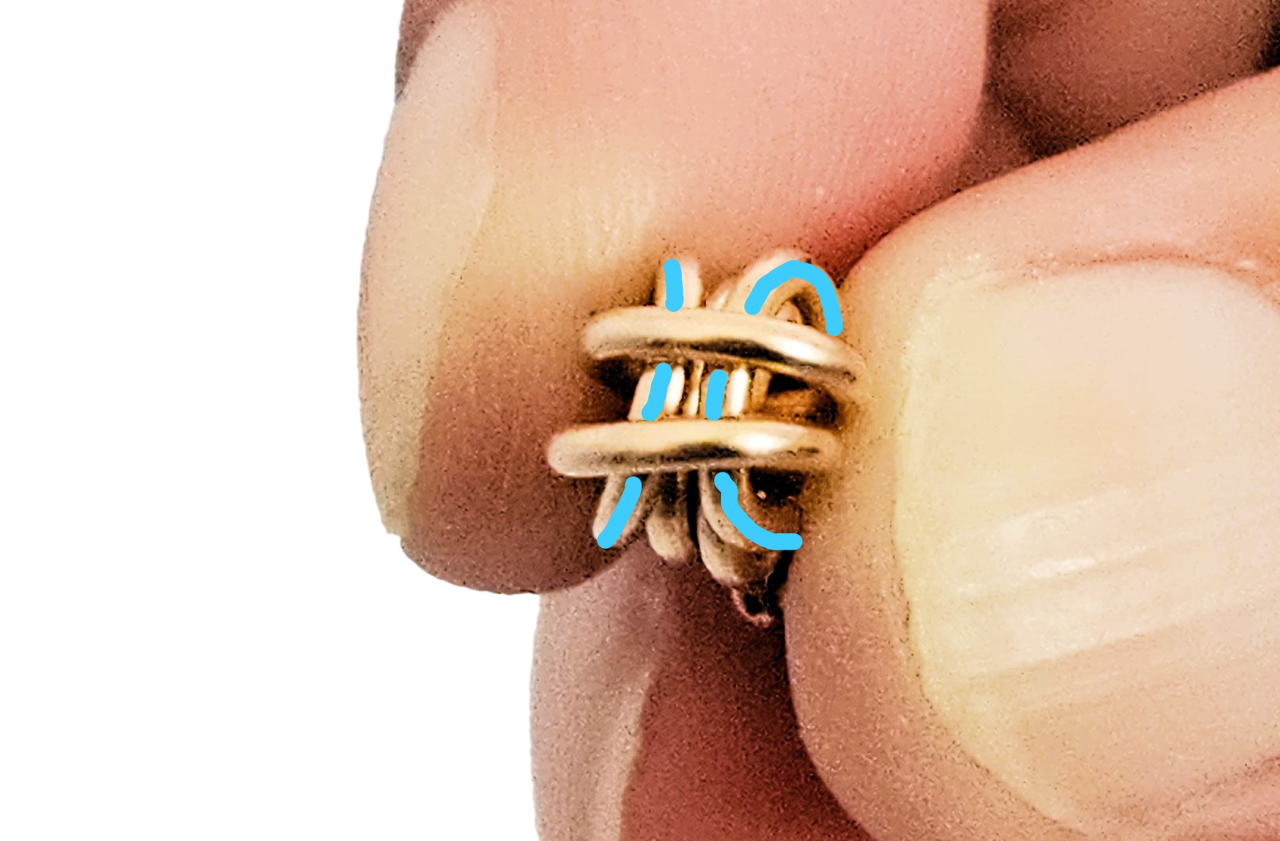
Open at least 6 rings before you start the next step, so you can pick them up without putting your work down.
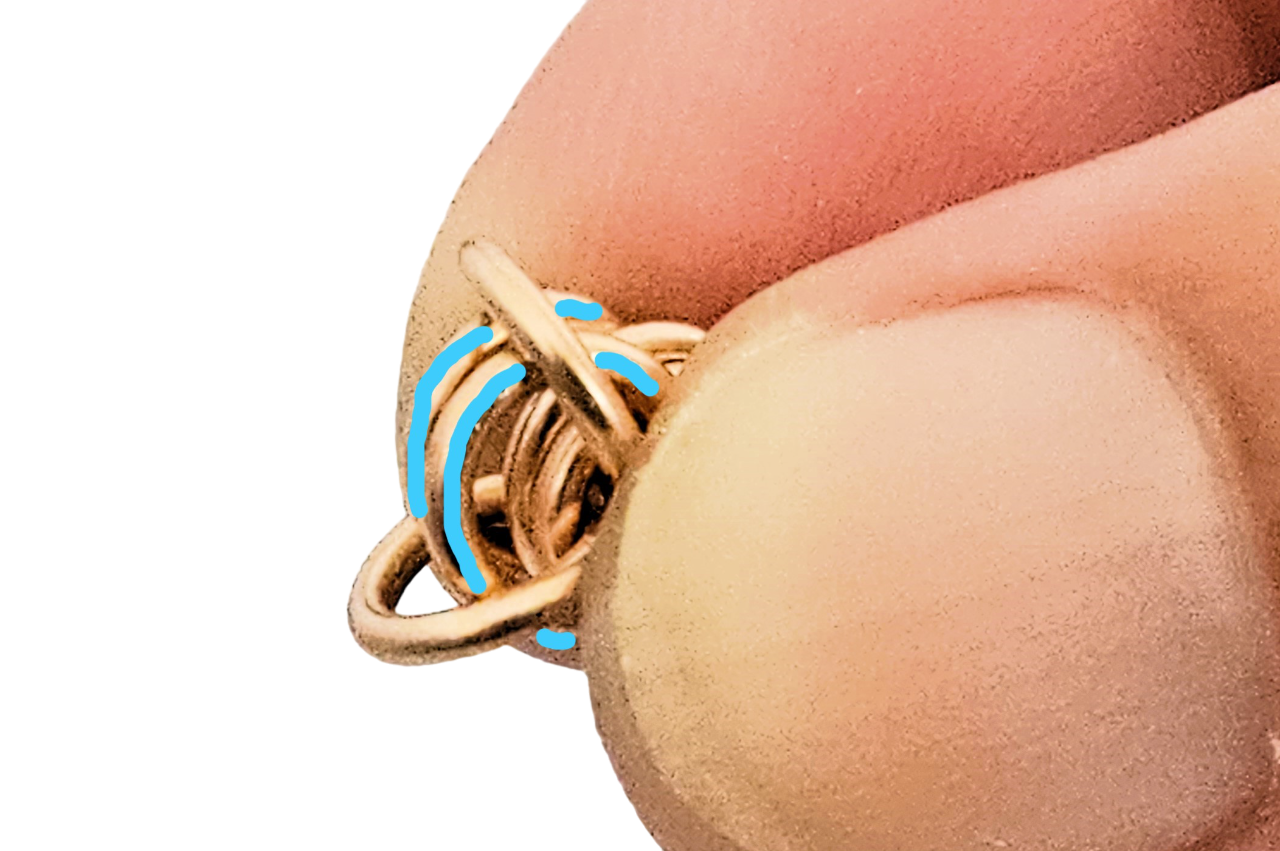
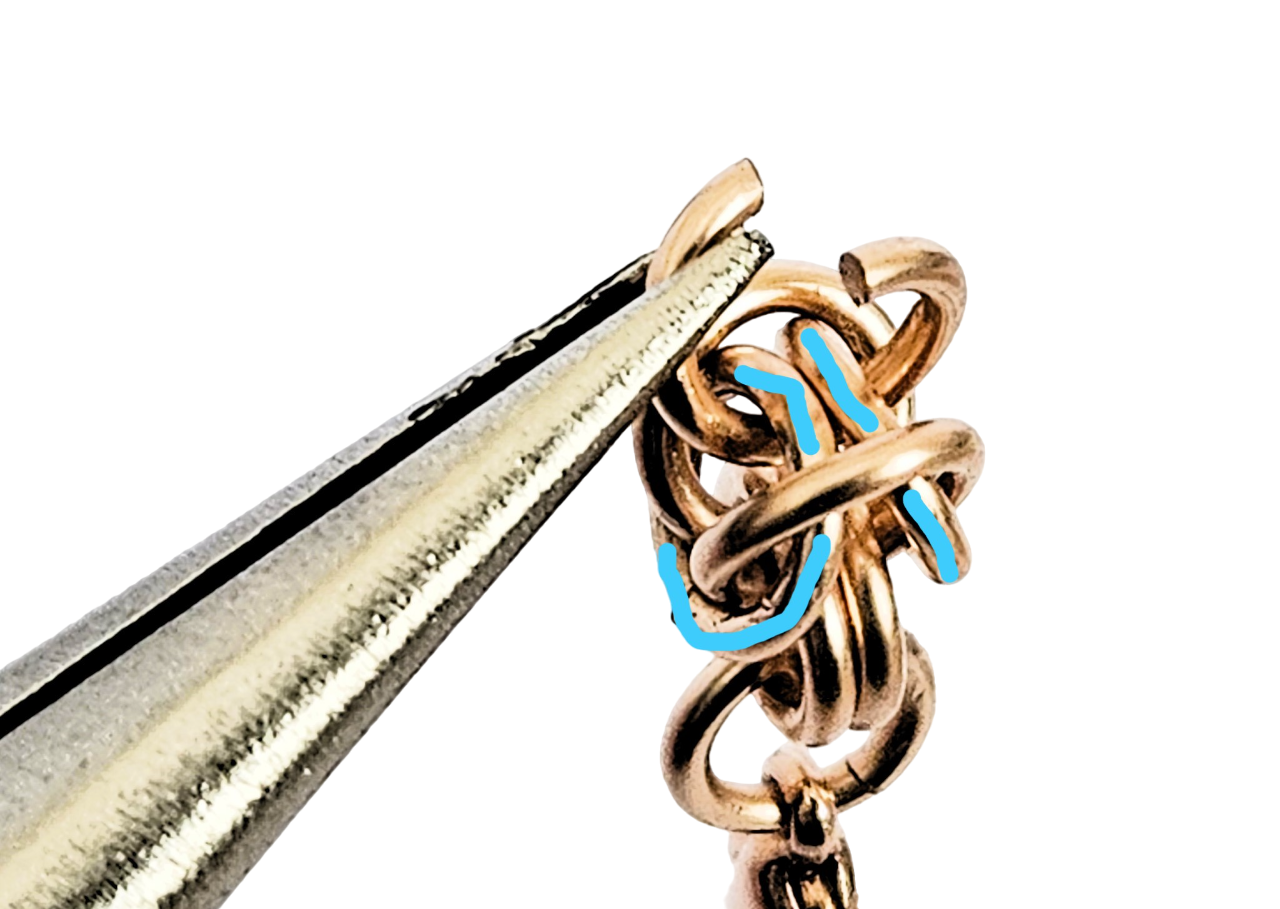
Grab the middle pair of rings in your non-dominant hand and let the two top rings fall to either side. (I've highlighted them in blue on the pics so you can keep track of them in the next few steps.)
Step 5:
Fold those top rings down.
Step 6:
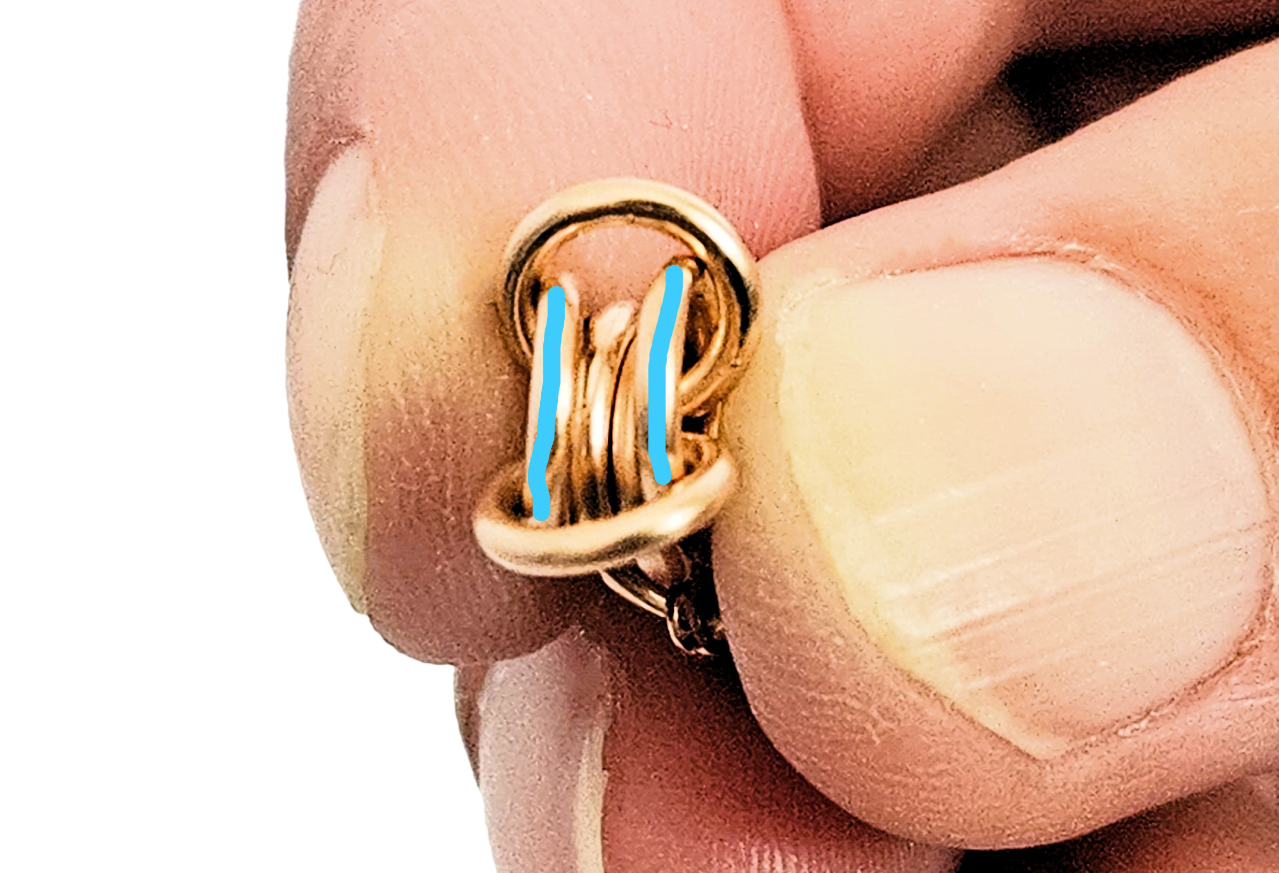
Use a finger of your dominant hand to spread the other rings open. This is what looks like from the side:
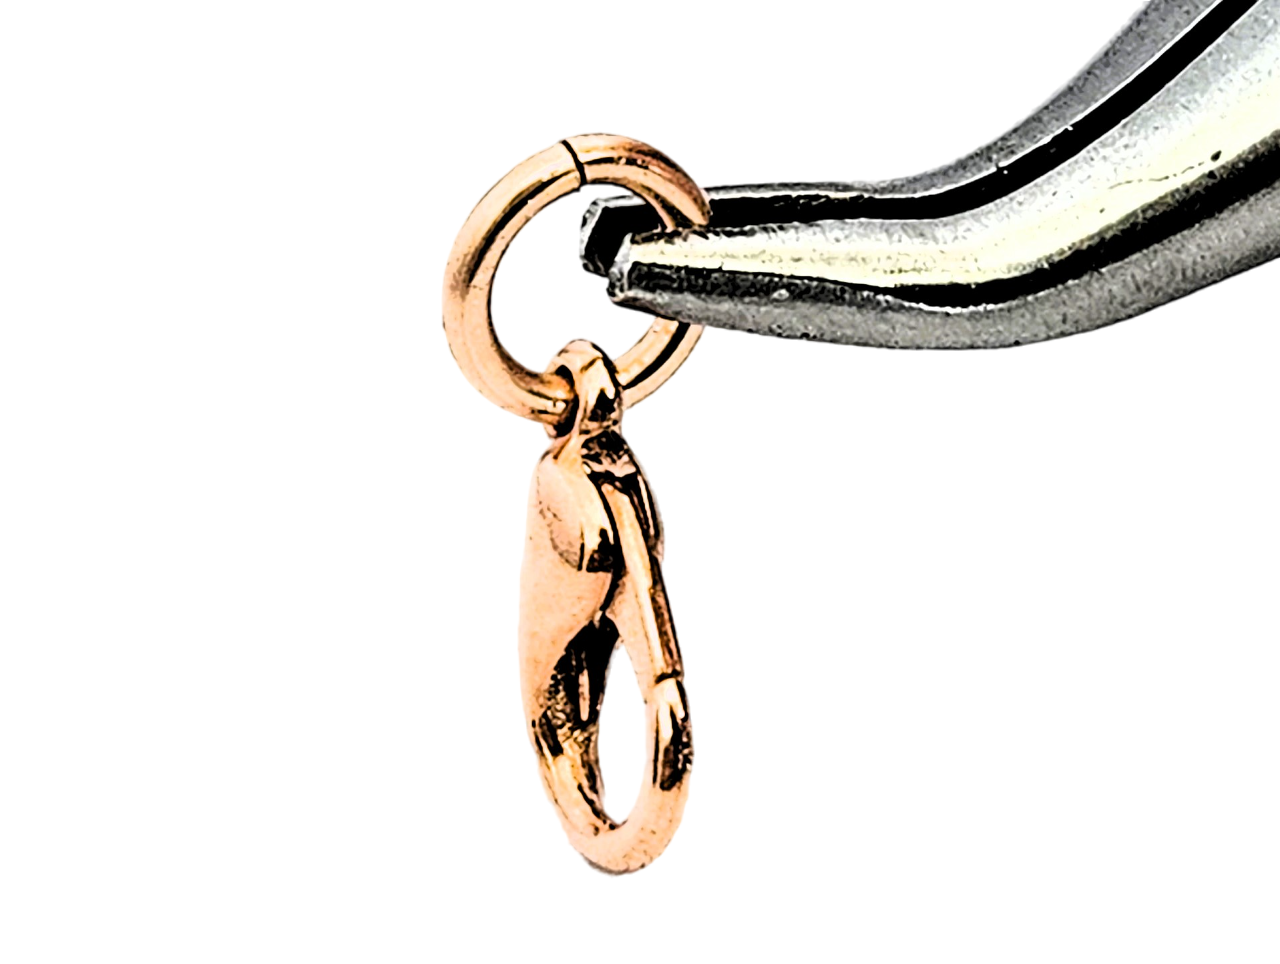
Step 7:
Keep holding of your piece in the position you created in step 6, then, using the pliers in your dominant hand, grab one of your open rings and thread it through the highlighted rings. You can then let go of the piece to grab your other pliers and close that ring.
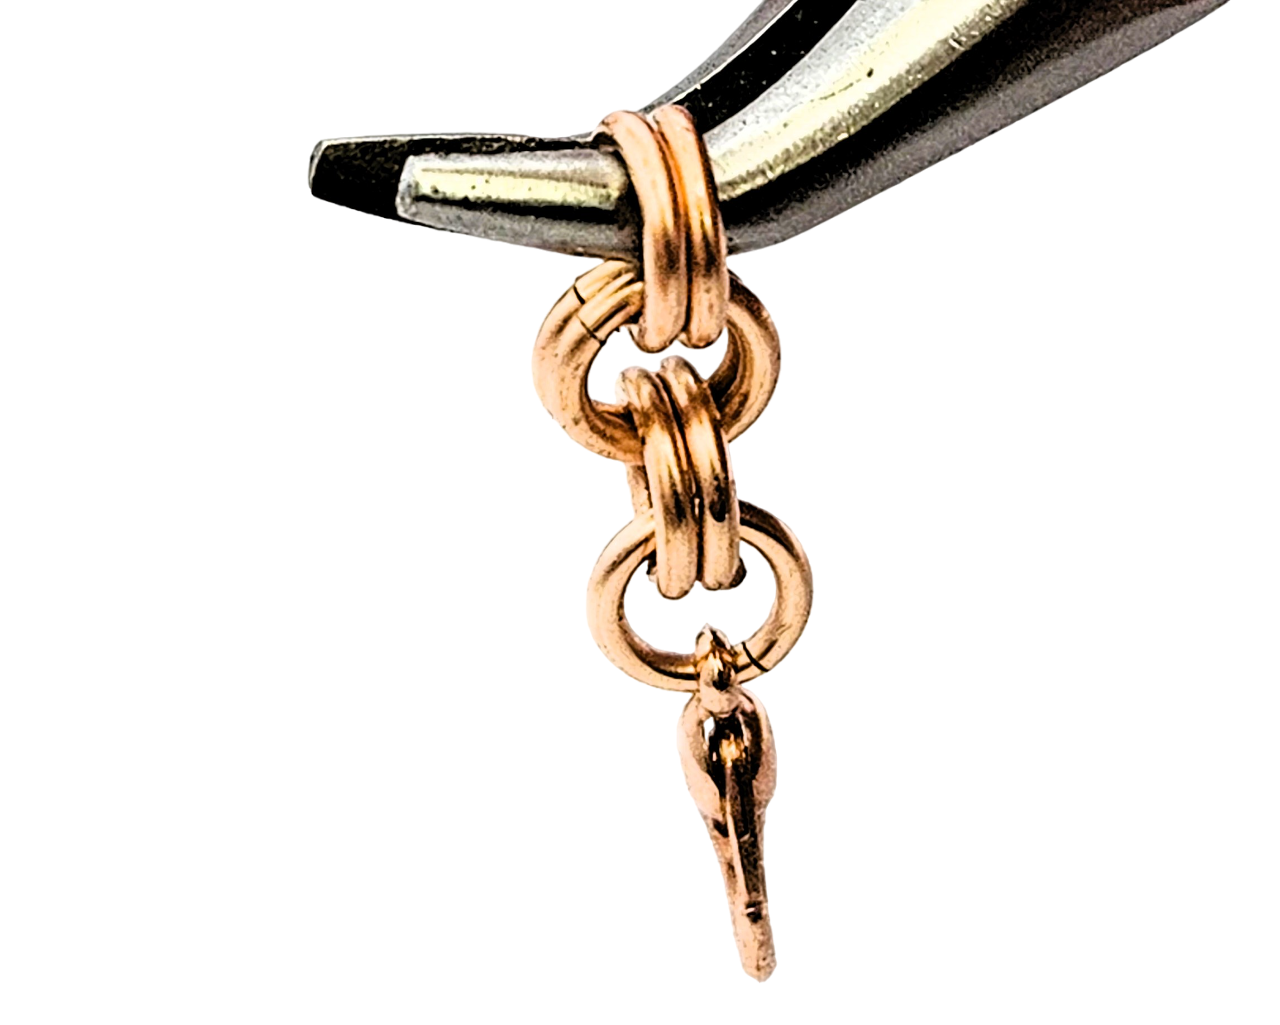
Step 8:
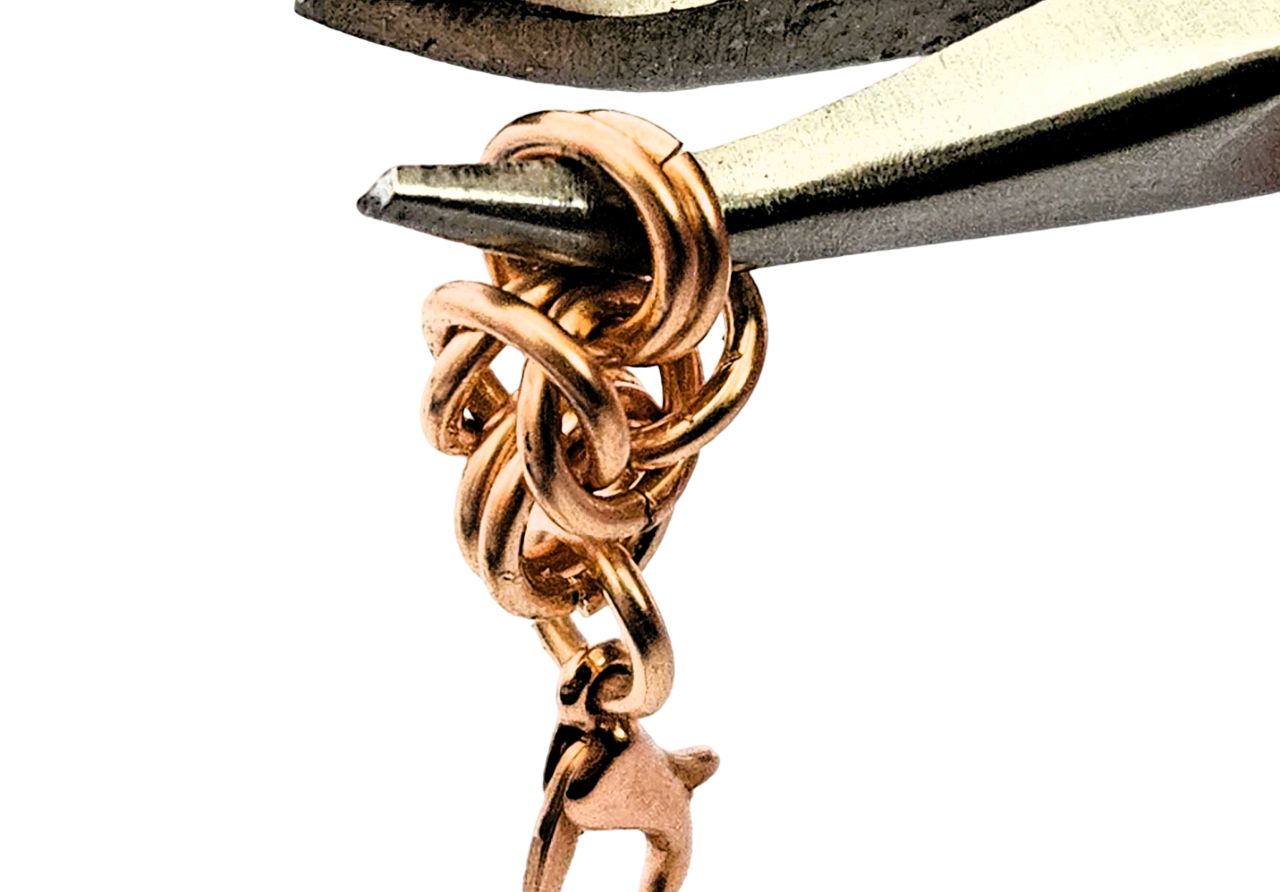
Add a second pre-opened ring through the same gap, so it lays next to the first one.
Step 9:
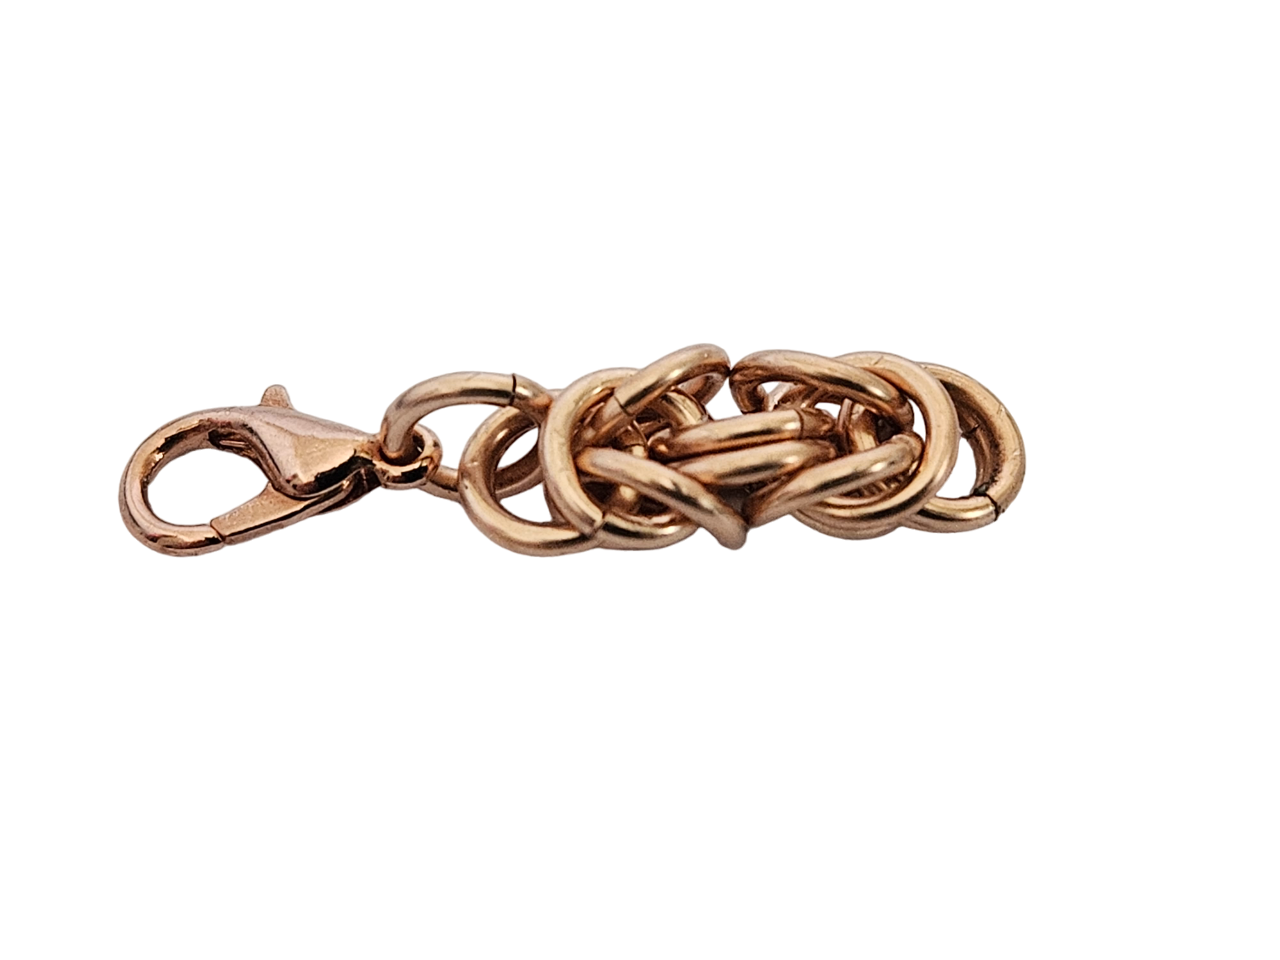
Repeat steps 3 to 8 to create your first full byzantine unit, then keep repeating those steps to finish your bracelet.
Step 10:
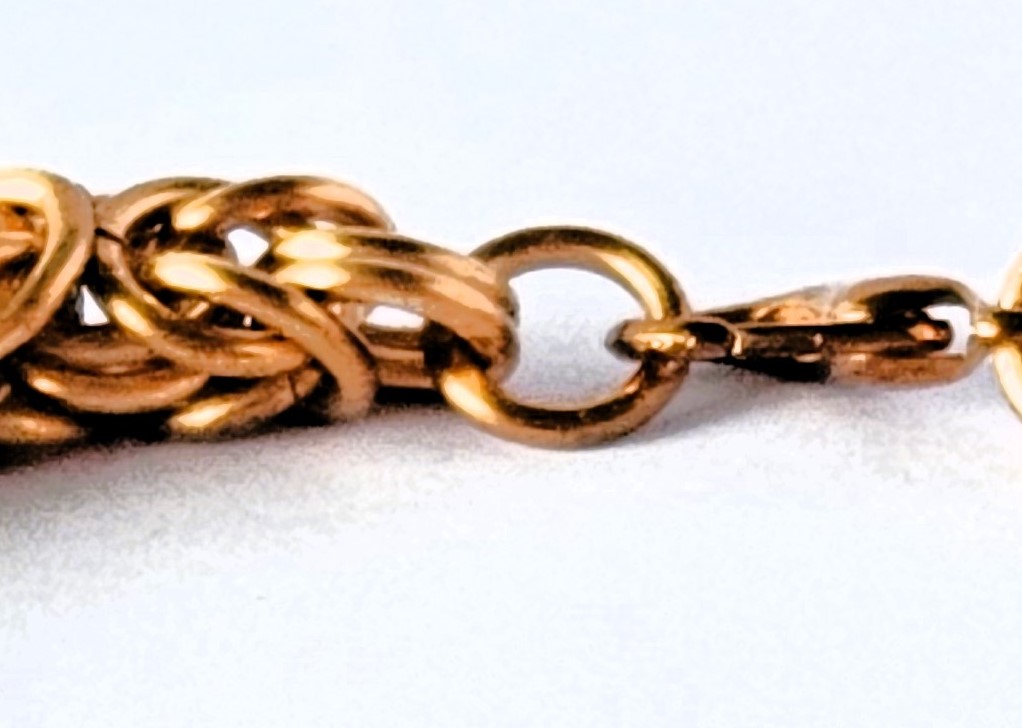
When your bracelet is at the length you want, add a single ring to the end for the clasp.
Want to get started on your DIY bracelet straight away? Get the kit with everything you need. Click the pic below to shop now:-