How to Make a Chain Using The Chainmail Helm Pattern.
Hello fellow crafter and welcome to my first tutorial of 2025. A bit late, since it's already February, but hopefully welcome nevertheless :)
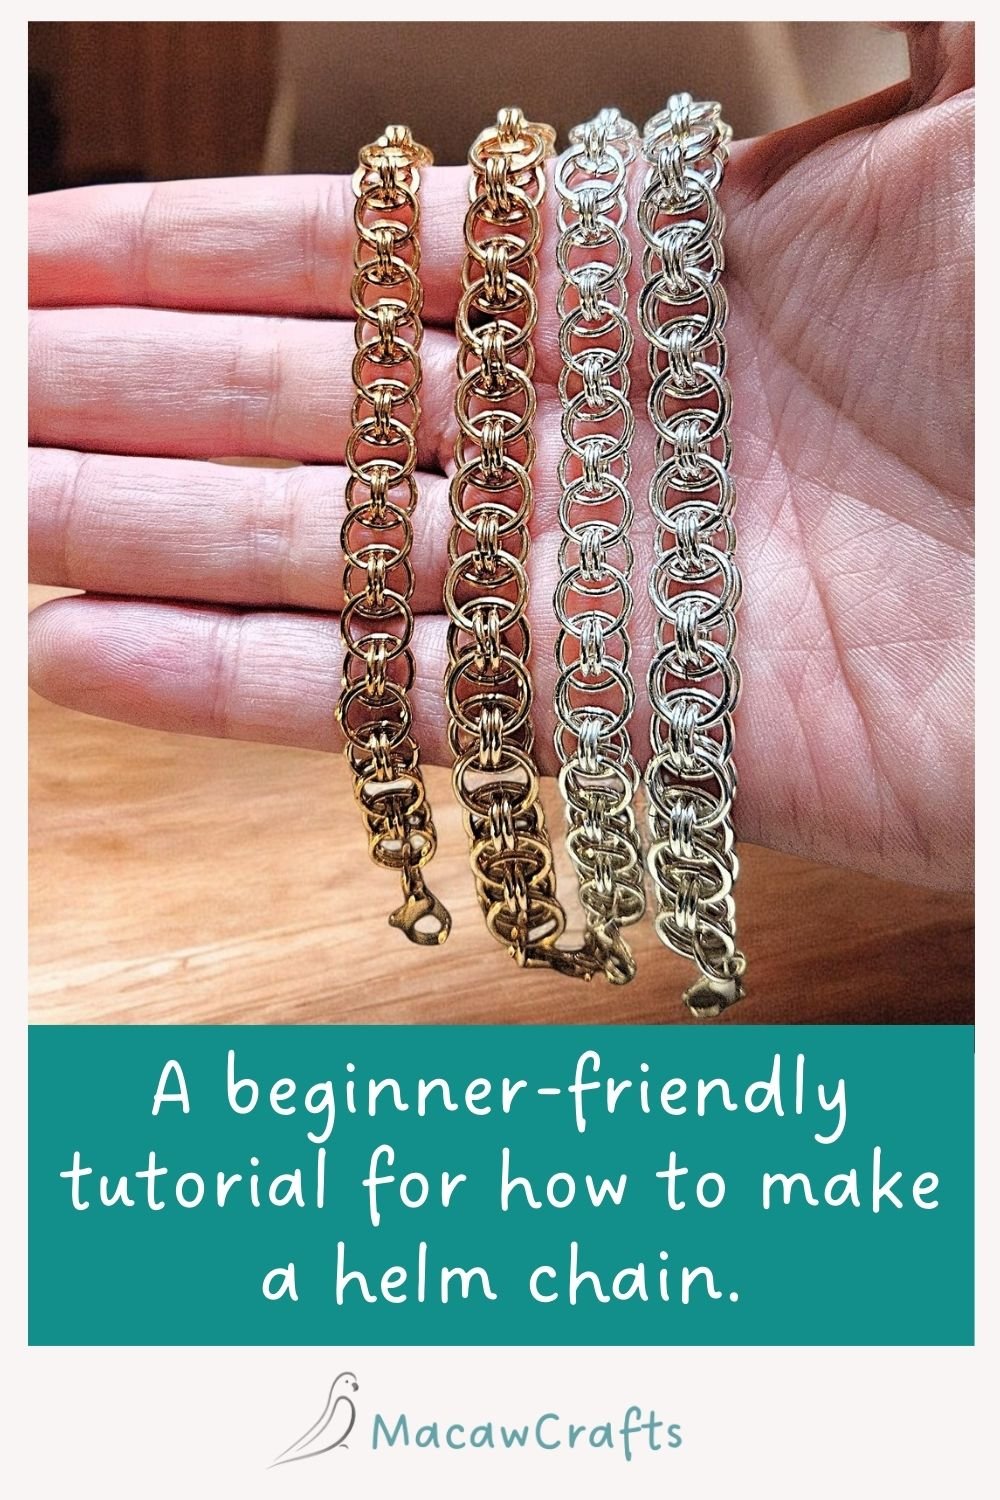
It's another beginner weave, known as Helm or Parallel weave. It makes a lovely bracelet or necklace, and looks great on anyone. Let's get started!
You will need:
- large jump rings
- small jump rings
- A clasp
- 2 pairs of smooth-jawed jewellery pliers

A note about the jump rings:
This chainmail weave is a bit fussy when it comes to ring sizes - the large and small rings need to compliment each other for the weave to work. For the slim chain, I've used 18 gauge (1mm) wire, with inner diameters of 6mm for the large rings, and 4mm for the small rings.
The chunky chains were harder to get right, especially as 16 gauge wire can be 1.2mm, 1.25mm or even 1.29mm thick! I've been told that large rings can be 7mm, and small rings 5mm with 16 gauge wire, but that didn't work with my wire, which is 1.25mm thick. I've successfully used 7mm and 4.5mm rings with my bronze wire, but my silver-filled chain in those sizes is not as flexible as I would like, so I've used 18 gauge 4.5mm rings instead.
A note about the pliers:
I recommend a pair of chain nose pliers and a pair of bent nose pliers, but you can also use 2 pairs of flat nose or chain nose pliers. I prefer a pair of flat nose pliers for 16 gauge rings.
Helm Chain Tutorial
Step 1:
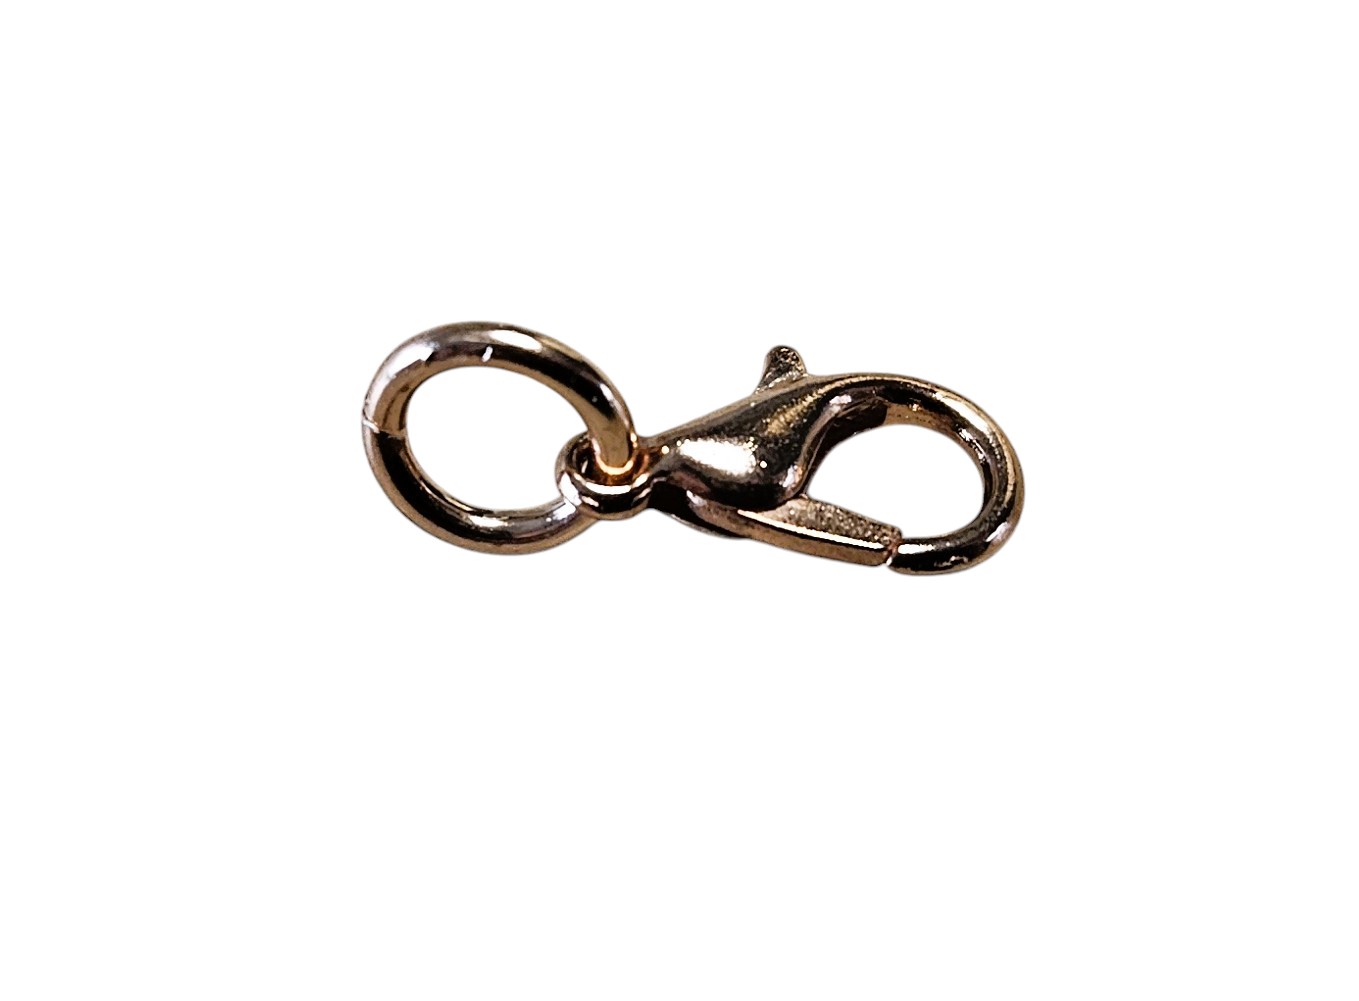
Open your first small ring. Loop it through the hole in the lobster clasp, then close.
Step 2:
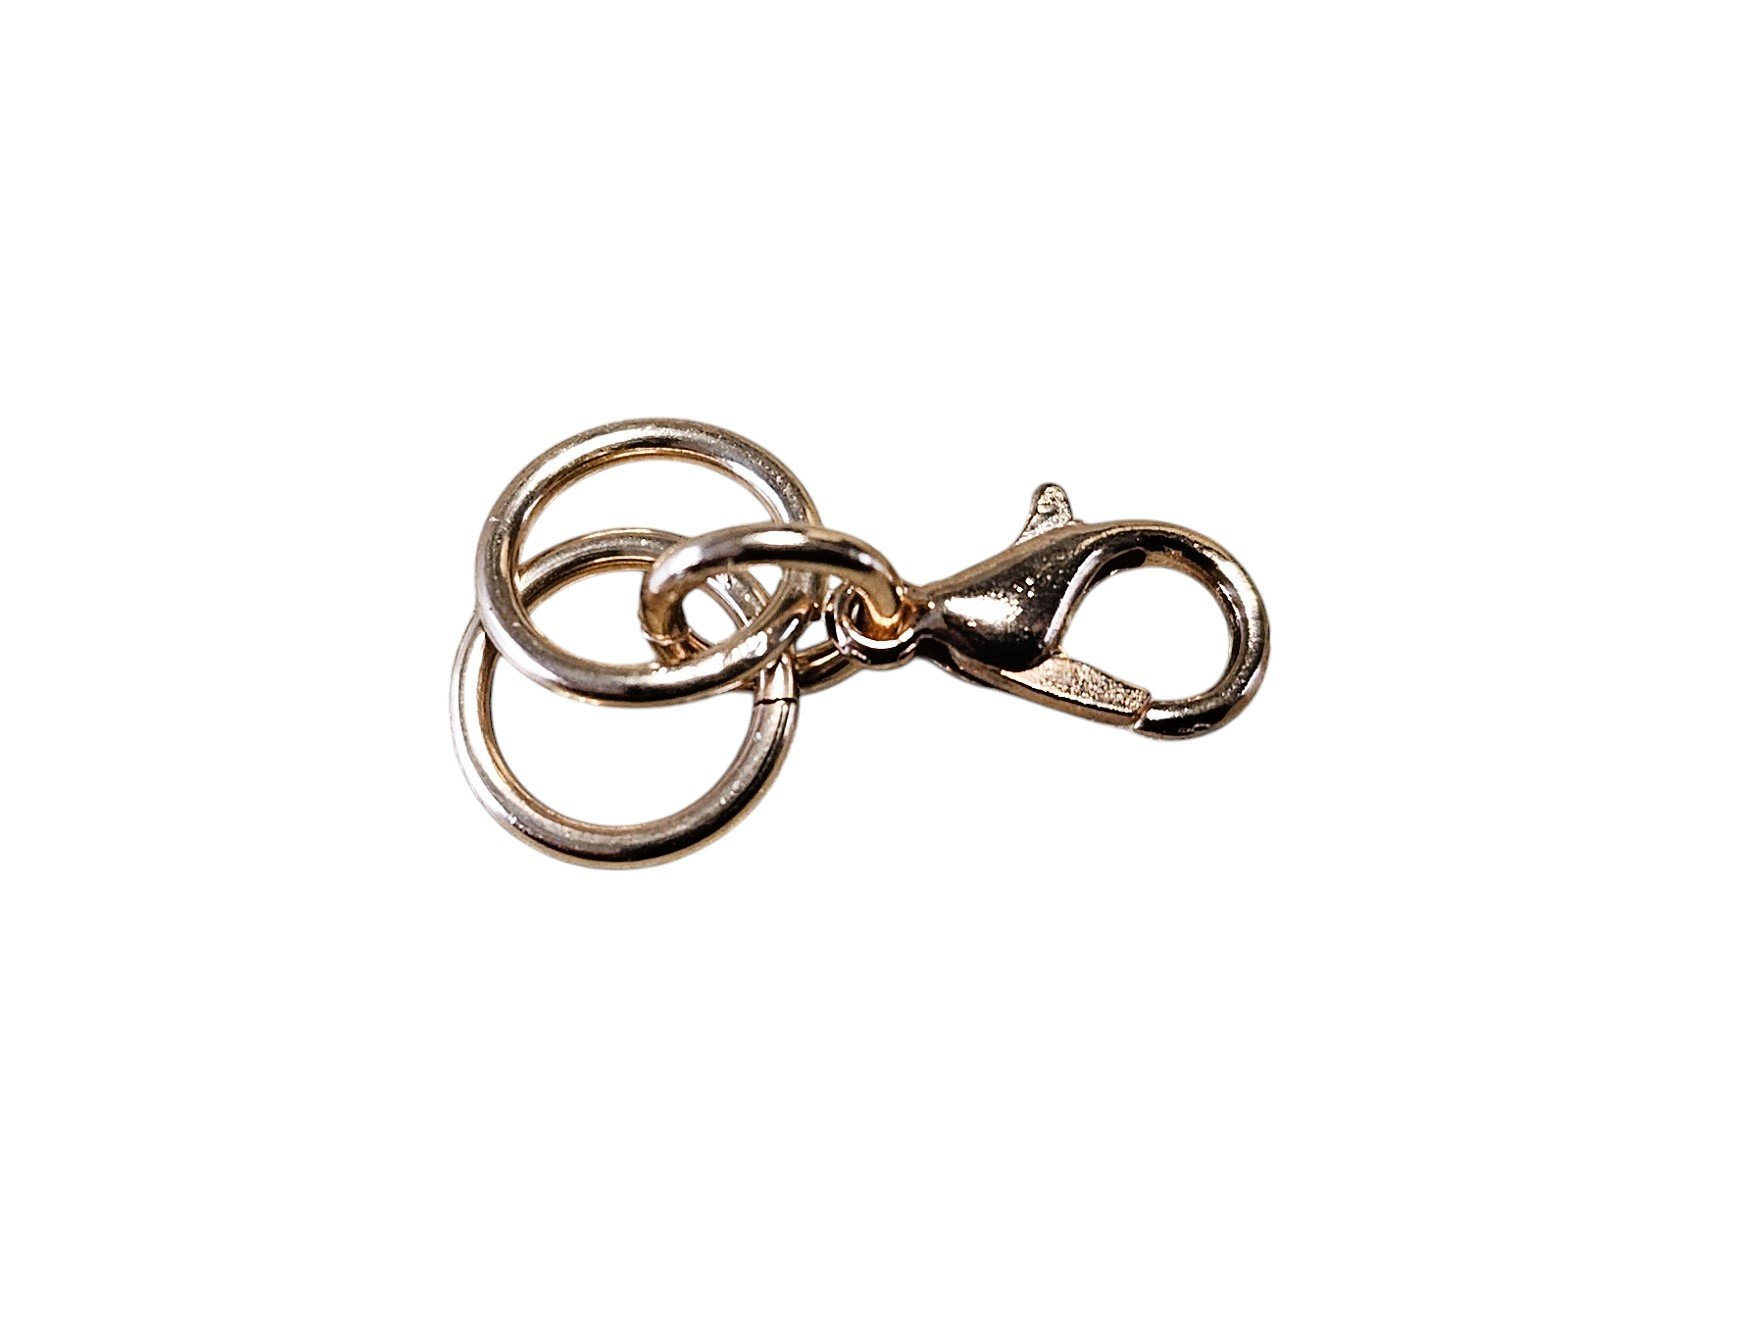
Open 2 large rings and loop them through the first ring, then close. Make sure they don't go through each other, but sit side by side.
Step 3:

Add 2 more small rings to the 2 large rings.
Step 4:

The next step can be tricky the first time you try it, but, once you've got this first one, the rest of the bracelet is much easier. I used a silver ring so that you can see it more easily.
Open a large ring and weave it between the 2 large rings and around the 2 small rings. This ring is orbital, meaning it doesn't actually go through any rings, only around. Double check that it hasn't slipped through any rings before closing it.
Step 5:
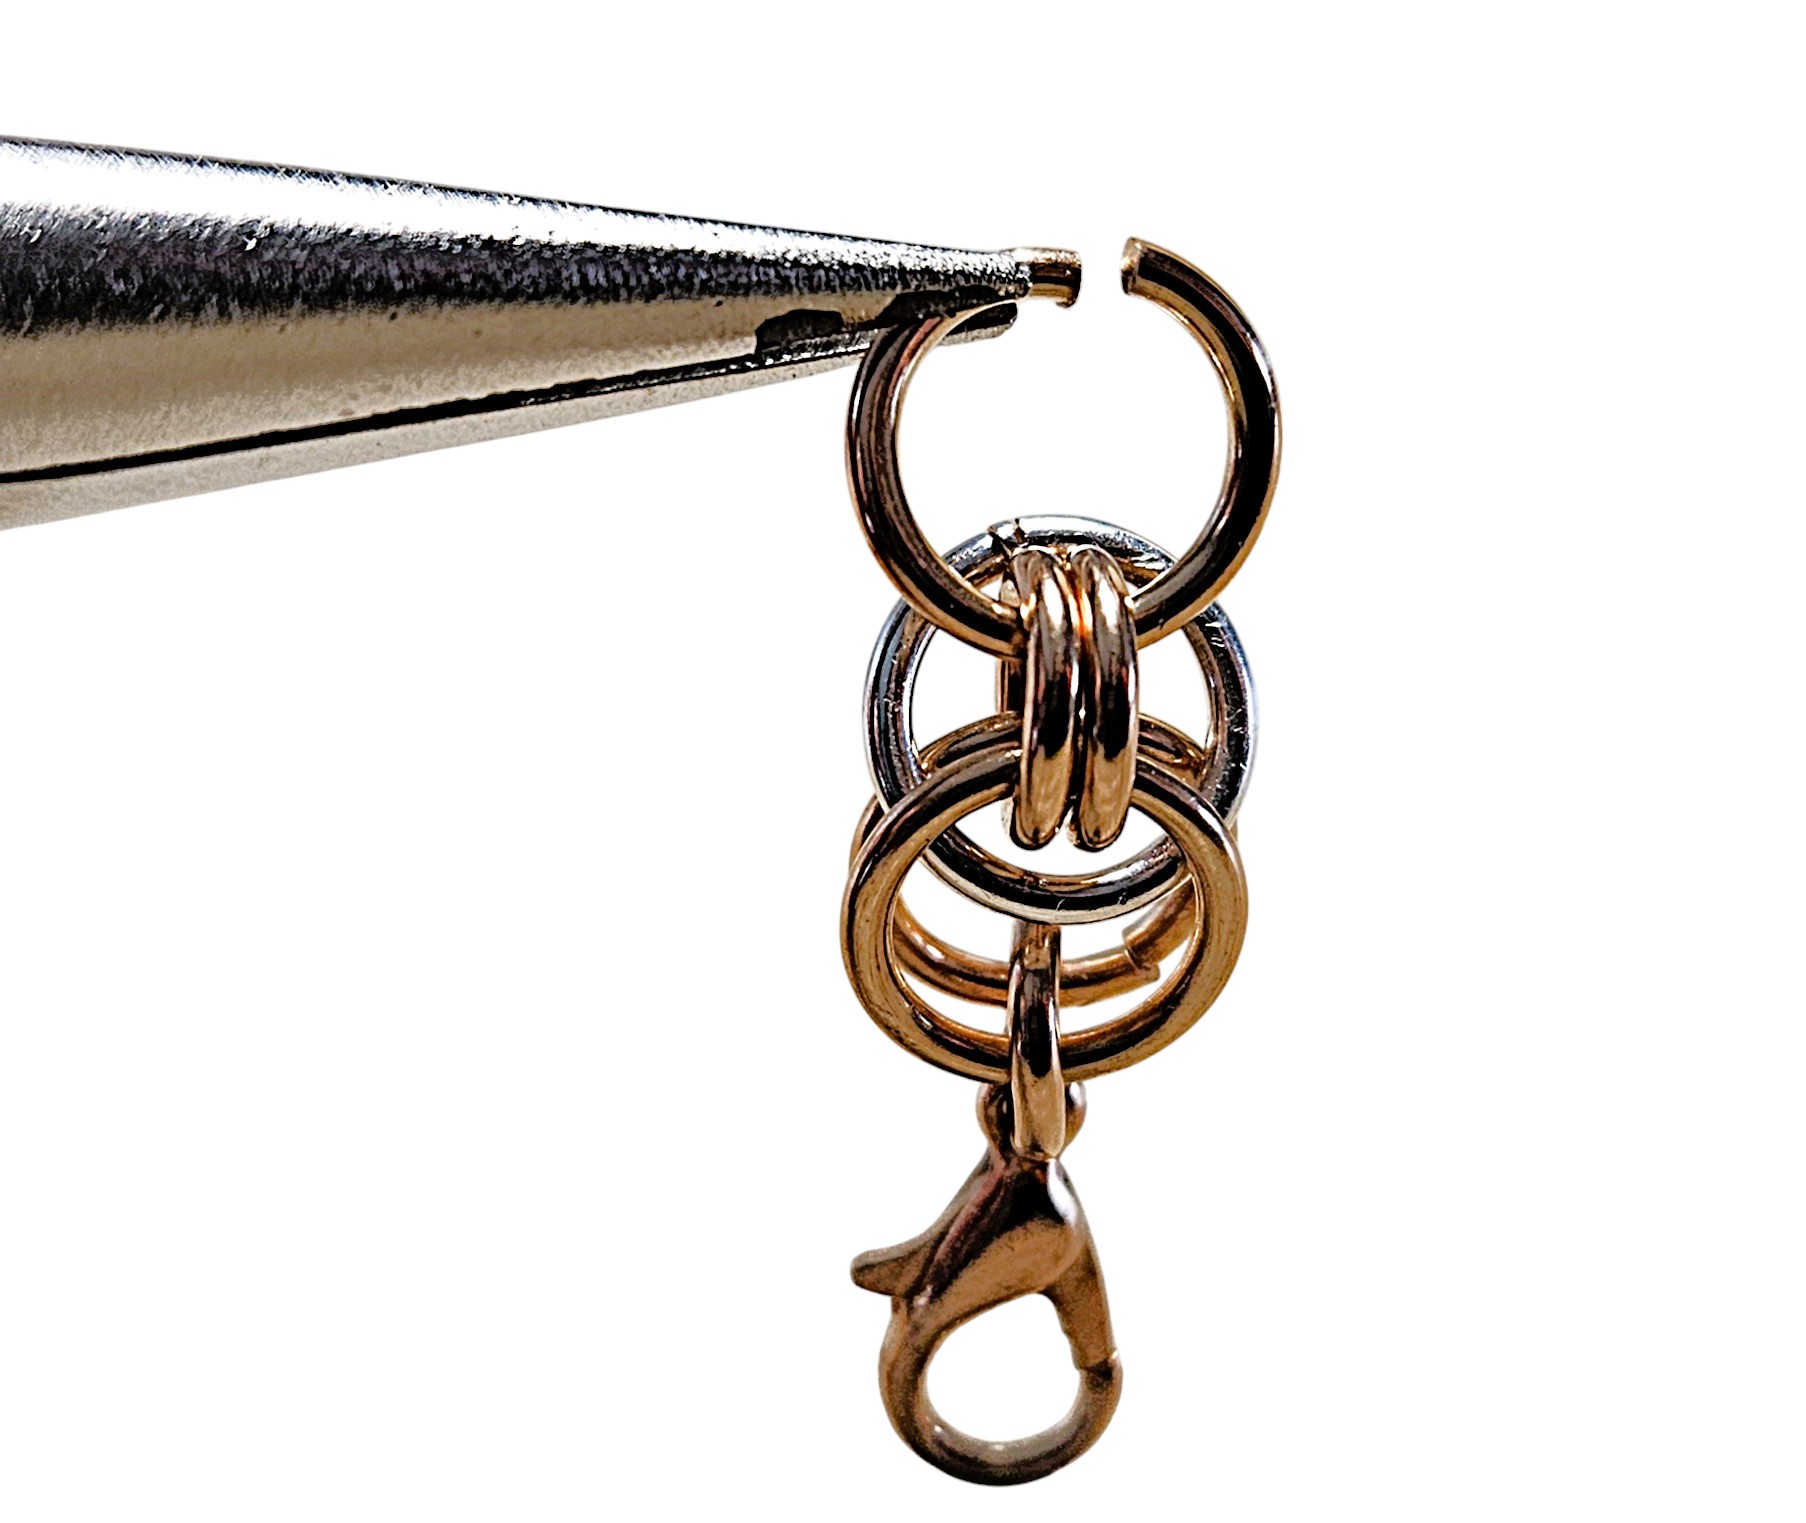
Open another large ring and weave it through the small rings, in front of the orbital ring.
Step 6:
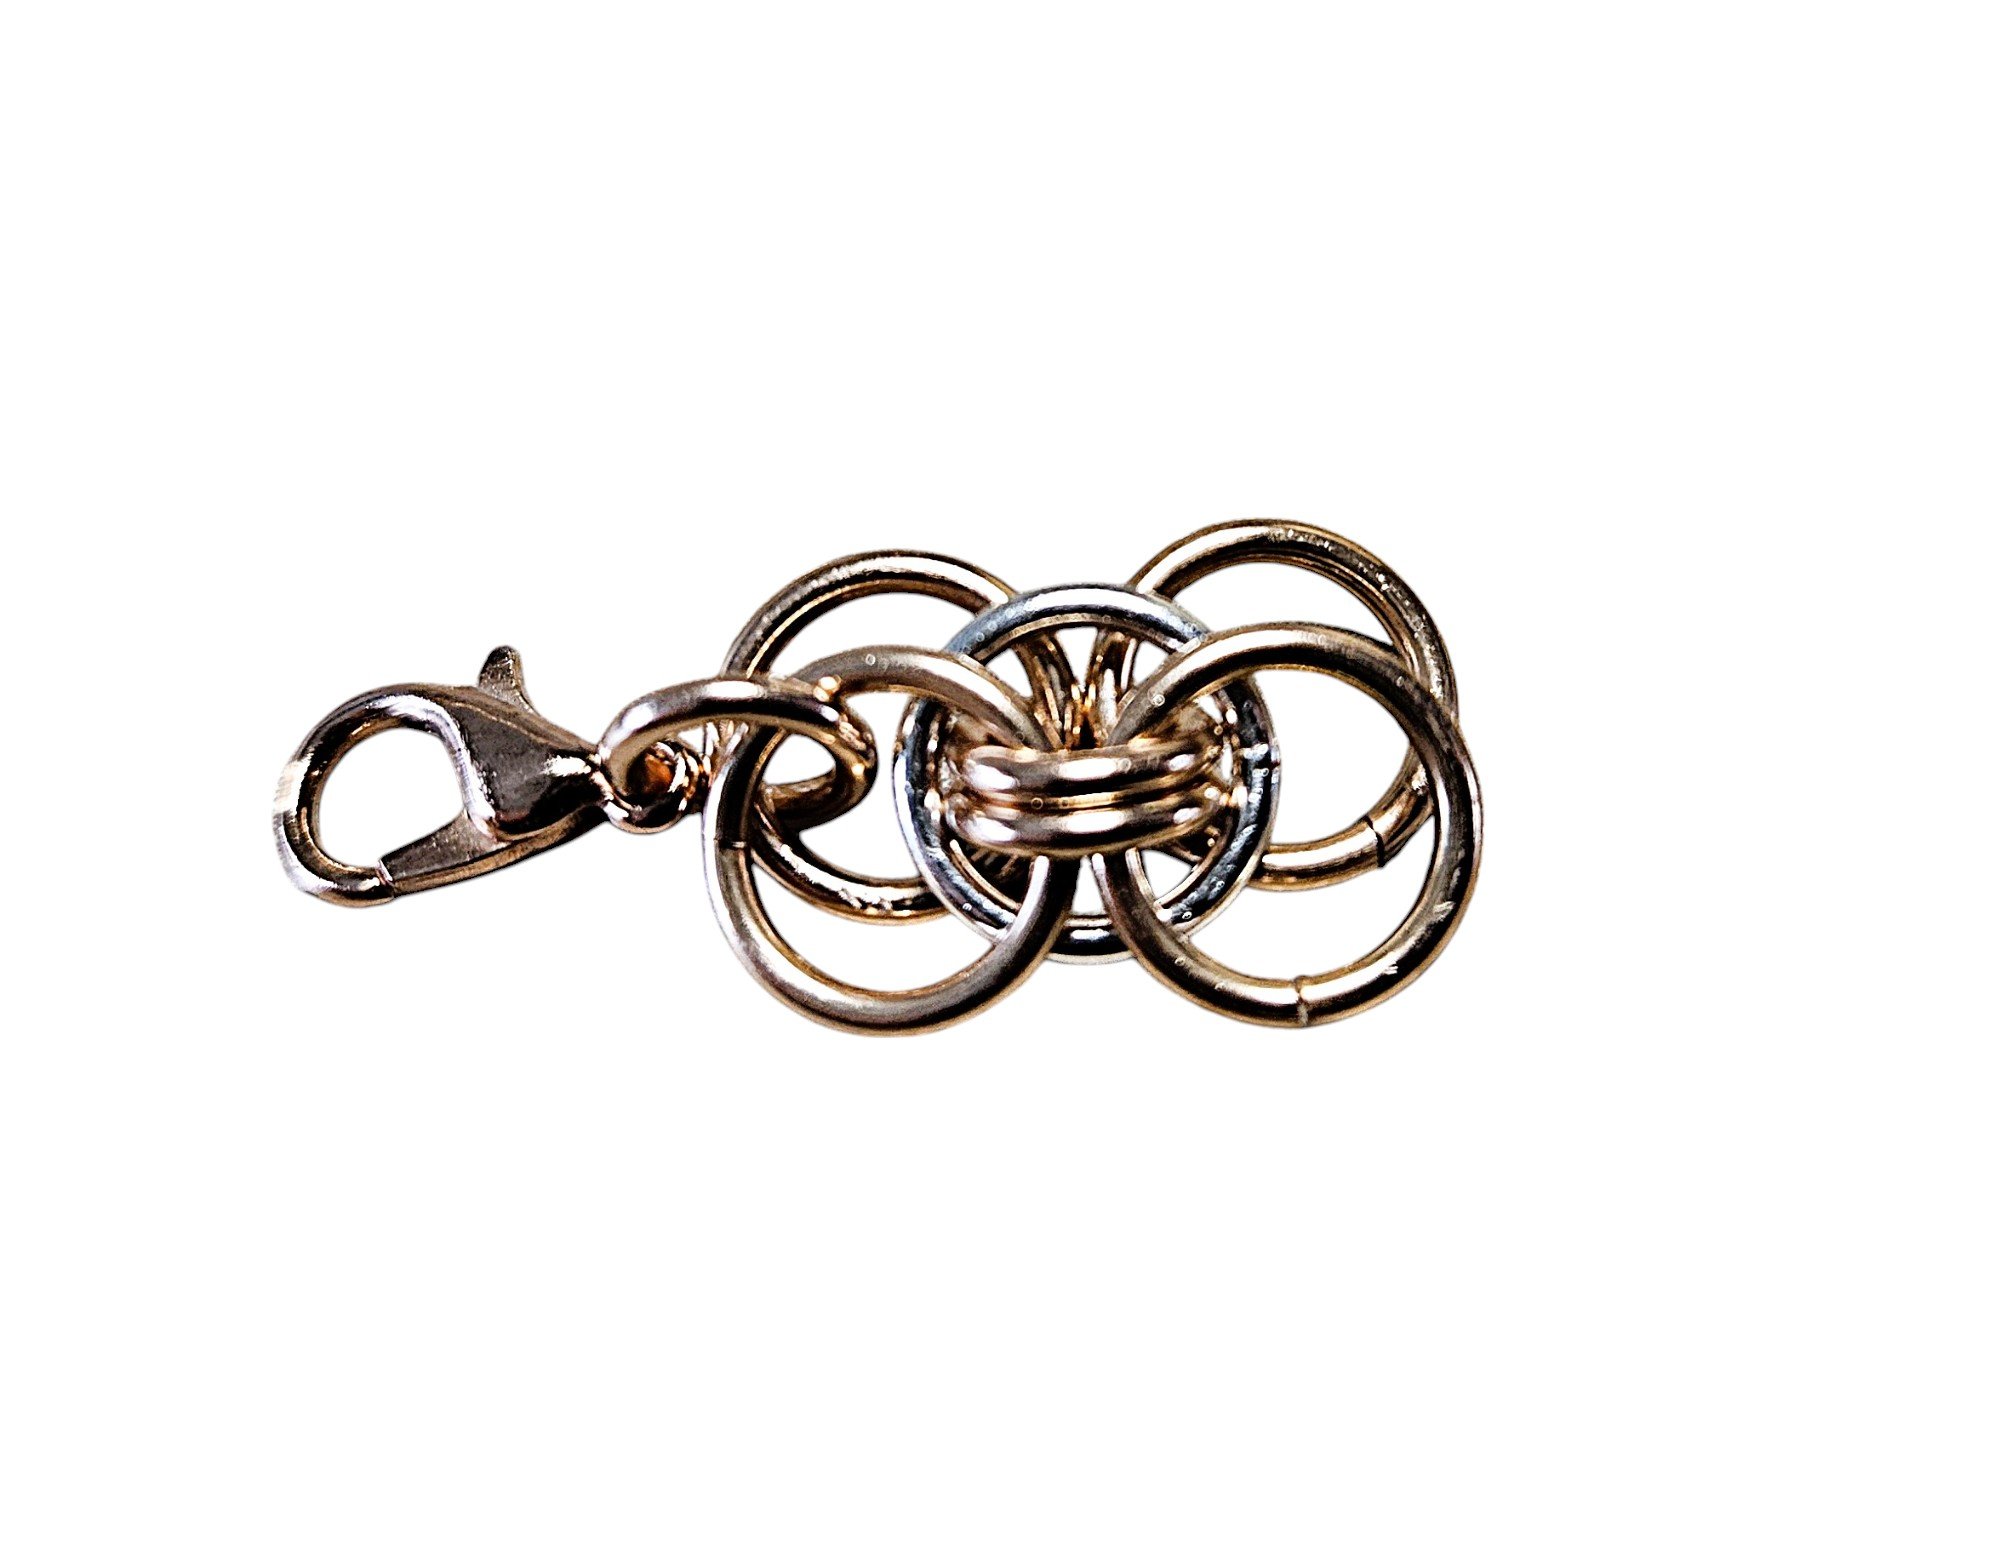
Weave another large ring through the 2 small rings on the other side of the orbital ring. your piece should now look like the pic above.
Step 7:
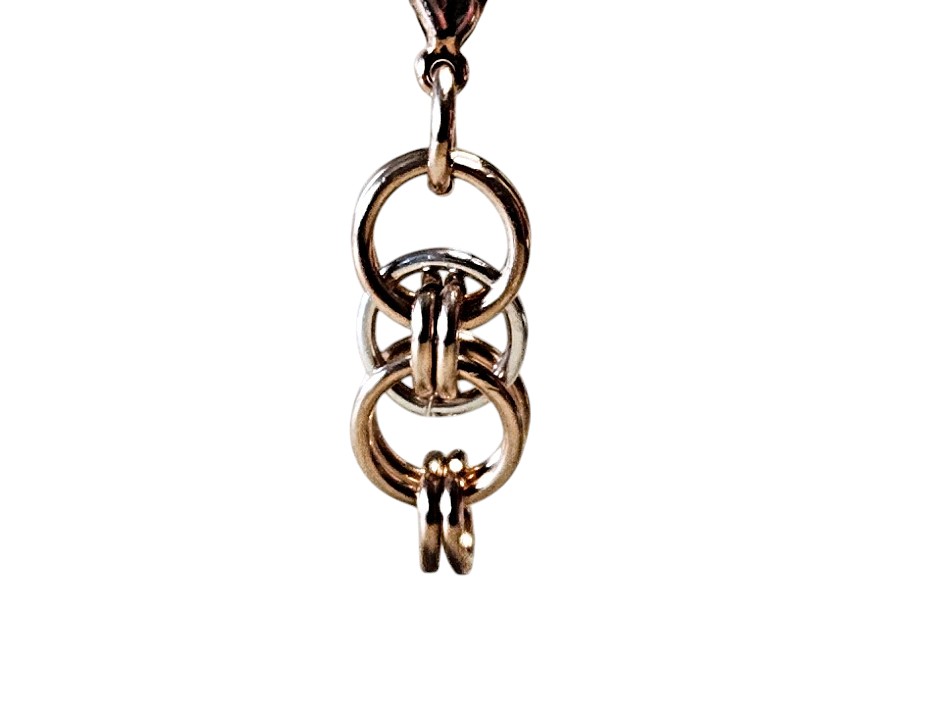
Add 2 more small ring to the 2 large rings that you just added. Now you're back to the orbital ring. Repeat steps 4-7 until you have the length of chain you want for a bracelet or necklace. Finish it off with a single small ring for the clasp.
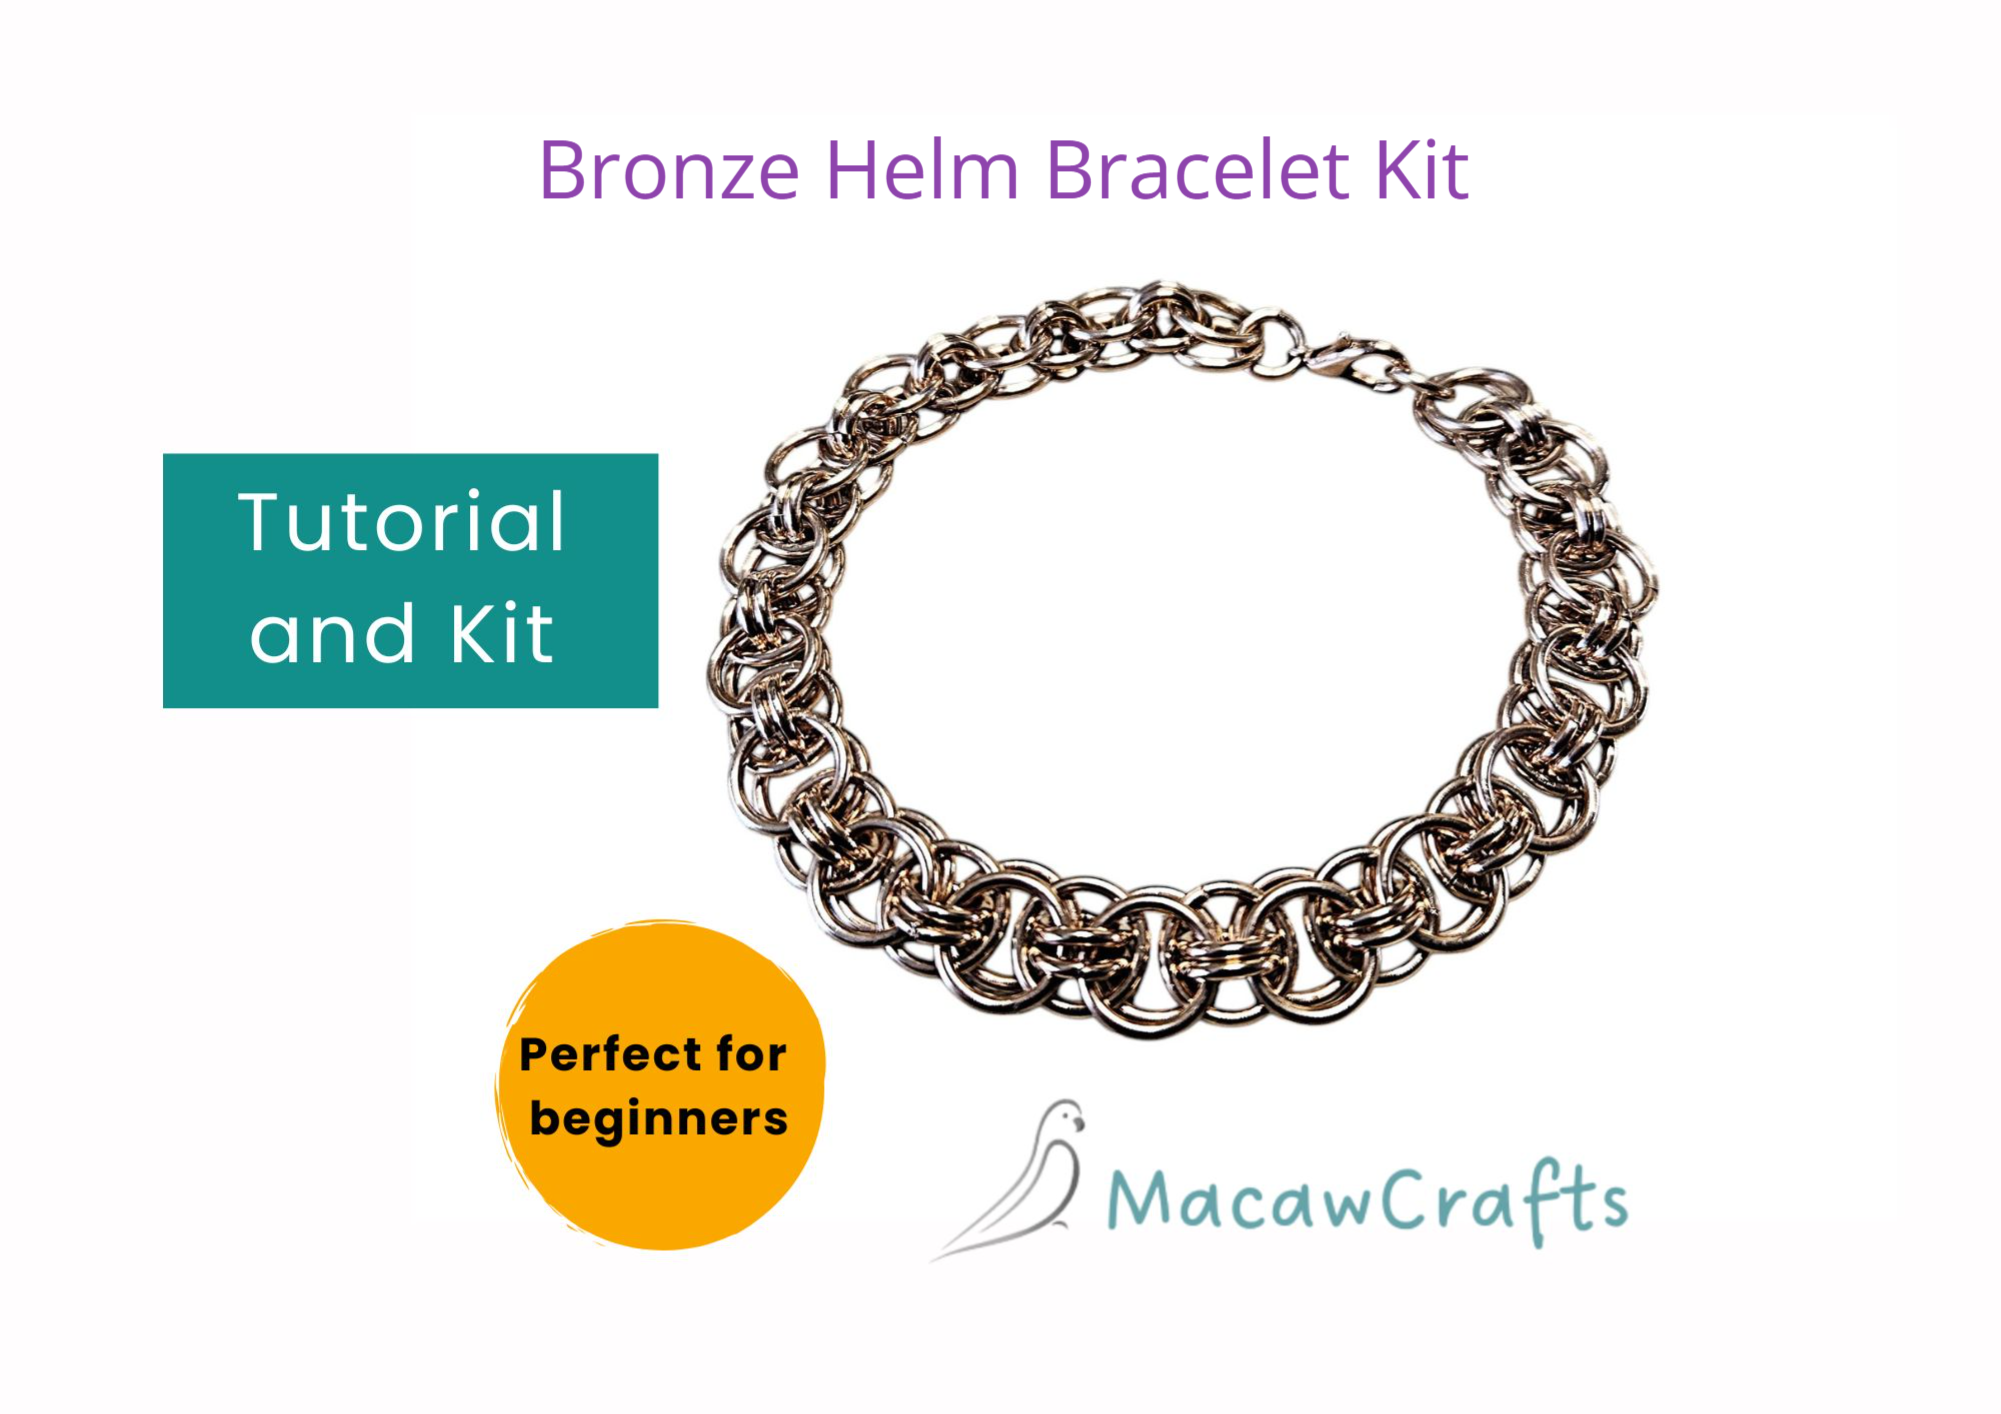
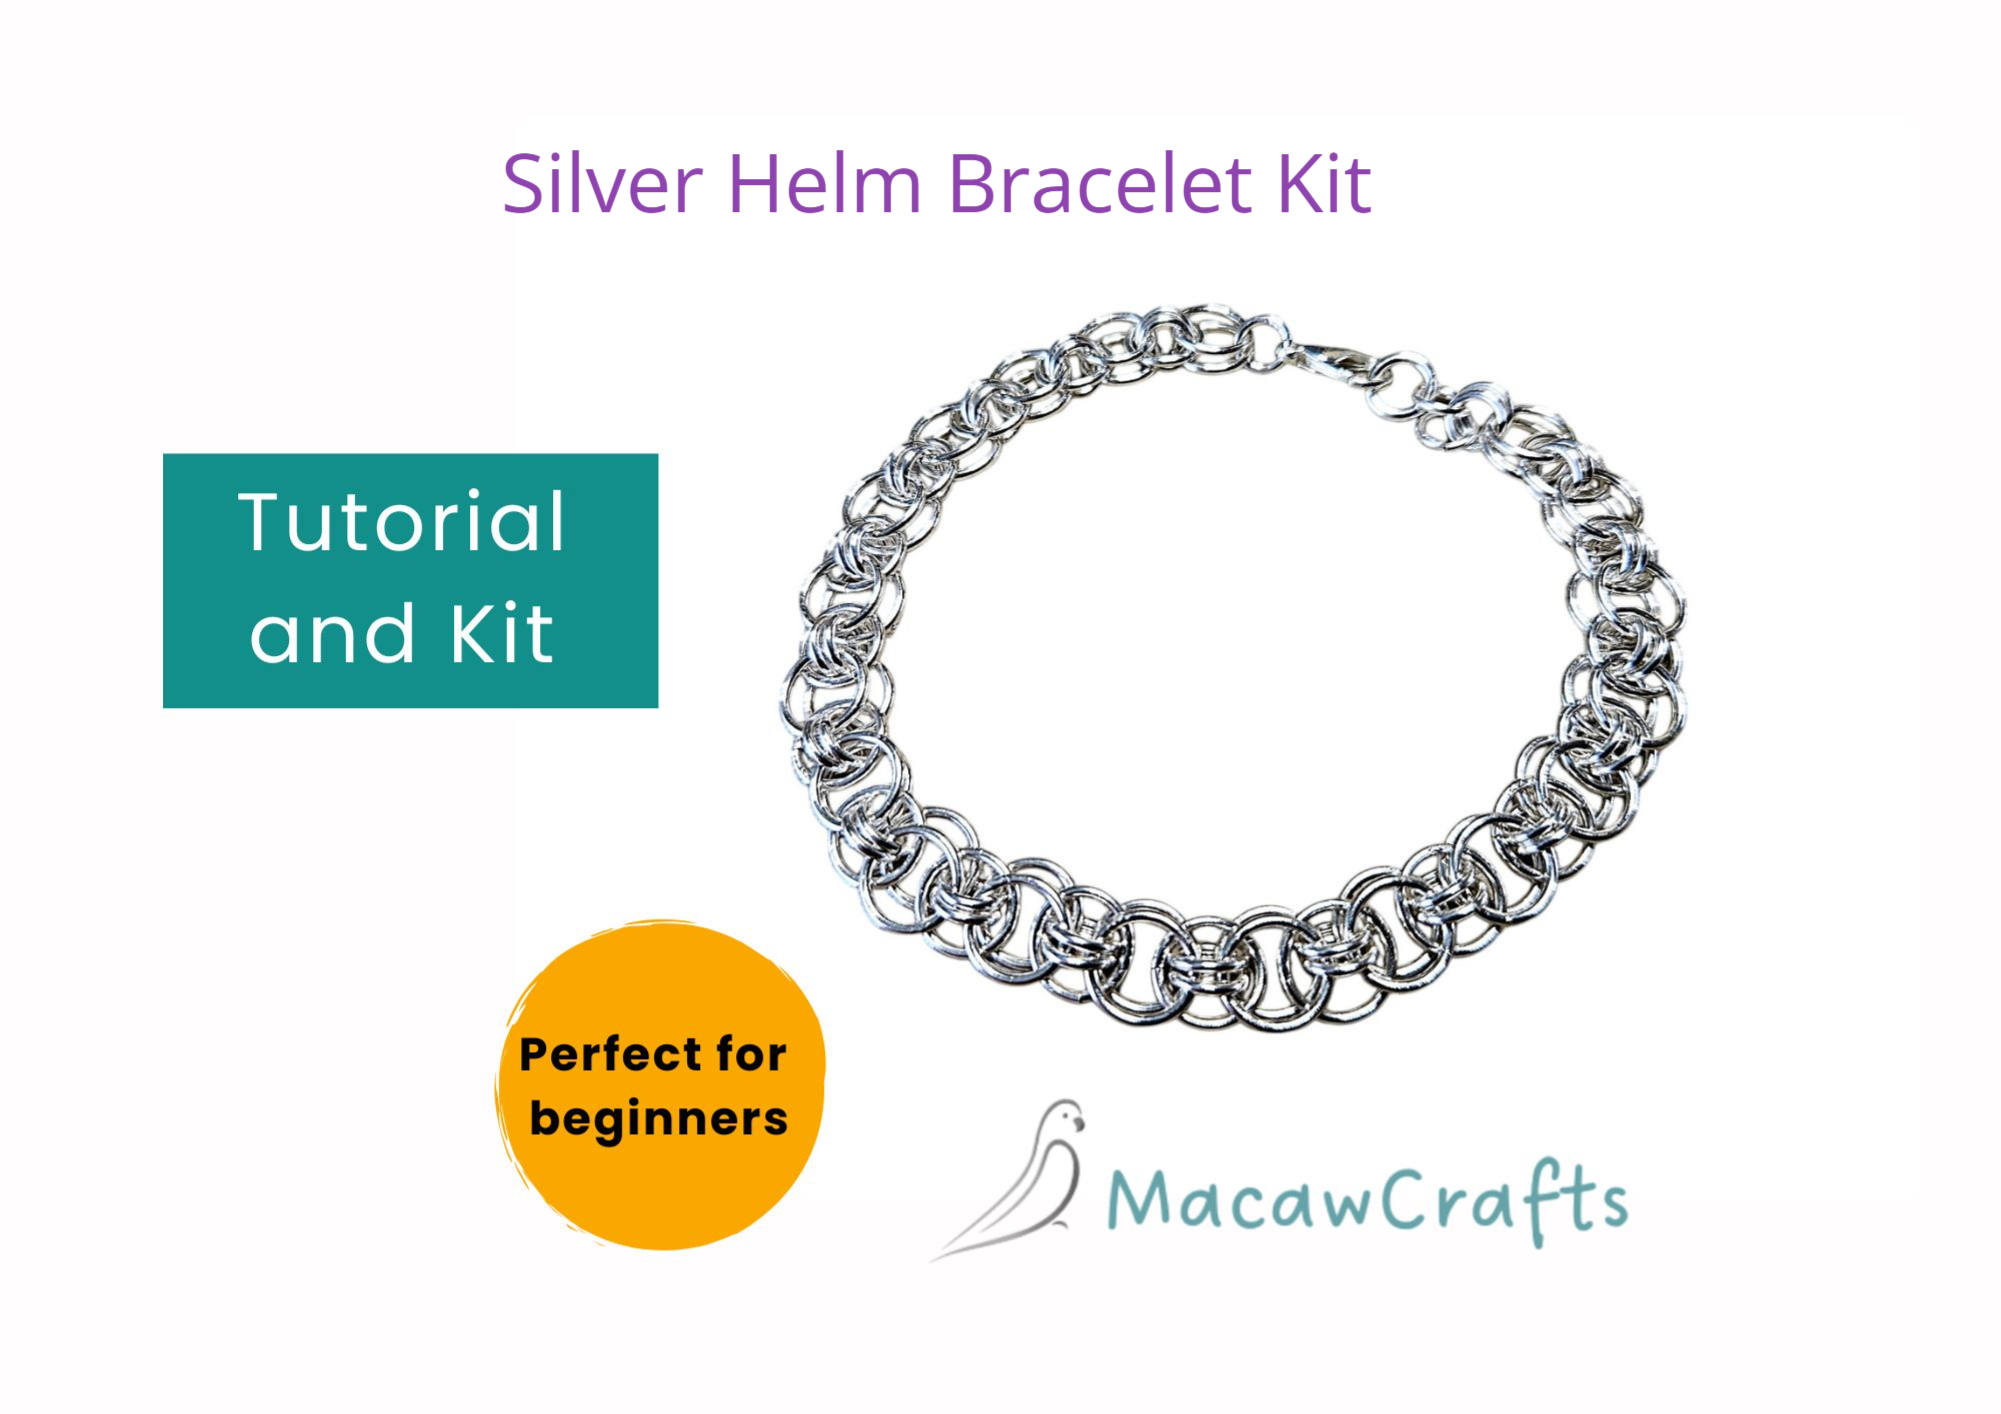
Want to get started on a helm bracelet straight away? Get the kit with everything you need. Click one of the pics below to get it now:-