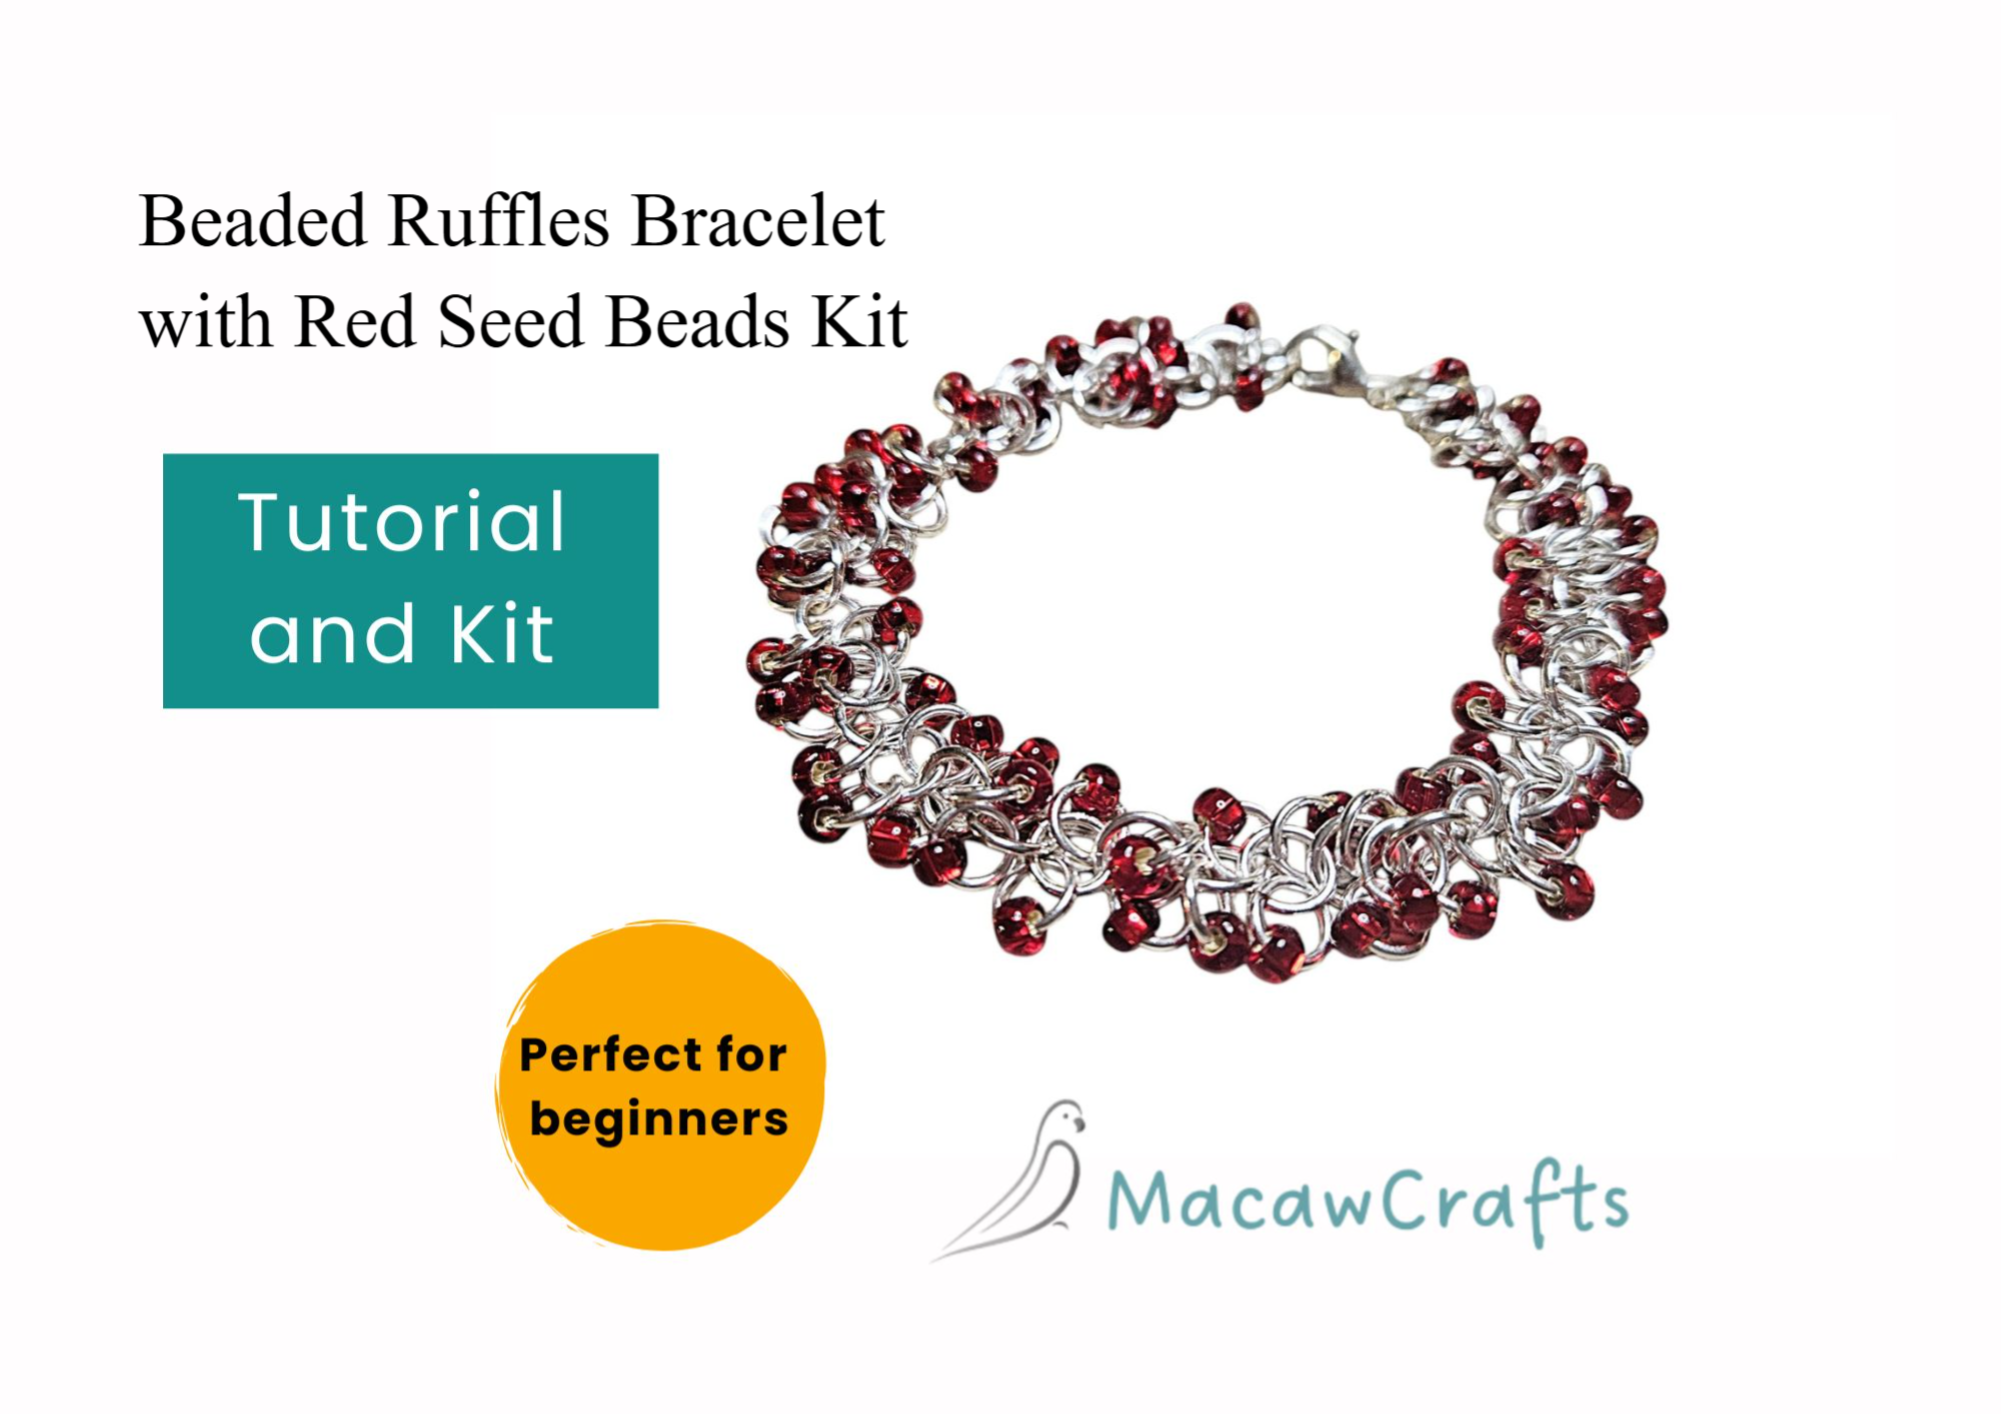
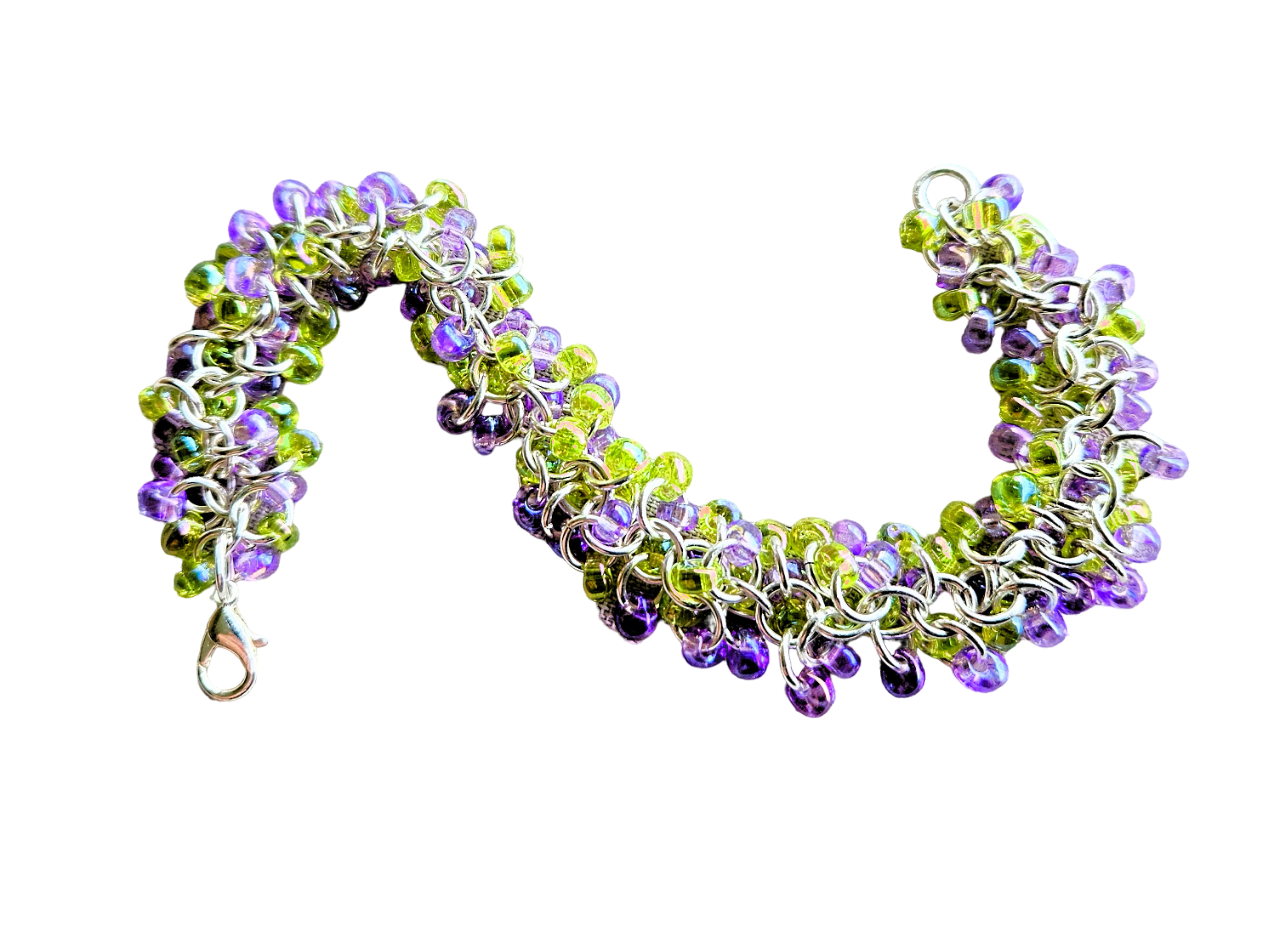
How to Make a Seed Bead and Jump Ring Bracelet with Spring Colours
Hello fellow crafters! Spring is finally in the air and it's time to get colourful with one of my favourite beginner jewelery projects - beaded ruffles bracelets. This is a perfect craft project for a rainy day, which you can complete in a couple of hours.
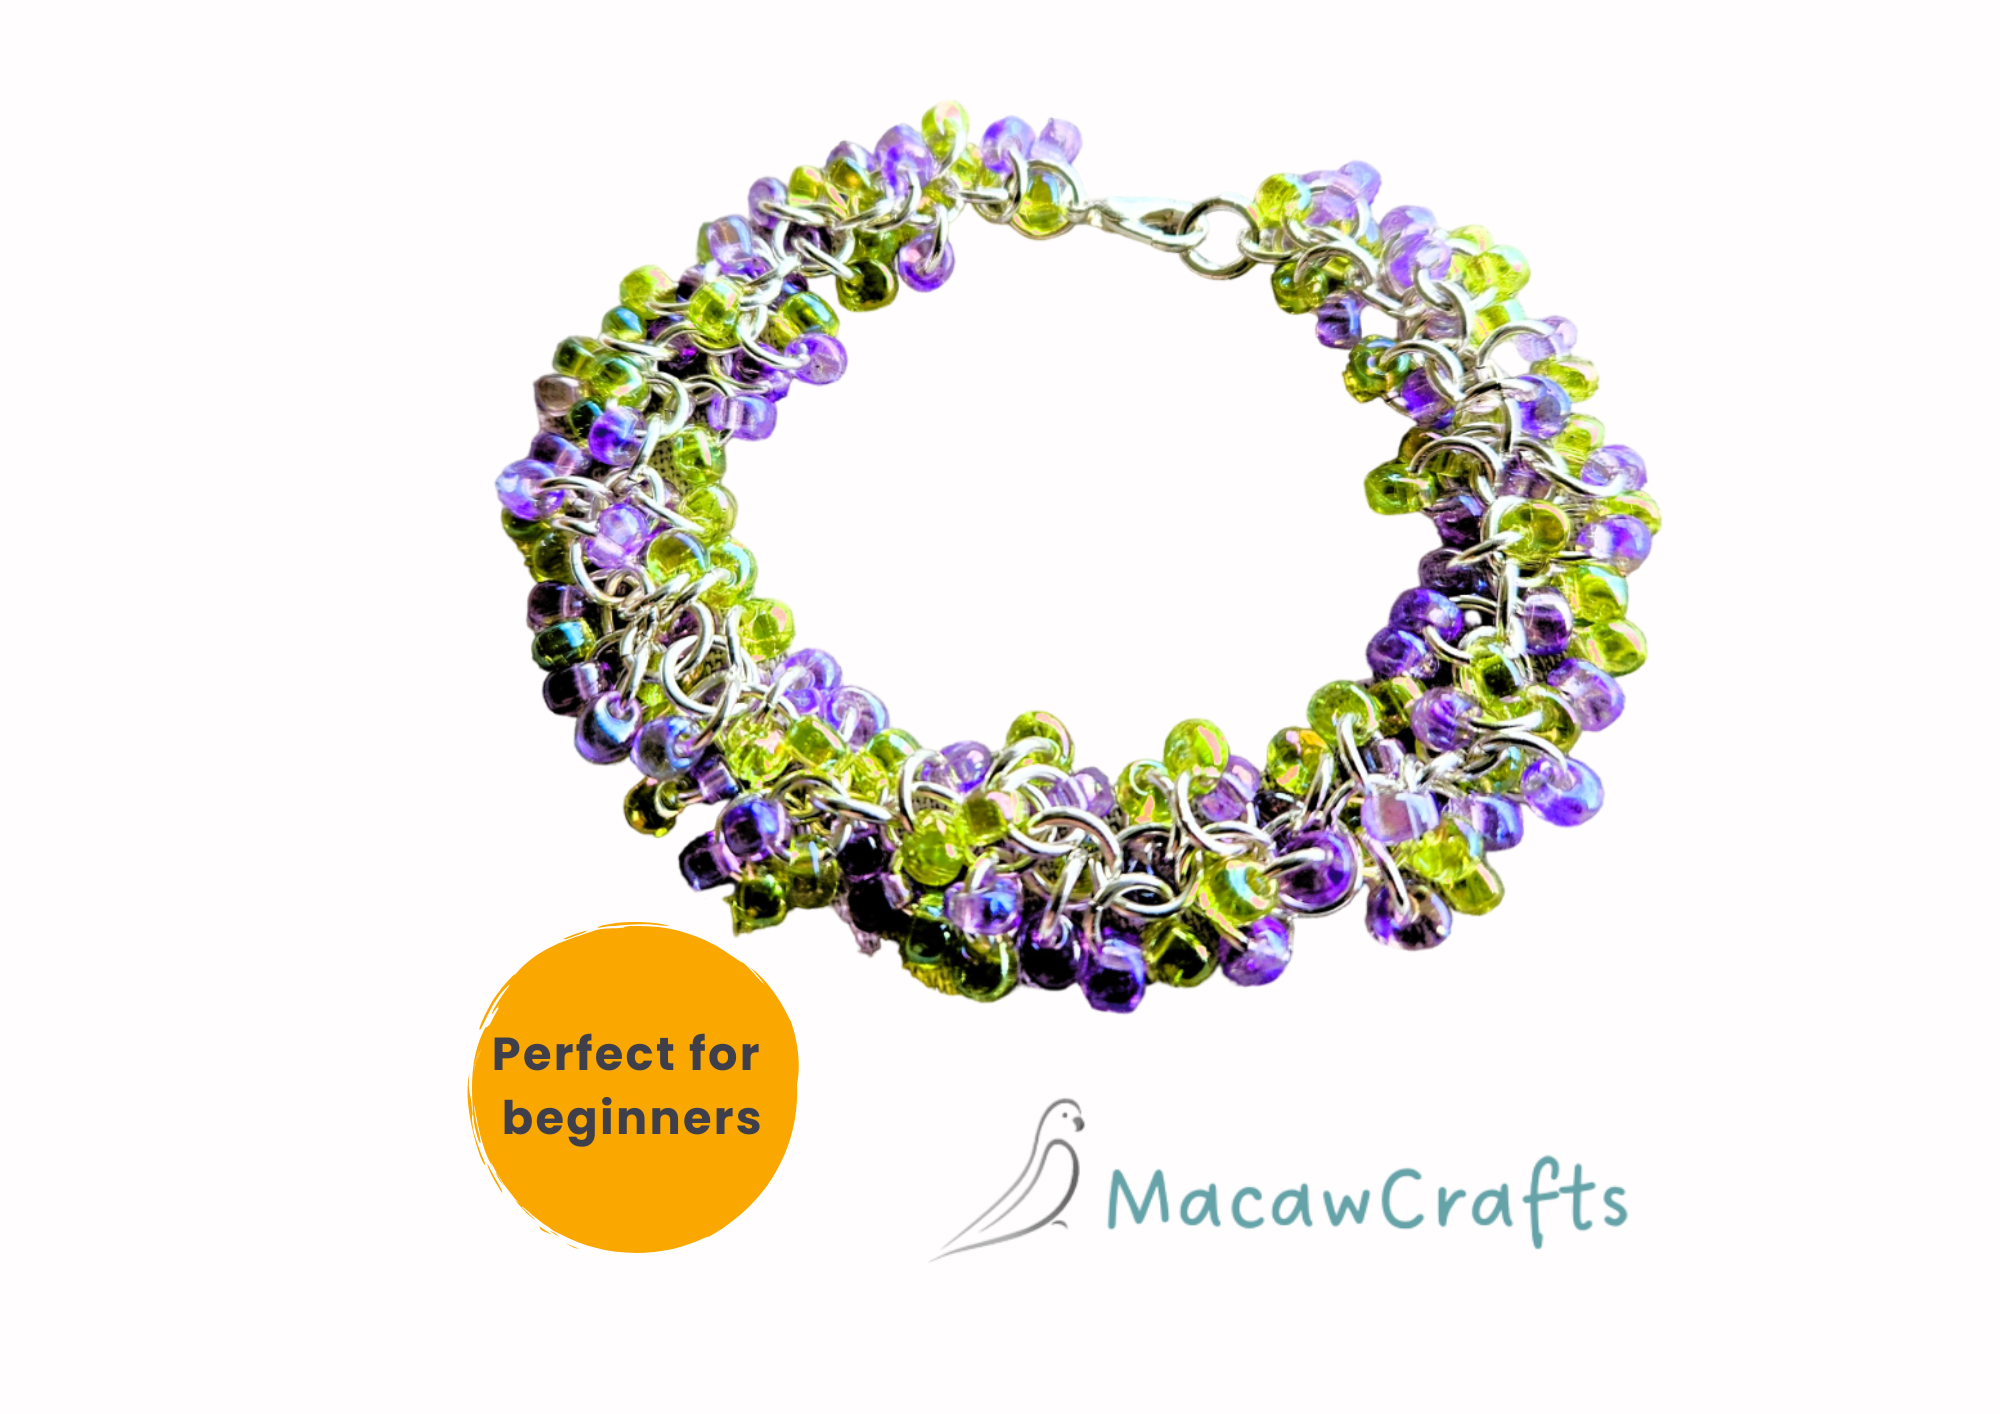
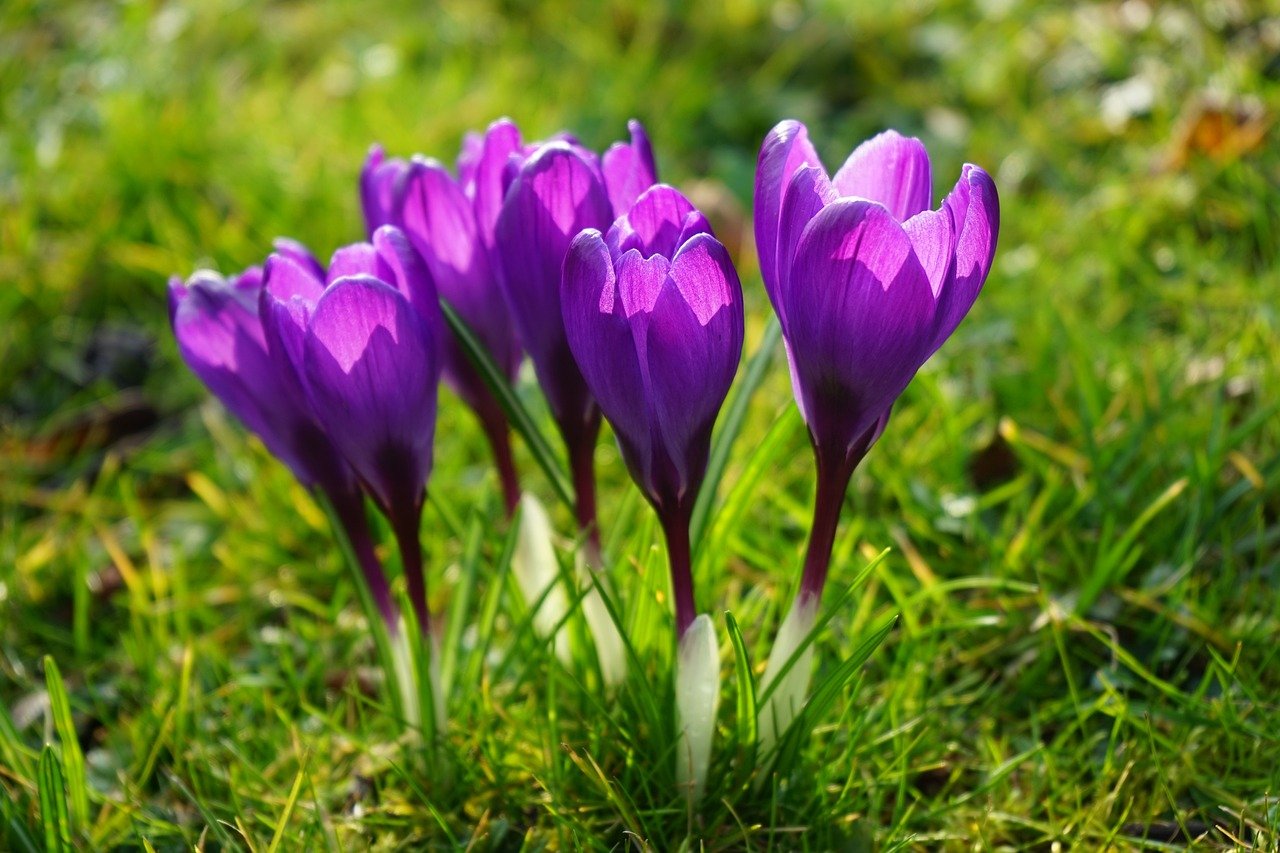
One of my favourite things about spring is seeing those colourful spring flowers growing everywhere. The colours I chose for this project are green and purple, celebrating a somewhat overlooked spring flower - crocuses.
The design of this bracelet is based on a chainmail weave called shaggy loops, but I've tweaked it a little, so I figure it's ok to give it a different name - beaded ruffles (mostly because I really don't like the name shaggy loops!). I love this weave because it's tactile and has great movement, and you can personalise it by choosing your own colours and seed bead shapes.
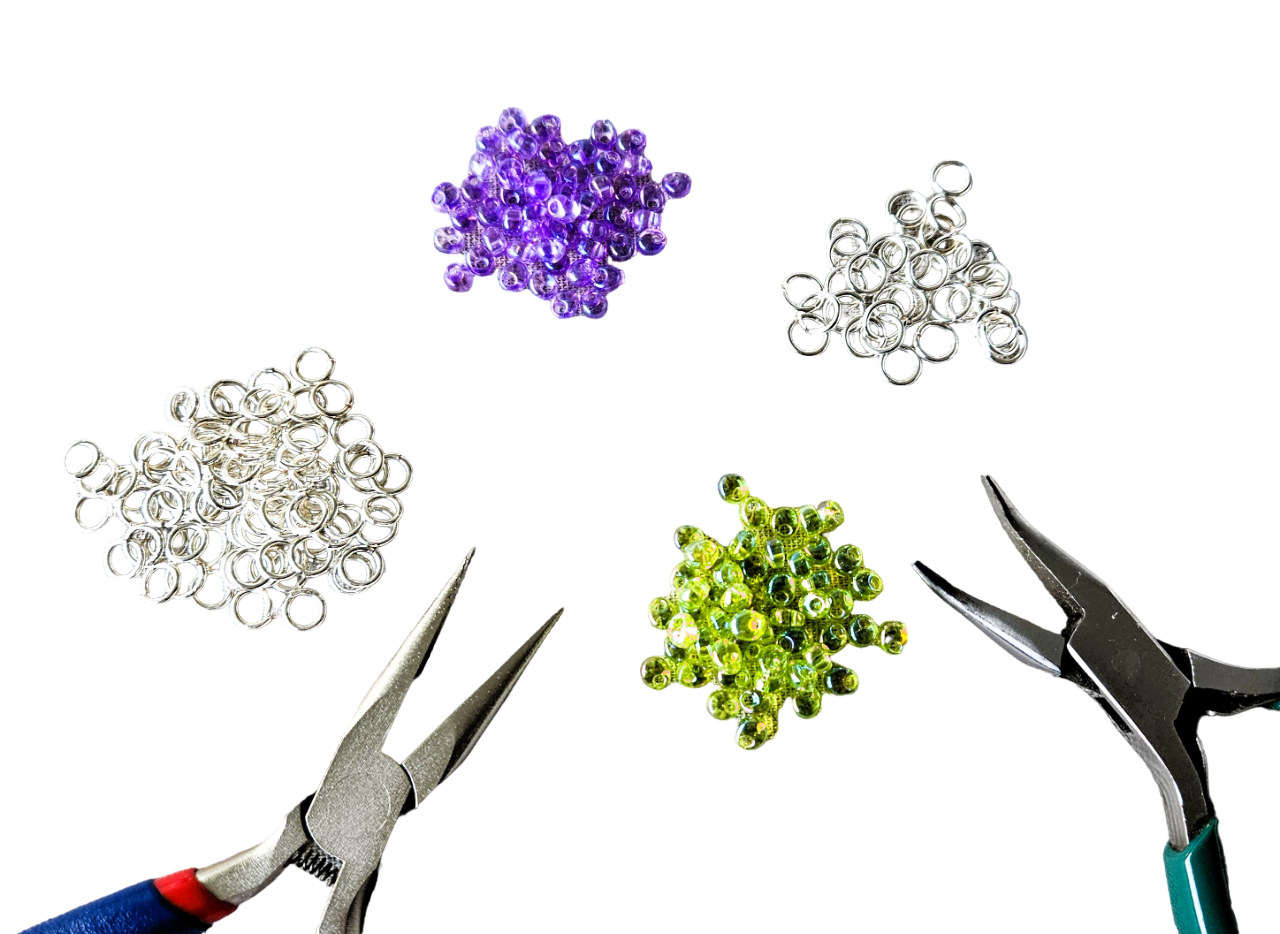
You will need:
- 160 size 6 seed beads
- 120 jump rings
- 1 clasp
- 2 pairs of smooth-jawed jewellery pliers
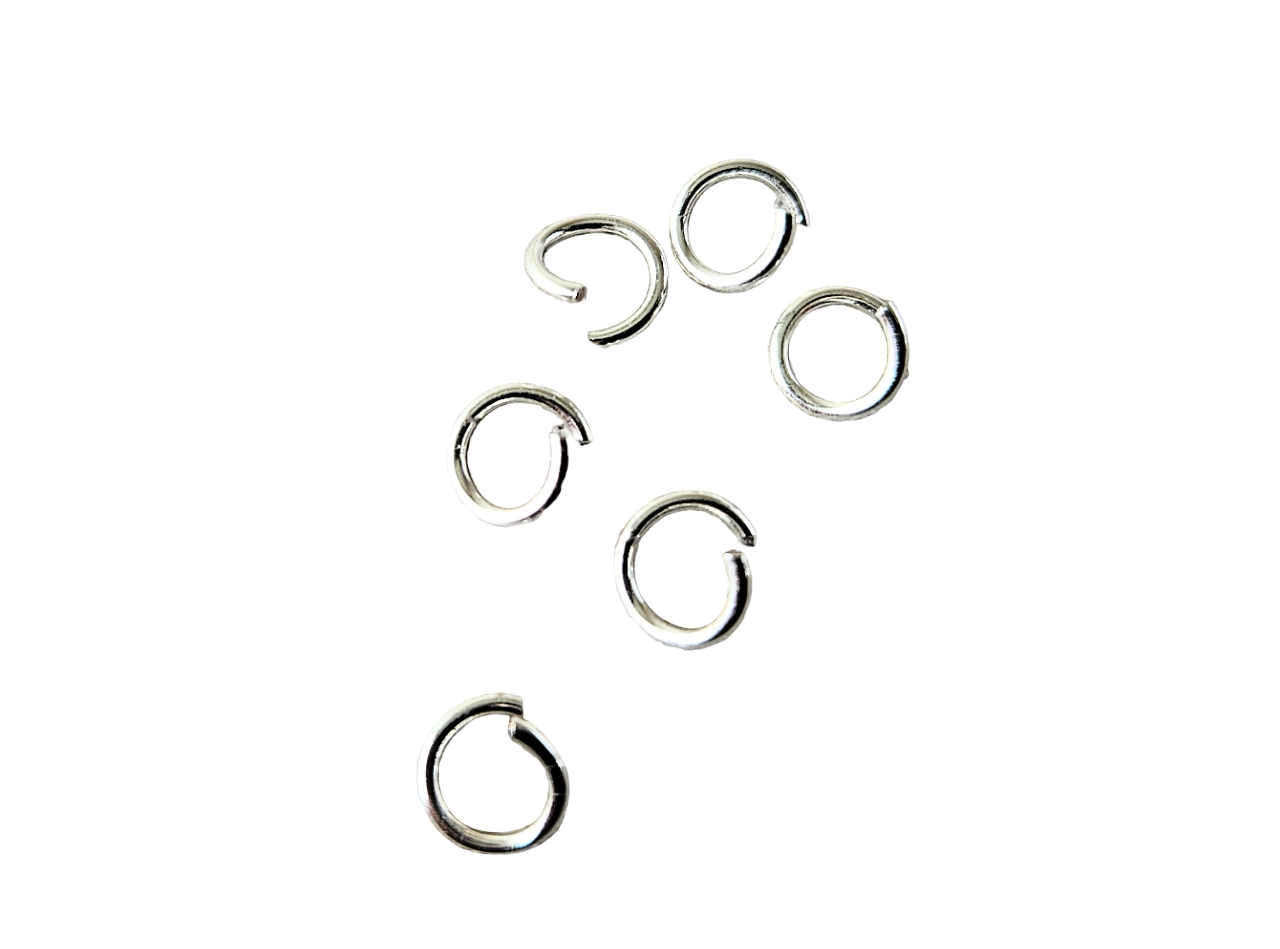
A note about the jump rings:
For this chainmail weave, the size of the jump rings is quite flexible, so you can experiment with different sizes to get the look you want. Since we're adding seed beads to these rings, you'll need the thickness of the wire to be no more than 1mm.
I am using rings with an inner diameter of 4.5mm for the rings with beads, and rings with an inner diameter of 5mm for the middle rings. I prefer this, because I think the weave hangs better with slightly larger middle rings, but the original weave normally uses rings that are all the same size, so you can do that, too.
You'll be opening and closing a lot of jump rings to make this bracelet, so I've created a short video for anyone who is not sure of the correct technique, which you can watch here.
A note about the seed beads:
You need the seed beads you choose to have holes large enough to slip through your rings, so quality seed beads that are uniform in size. I've been through the frustration of trying to use cheap seed beads and having half of them not fit or get stuck, so go for toho or miyuki seed beads to avoid the pain!
Beaded Ruffles Bracelet with Spring Colours Tutorial
Step 1:
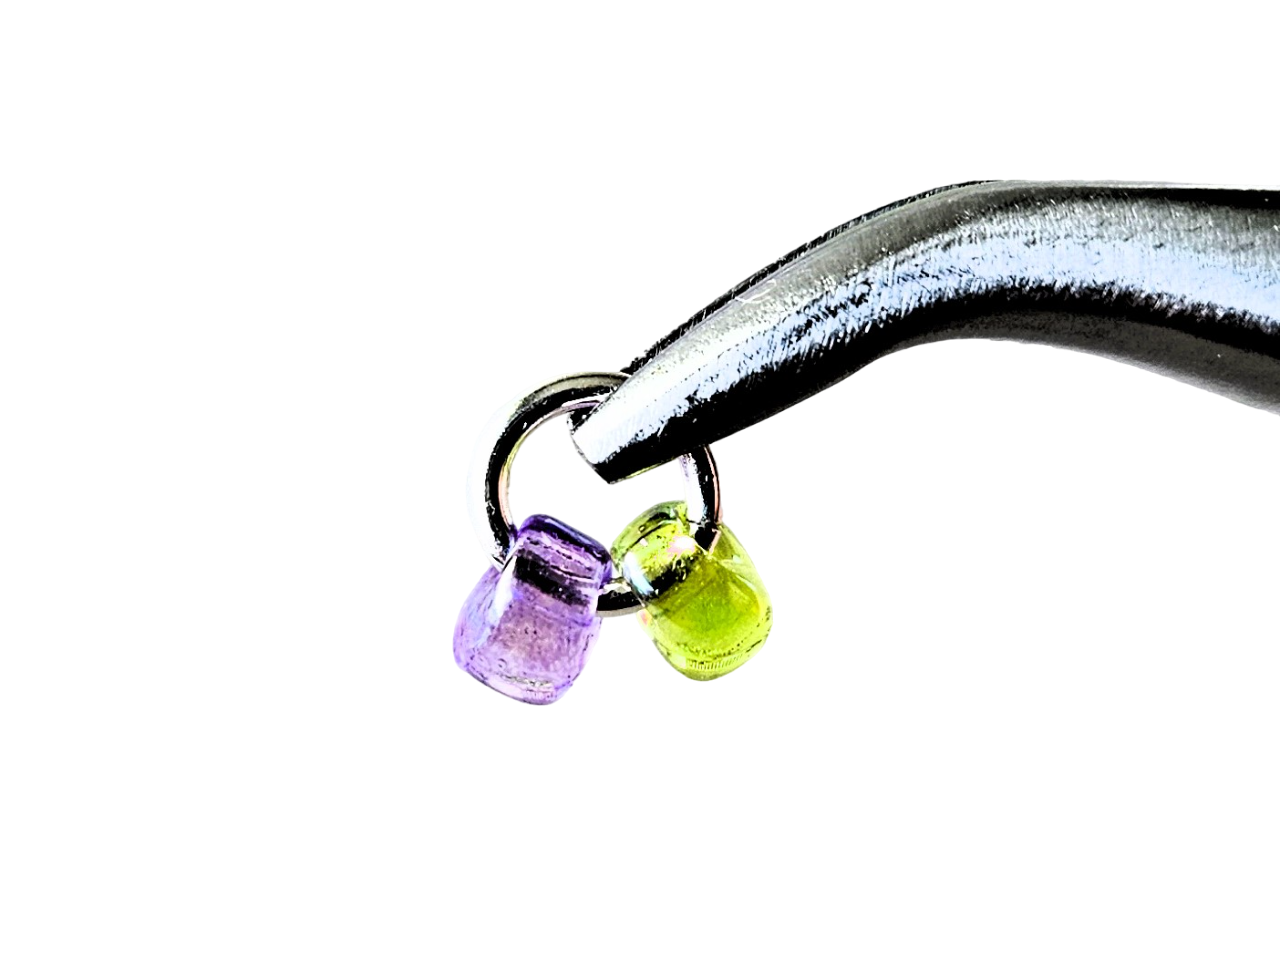
Open a 4.5mm ring, add a purple and a green bead (or whatever colours you're using), then close the ring. If you want to see more of the rings in your bracelet, just add one seed bead per ring at this stage.
Step 2:
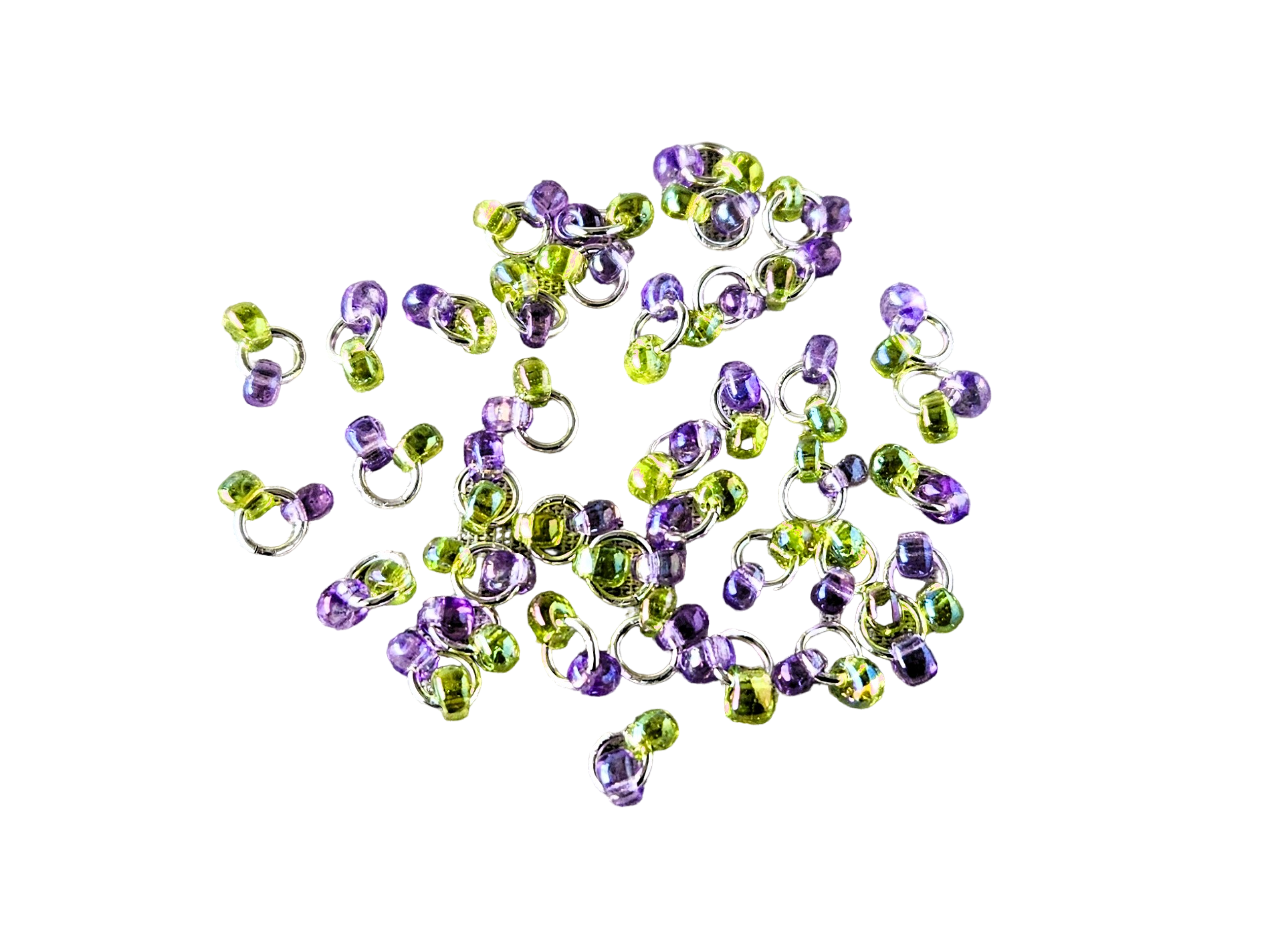
Repeat step 1 for all your 4.5mm rings and seed beads.
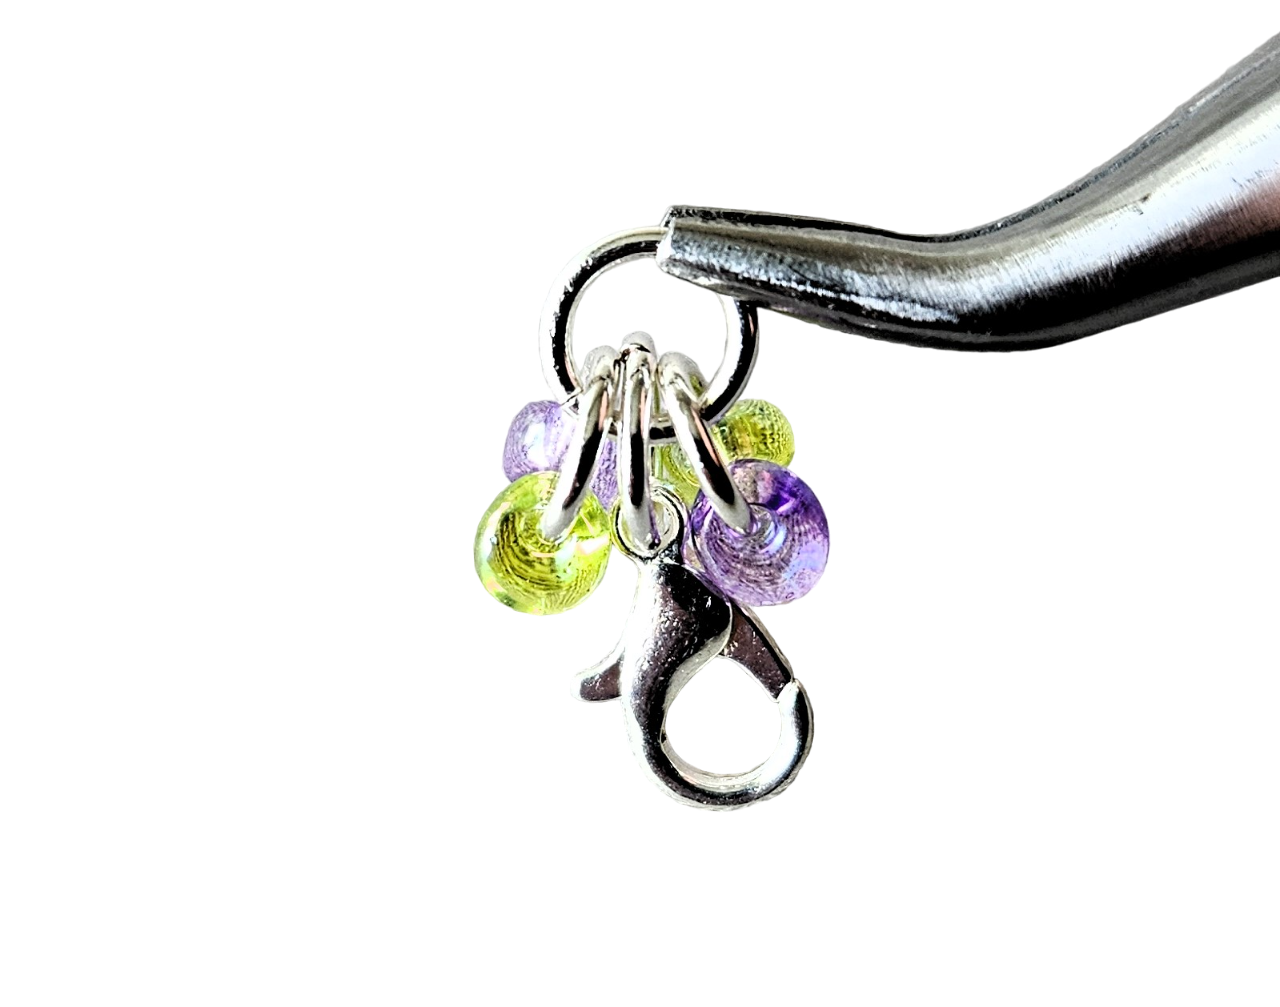
Step 3:
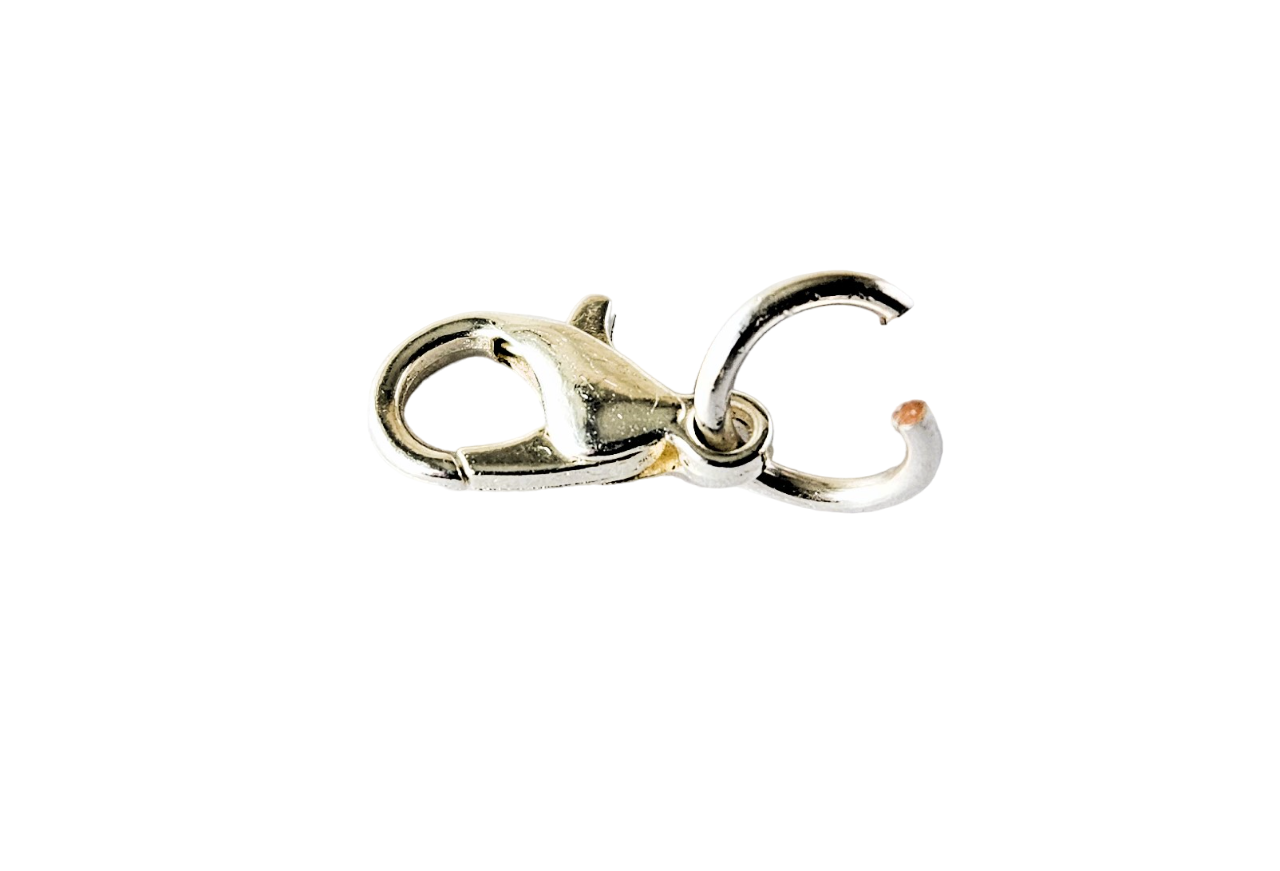
Open a 5mm ring, push it through the hole in the clasp, then close.
Step 4:
The next part is a lot easier if you don't need to put your work down all the time, so open all your 5mm rings before you go to the next step.
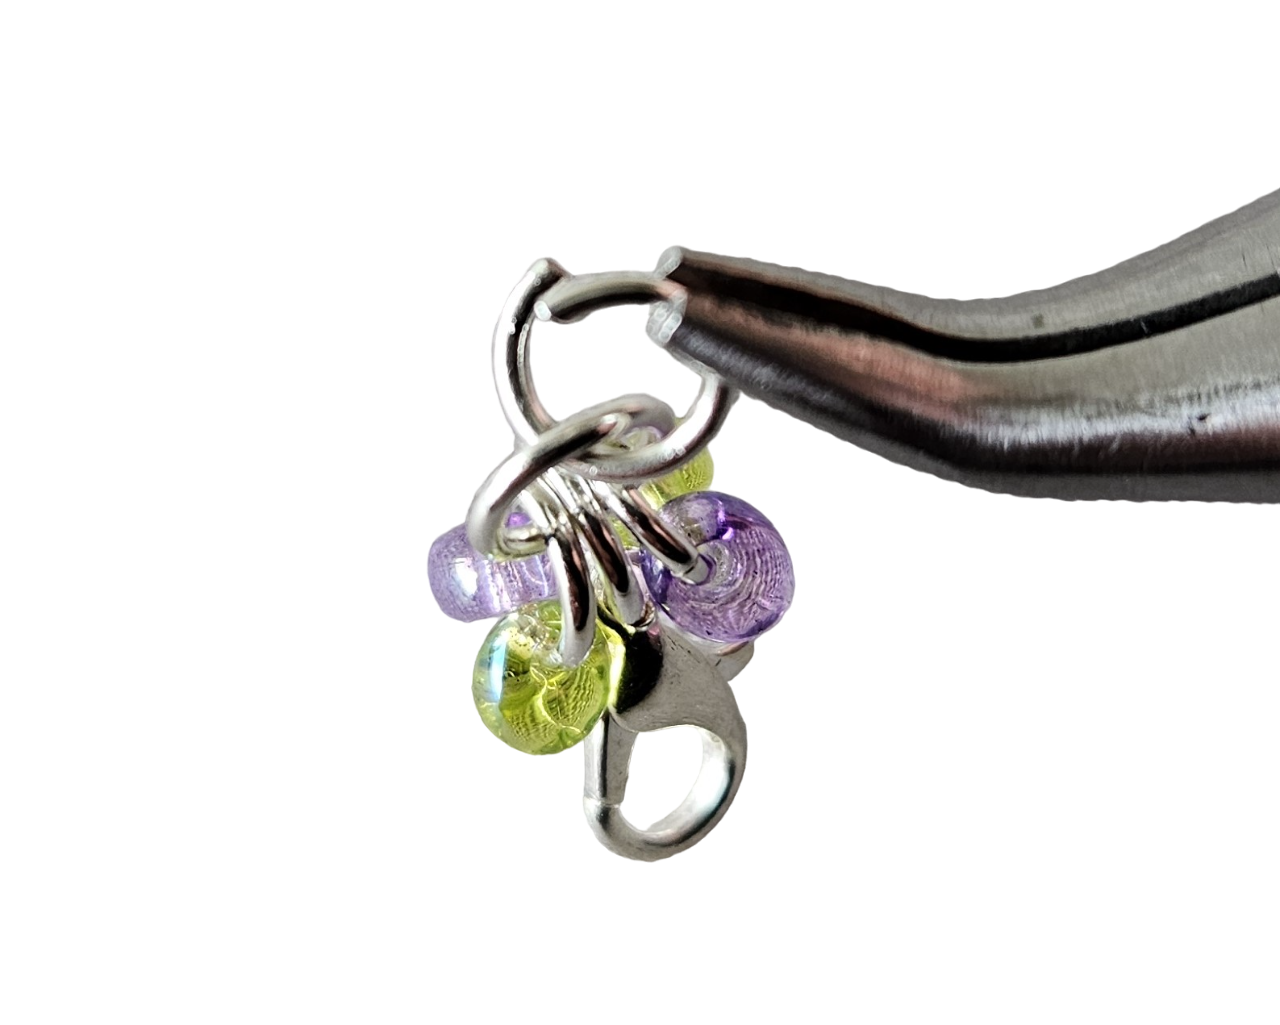
Step 5:

Add one of your opened 5mm rings to the first one, then hold it with a pair of pliers while you drop one of your beaded rings onto it.
Step 6:
Hold the open ring on the other side and drop a second beaded ring on the other side. The first 5mm ring that is attached to the clasp should be in between your two beaded rings. Now you can close the top 5mm ring.
Step 7:
Add your next 5mm ring and leave it open to add the beaded rings...
Step 8:
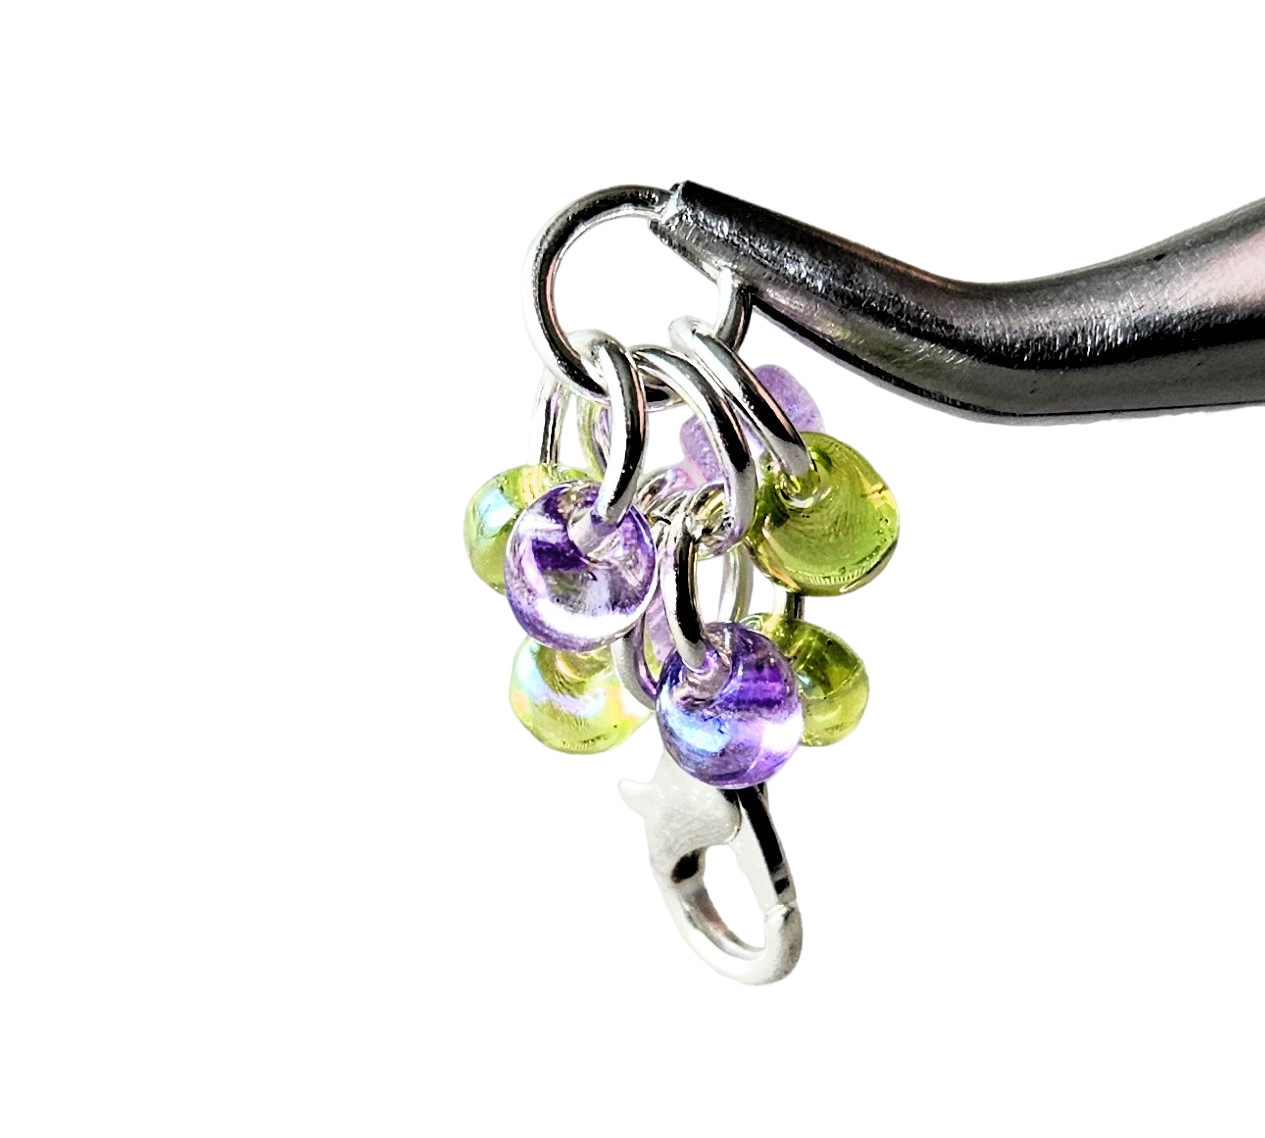
Add two more beaded rings in the same way as steps 5 and 6, then close the 5mm ring. And that's it! Keep going until your bracelet is the length you want.
Step 9:
Finish your bracelet off with a final ring for your clasp. You can use a split ring, or just a normal jump ring.
Want to get started on your DIY bracelet straight away? Get the kit with everything you need, or order just the rings if you have your own seed beads and clasp. Click one of the pics below to shop now:-