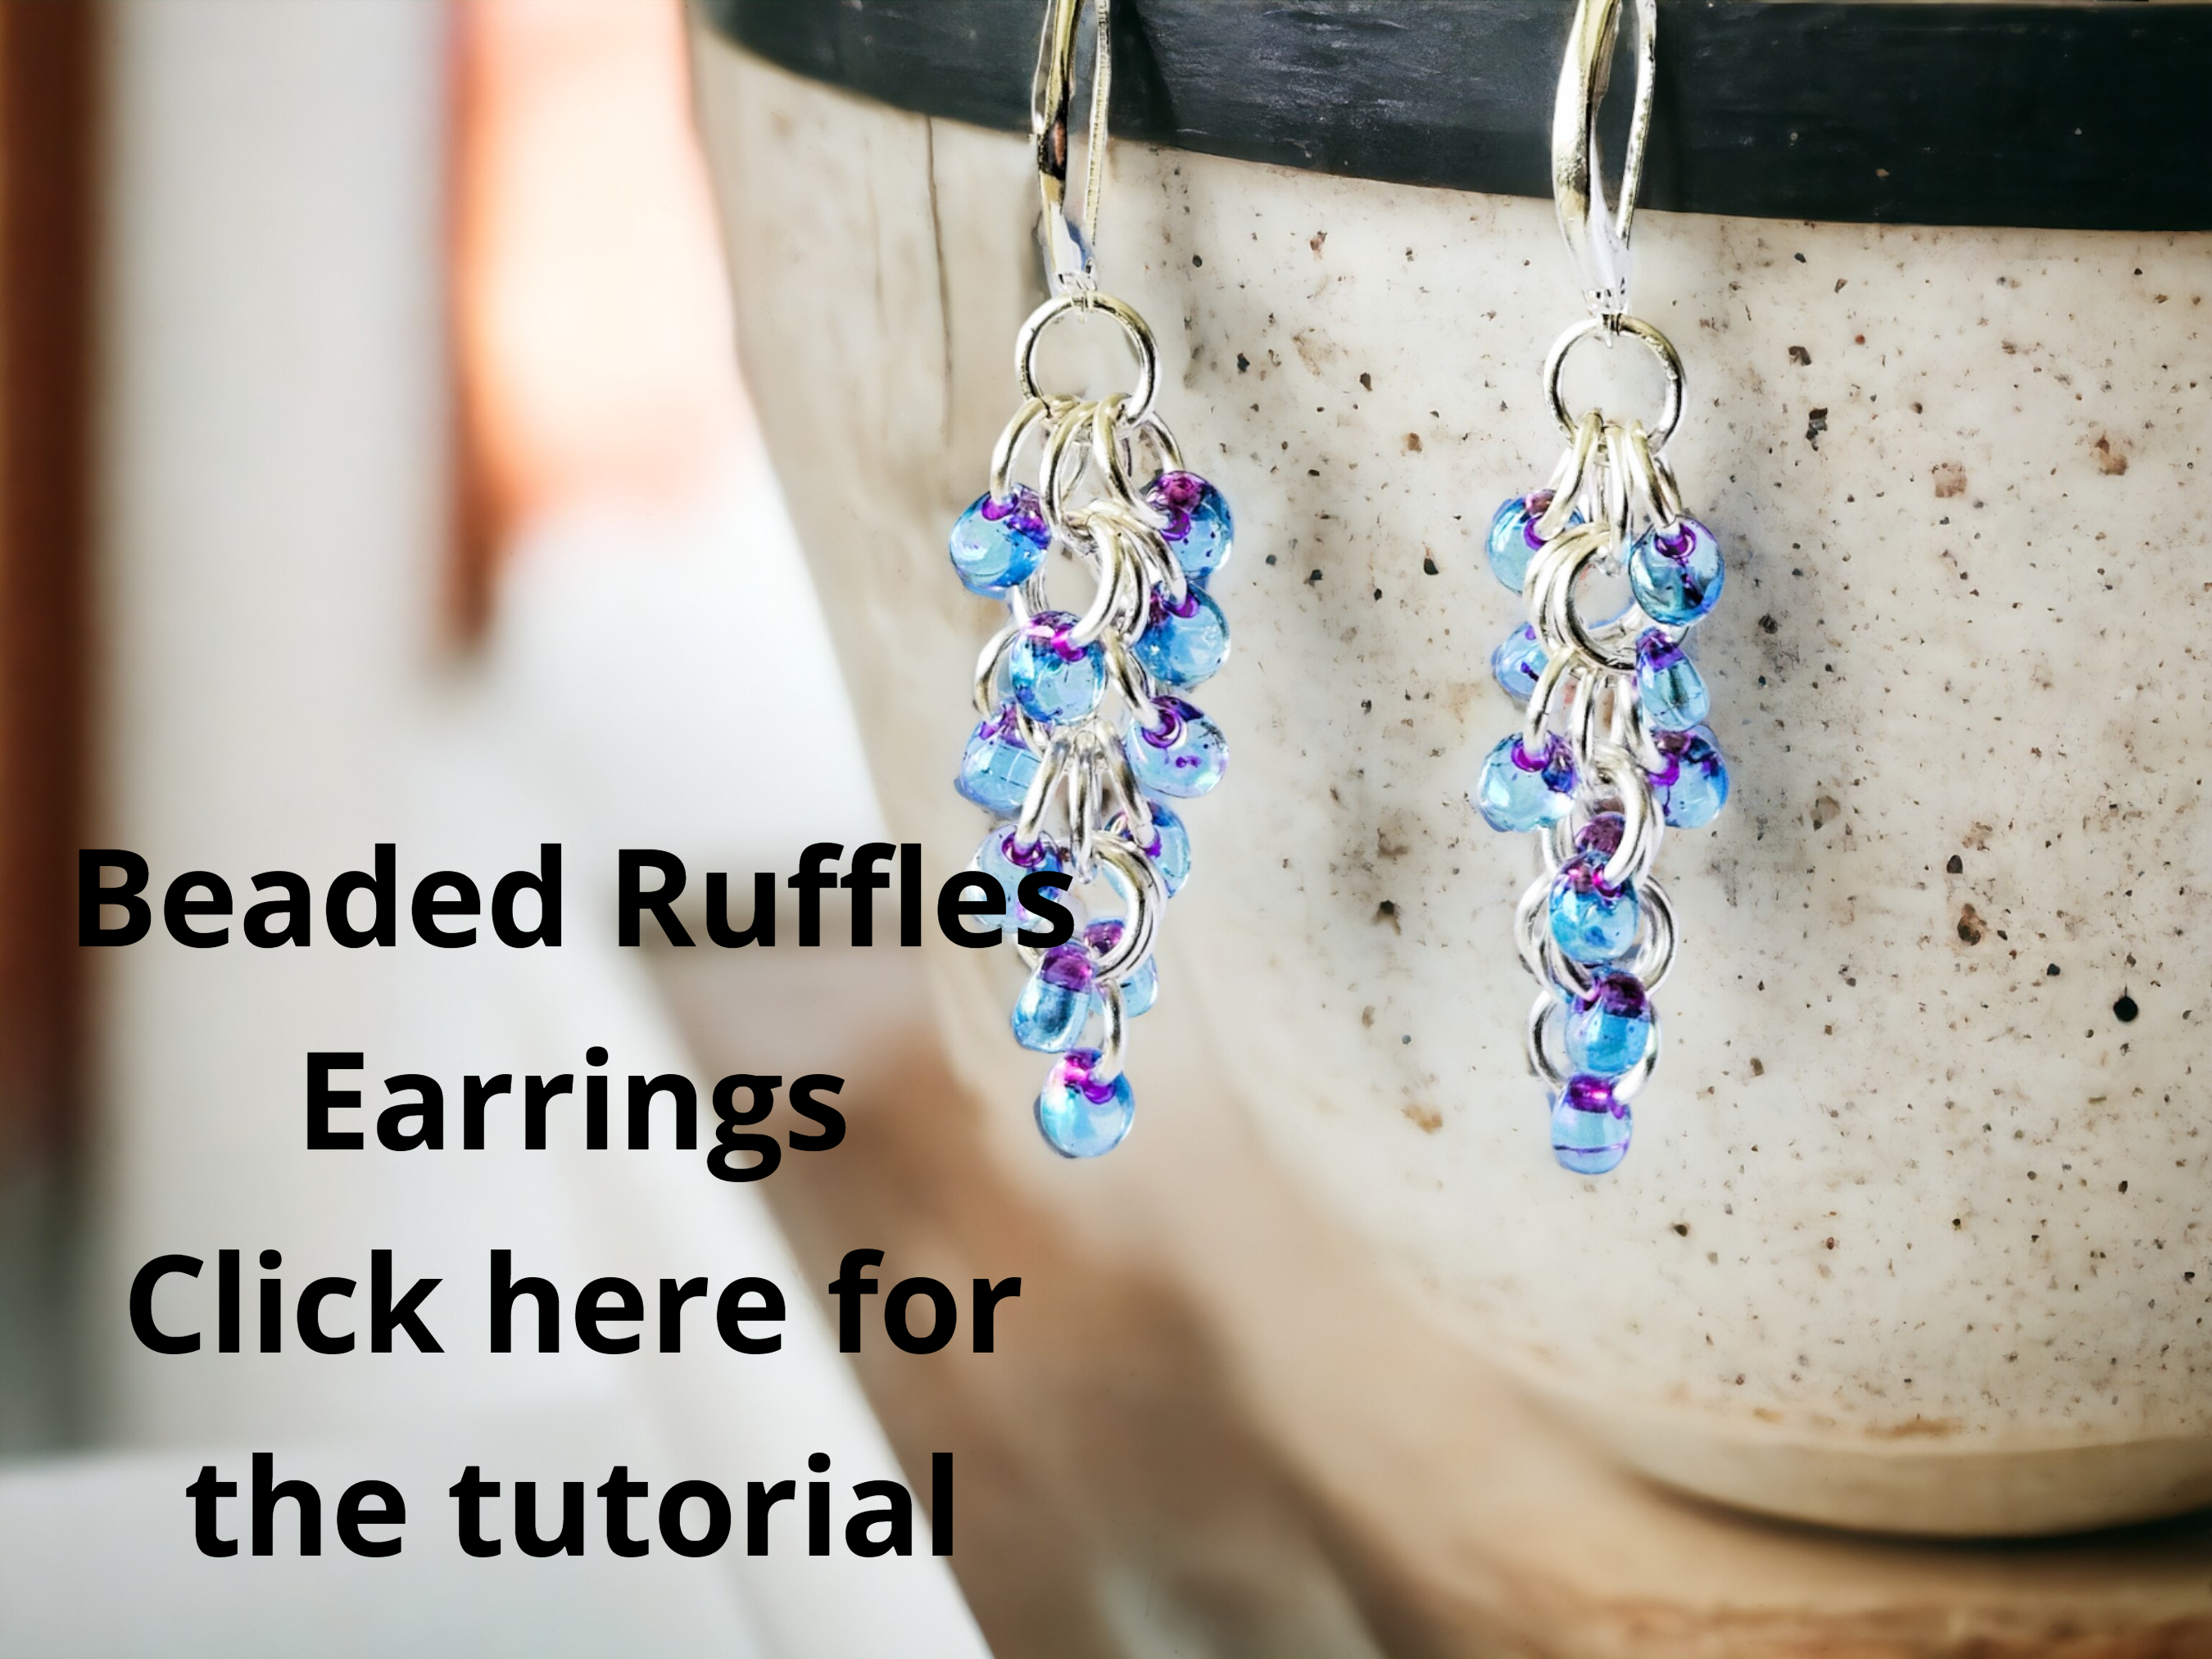
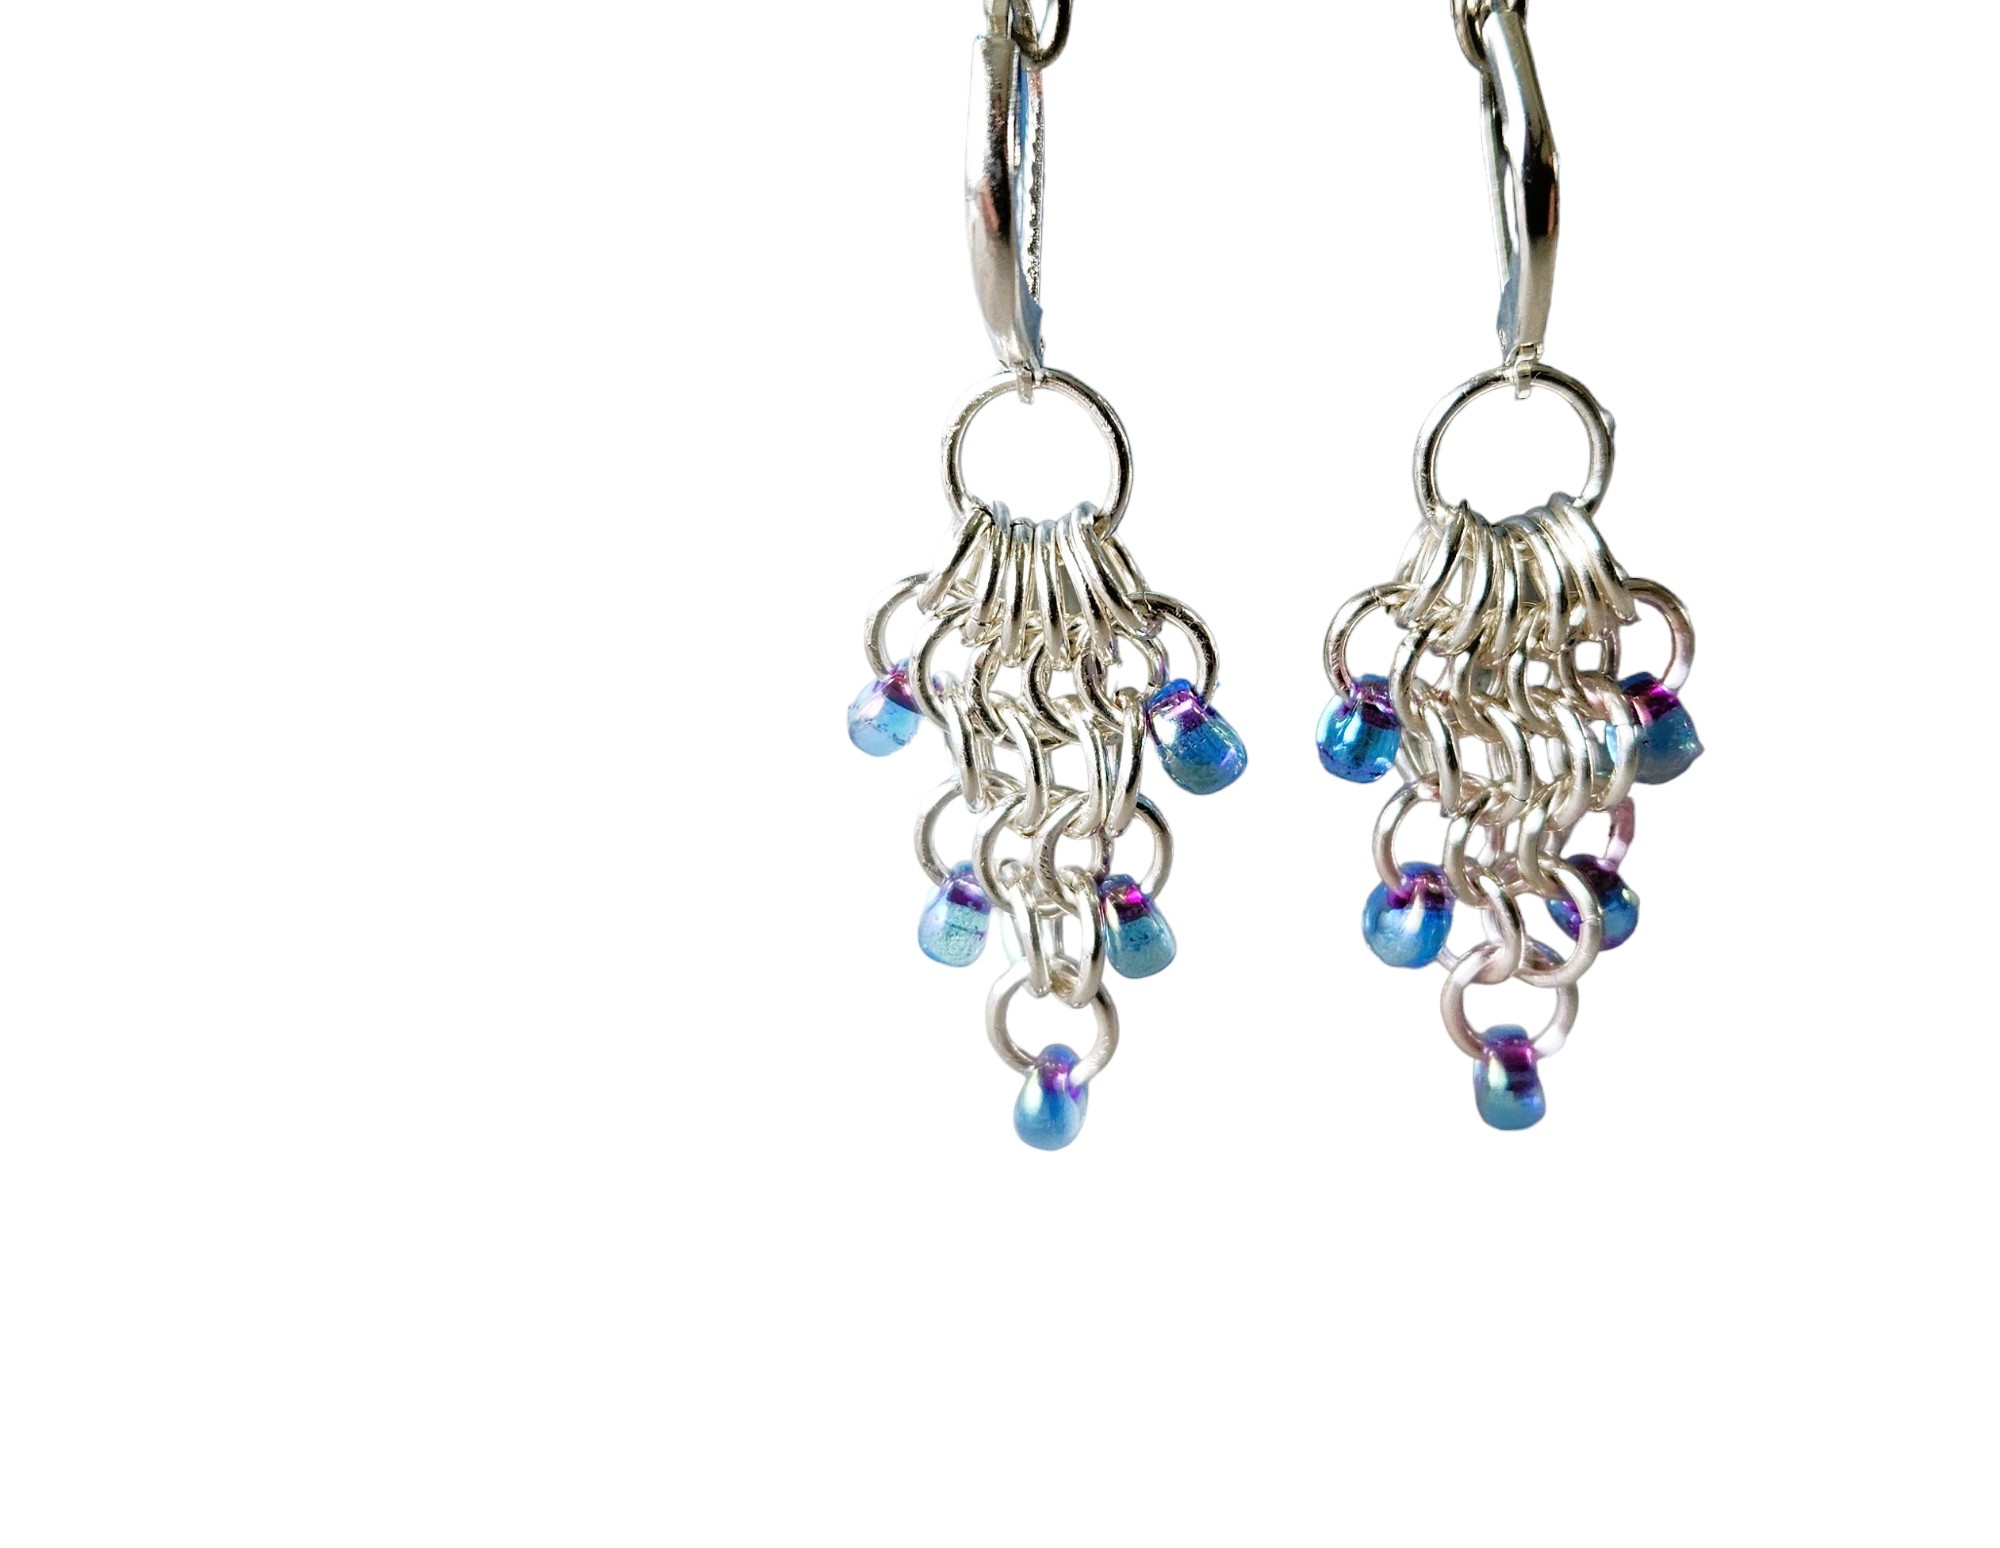
How to Make Cascade Earrings with Seed Beads and Jump Rings
Hello fellow crafters! This is the second tutorial of my series: seed bead dangle earrings. Over the next few weeks, I'll be posting a tutorial with a new design for all of you seed bead enthusiasts who might enjoy a brand new way to use them!
This design is another great one for beginners, so let's dive in!
You will need:
- 10 size 6 seed beads
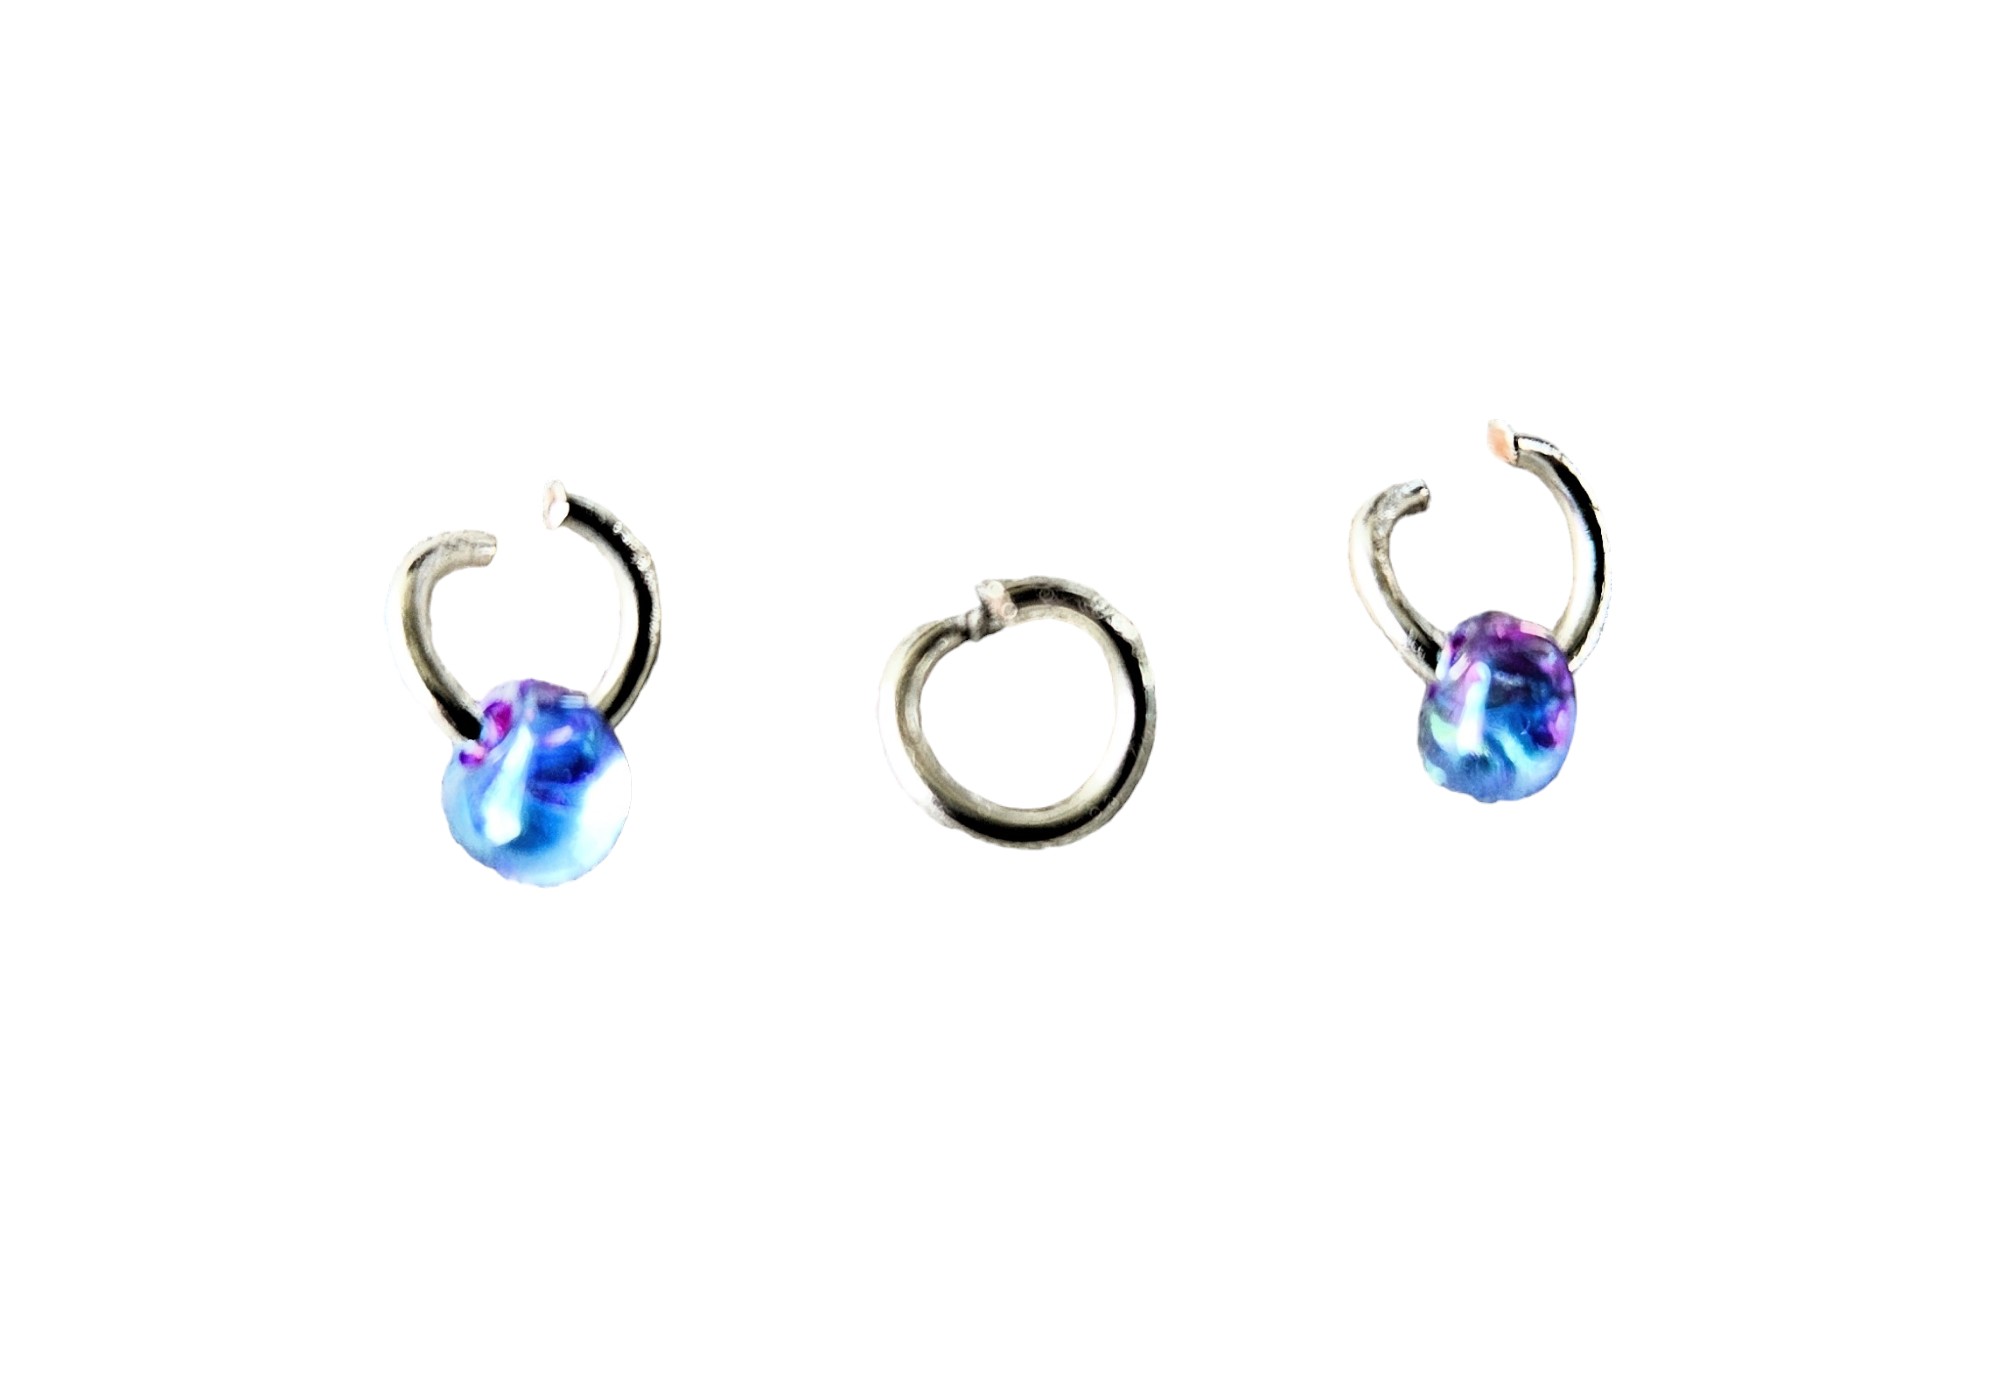
- 2 x 6.5mm jump rings
- 42 x 4.5mm jump ring
- 2 ear hooks
- 2 pairs of smooth-jawed jewellery pliers
A note about the jump rings:
The rings are made from 1mm thick wire, which was wound around a 6.5mm and 4.5mm mandrel. You can also try 6mm and 4mm sized rings.
A note about the seed beads:
You need the seed beads you choose to have holes large enough to slip through your rings, so go for quality seed beads that are uniform in size, like Miyuki or Toho. I've used lentil-shaped beads, which I think dangle really nicely with this design.
A note about the chainmail weave:
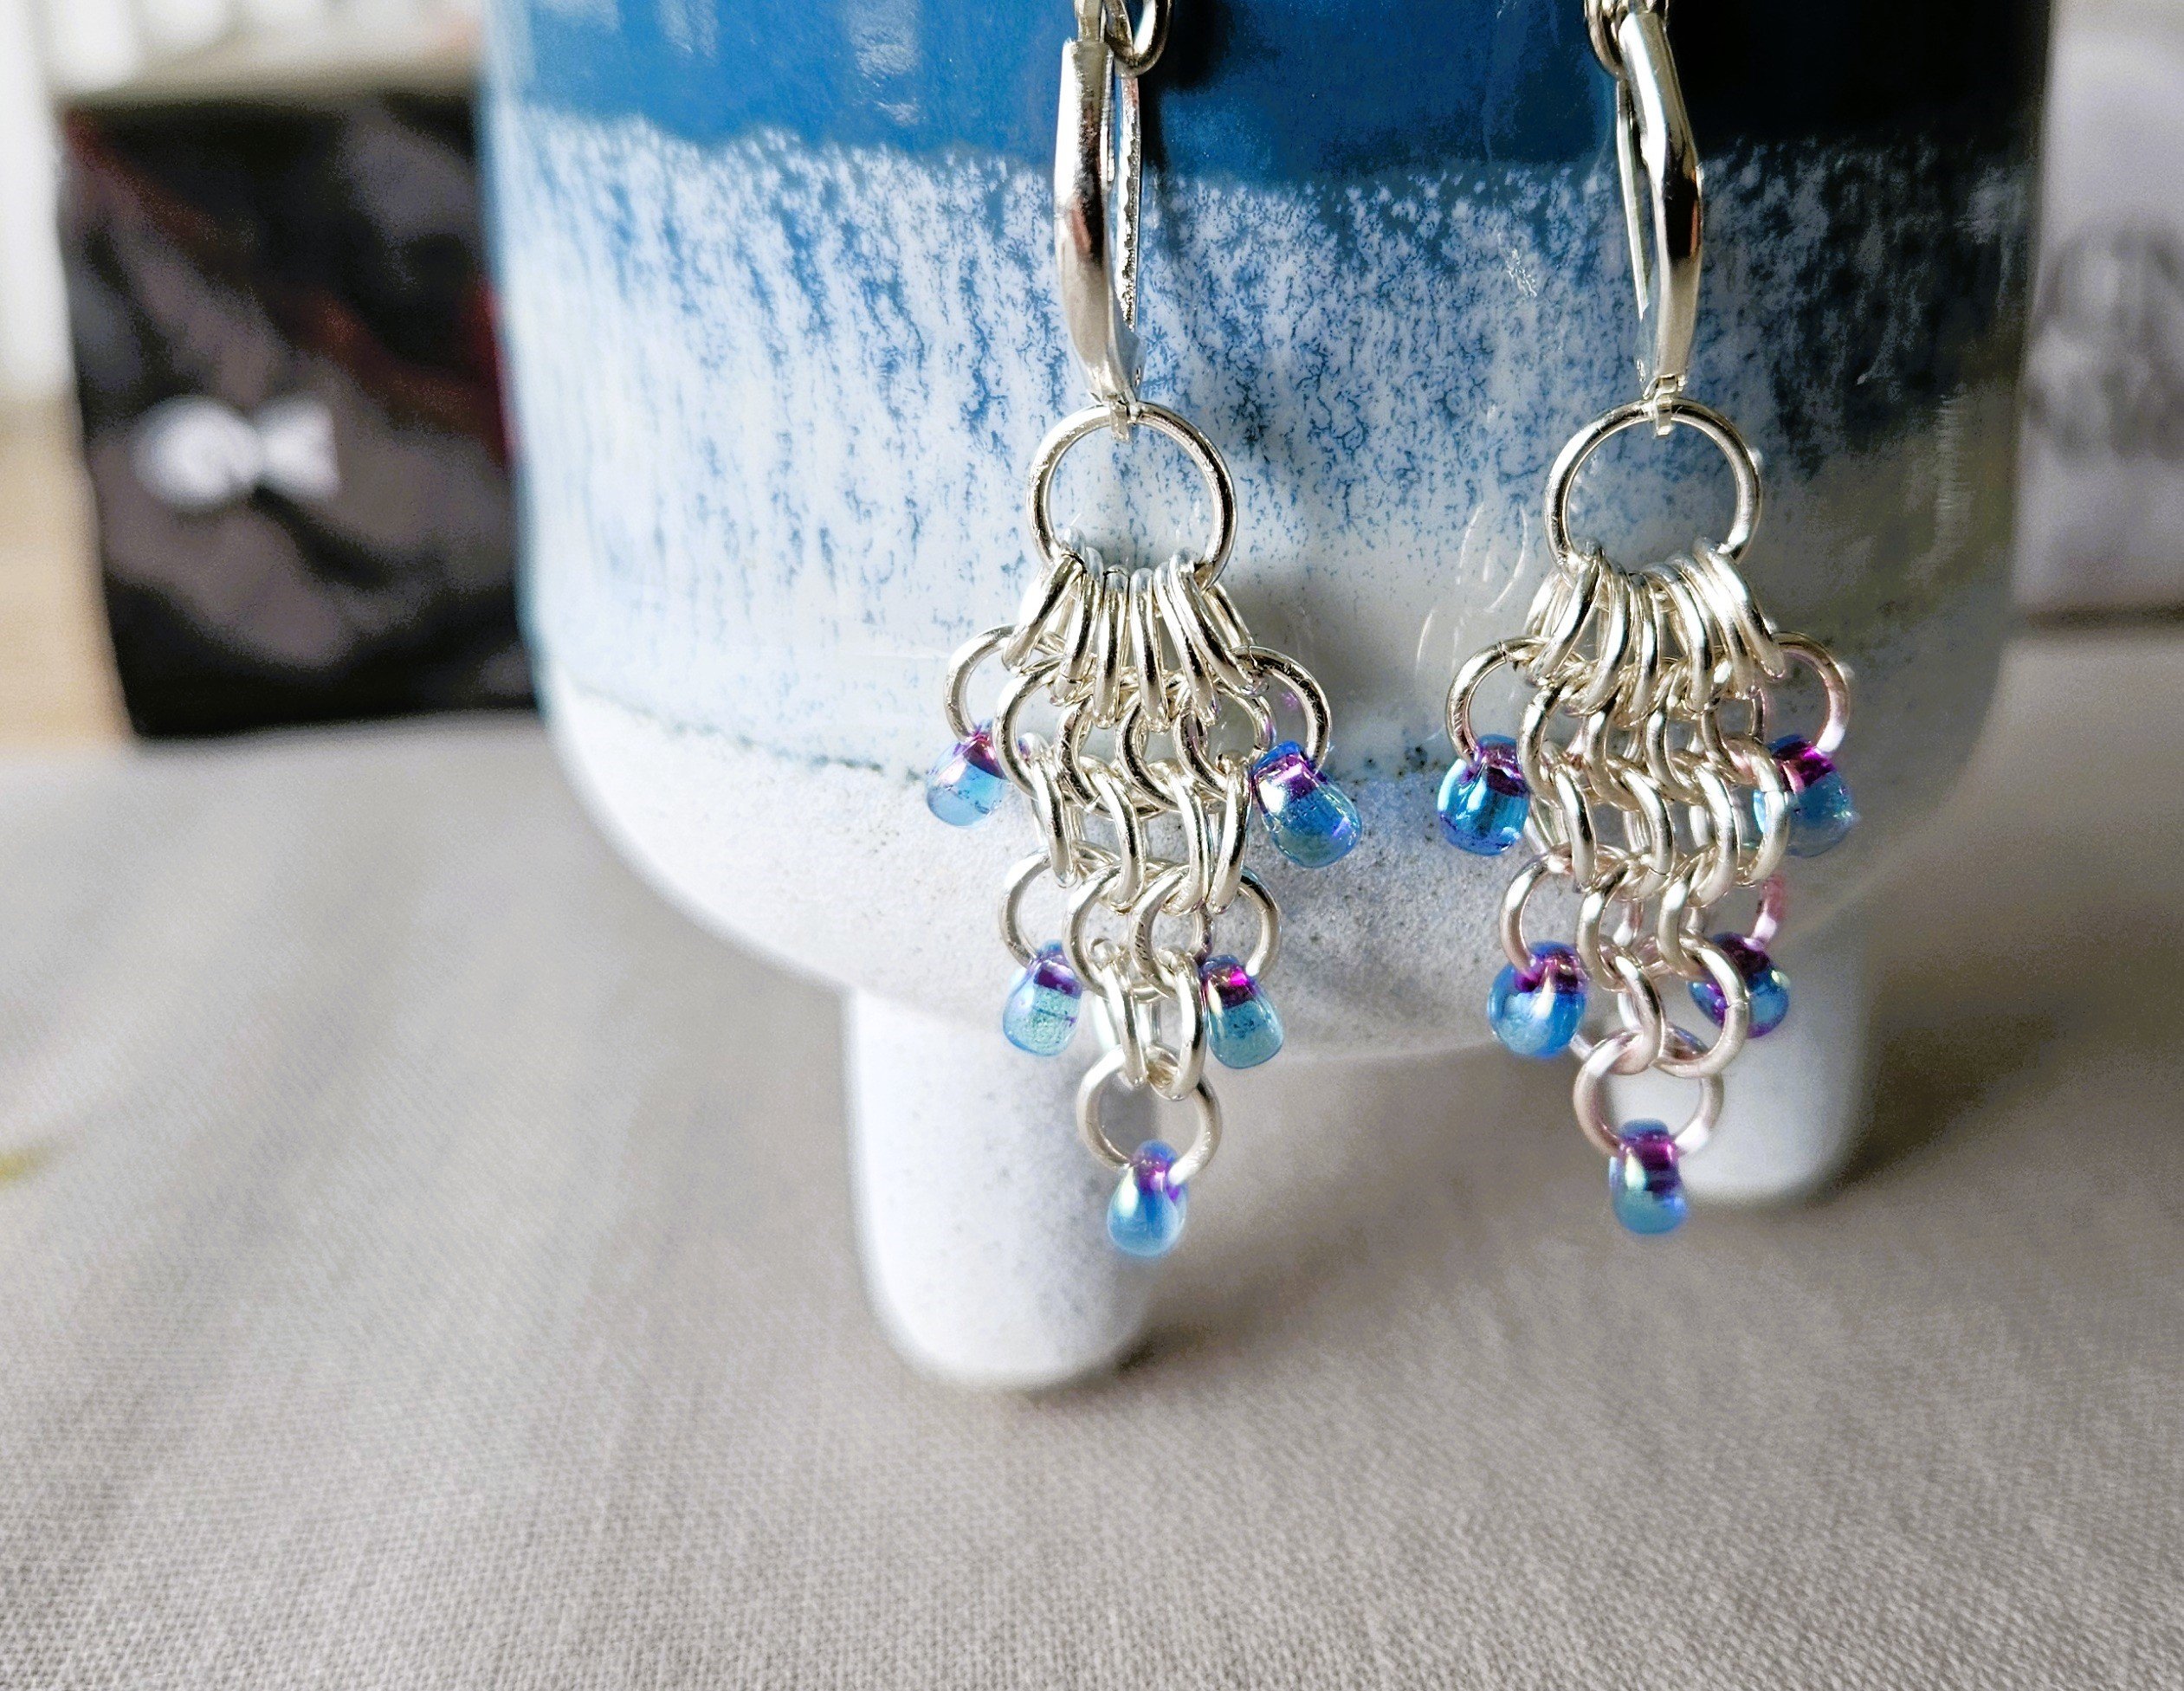
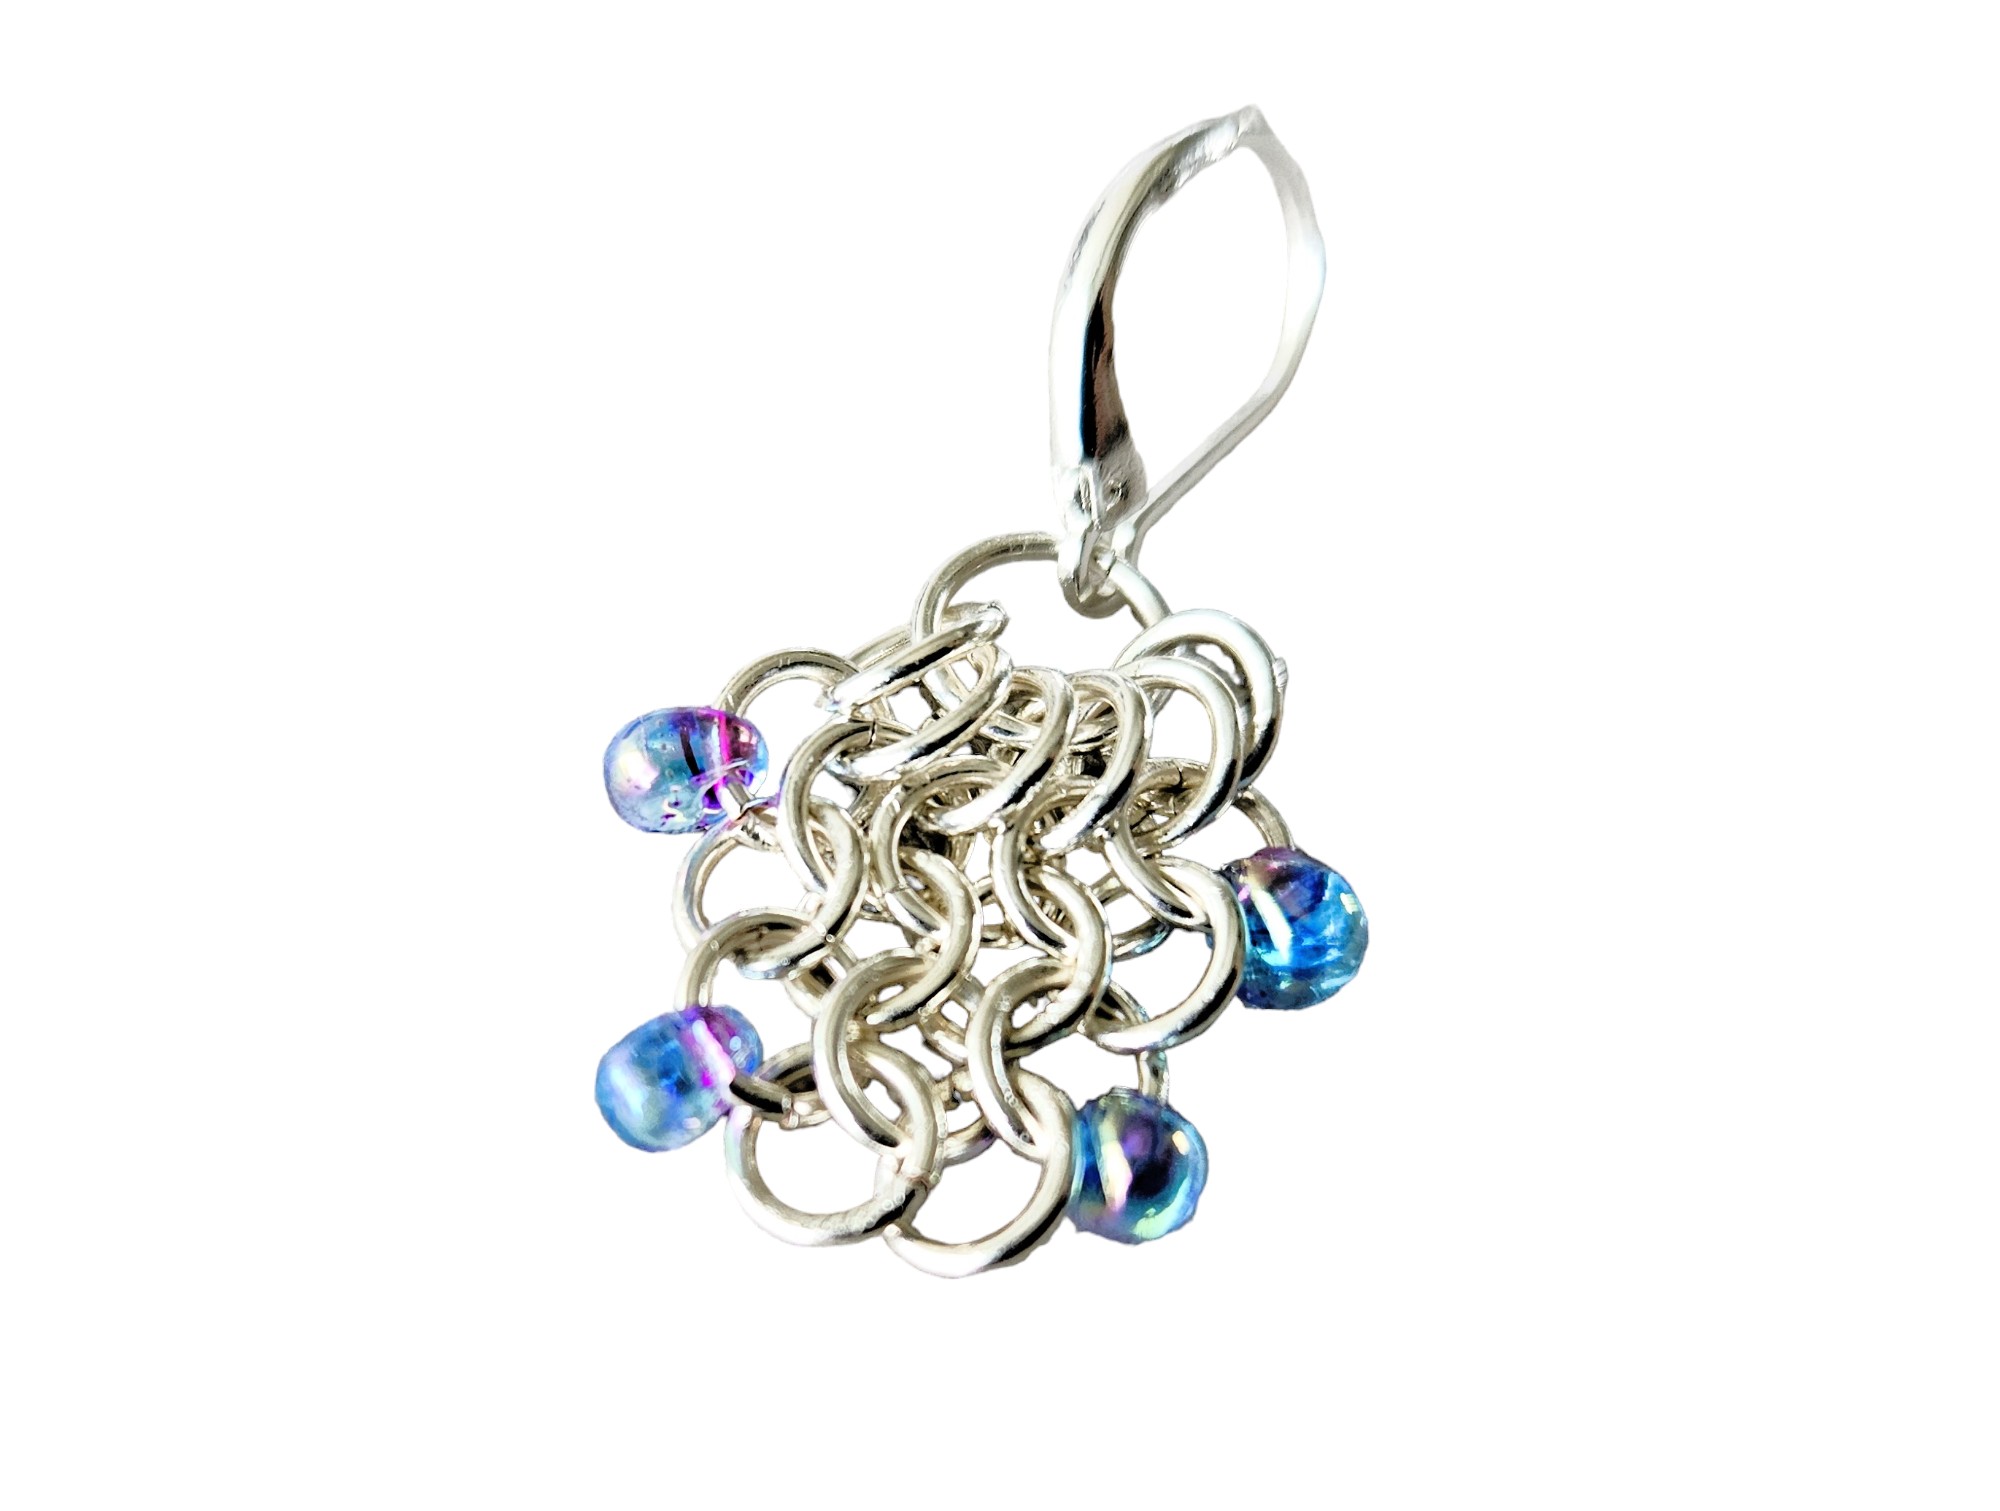
This weave is called European 4-in-1 because each ring goes through 4 others in the normal weave. To create the cascade effect, each row of rings is one less than the last, until the final row has just one ring.
This is the original weave used to make chainmail in Europe, and it spread to other parts of the world. I love the fact this weave is historically authentic - it gives me a bit of a kick when I wear it!
Cascade Dangle Earrings Tutorial
Step 1:
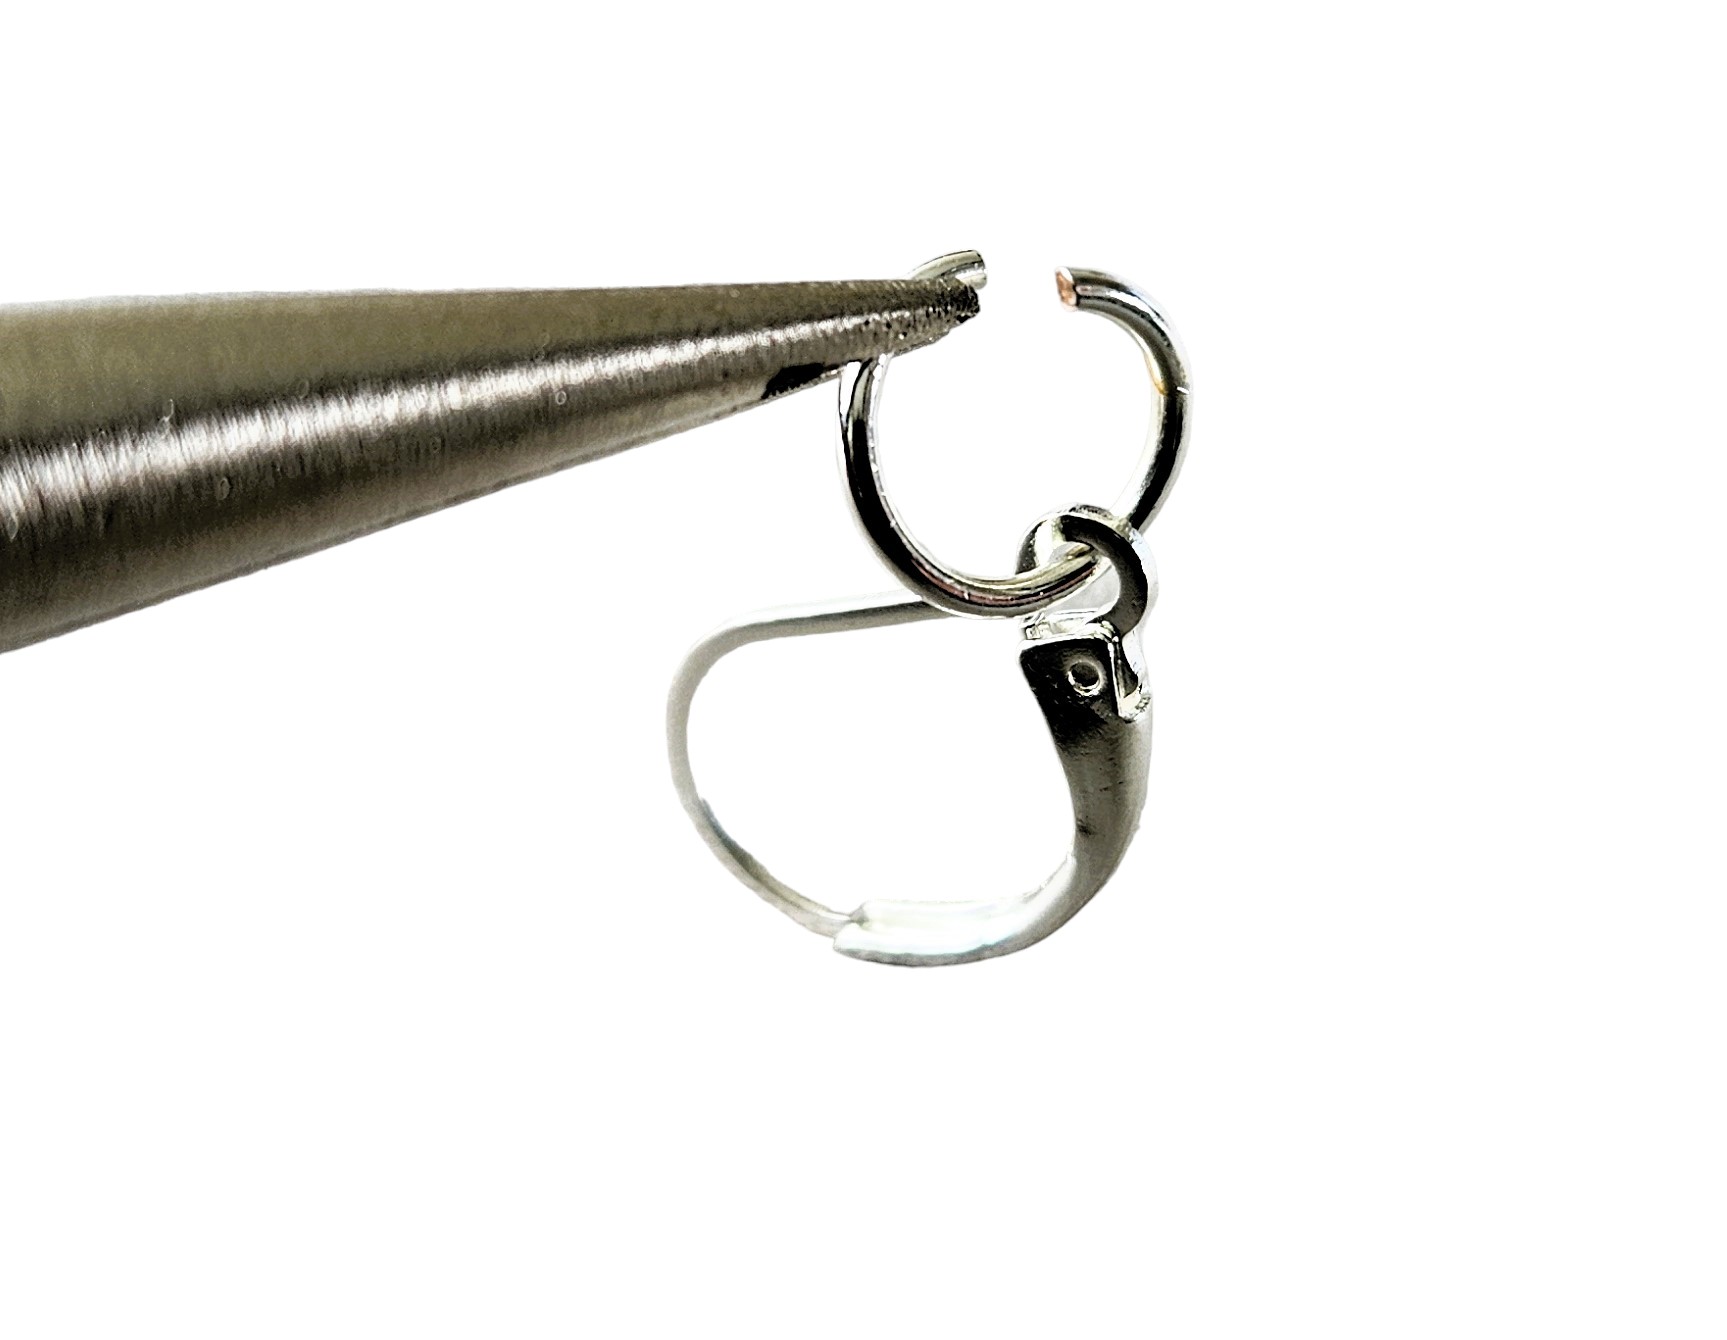
Open a 6.5mm ring and loop it through the hole in the ear wire, but leave it open.
Step 2:
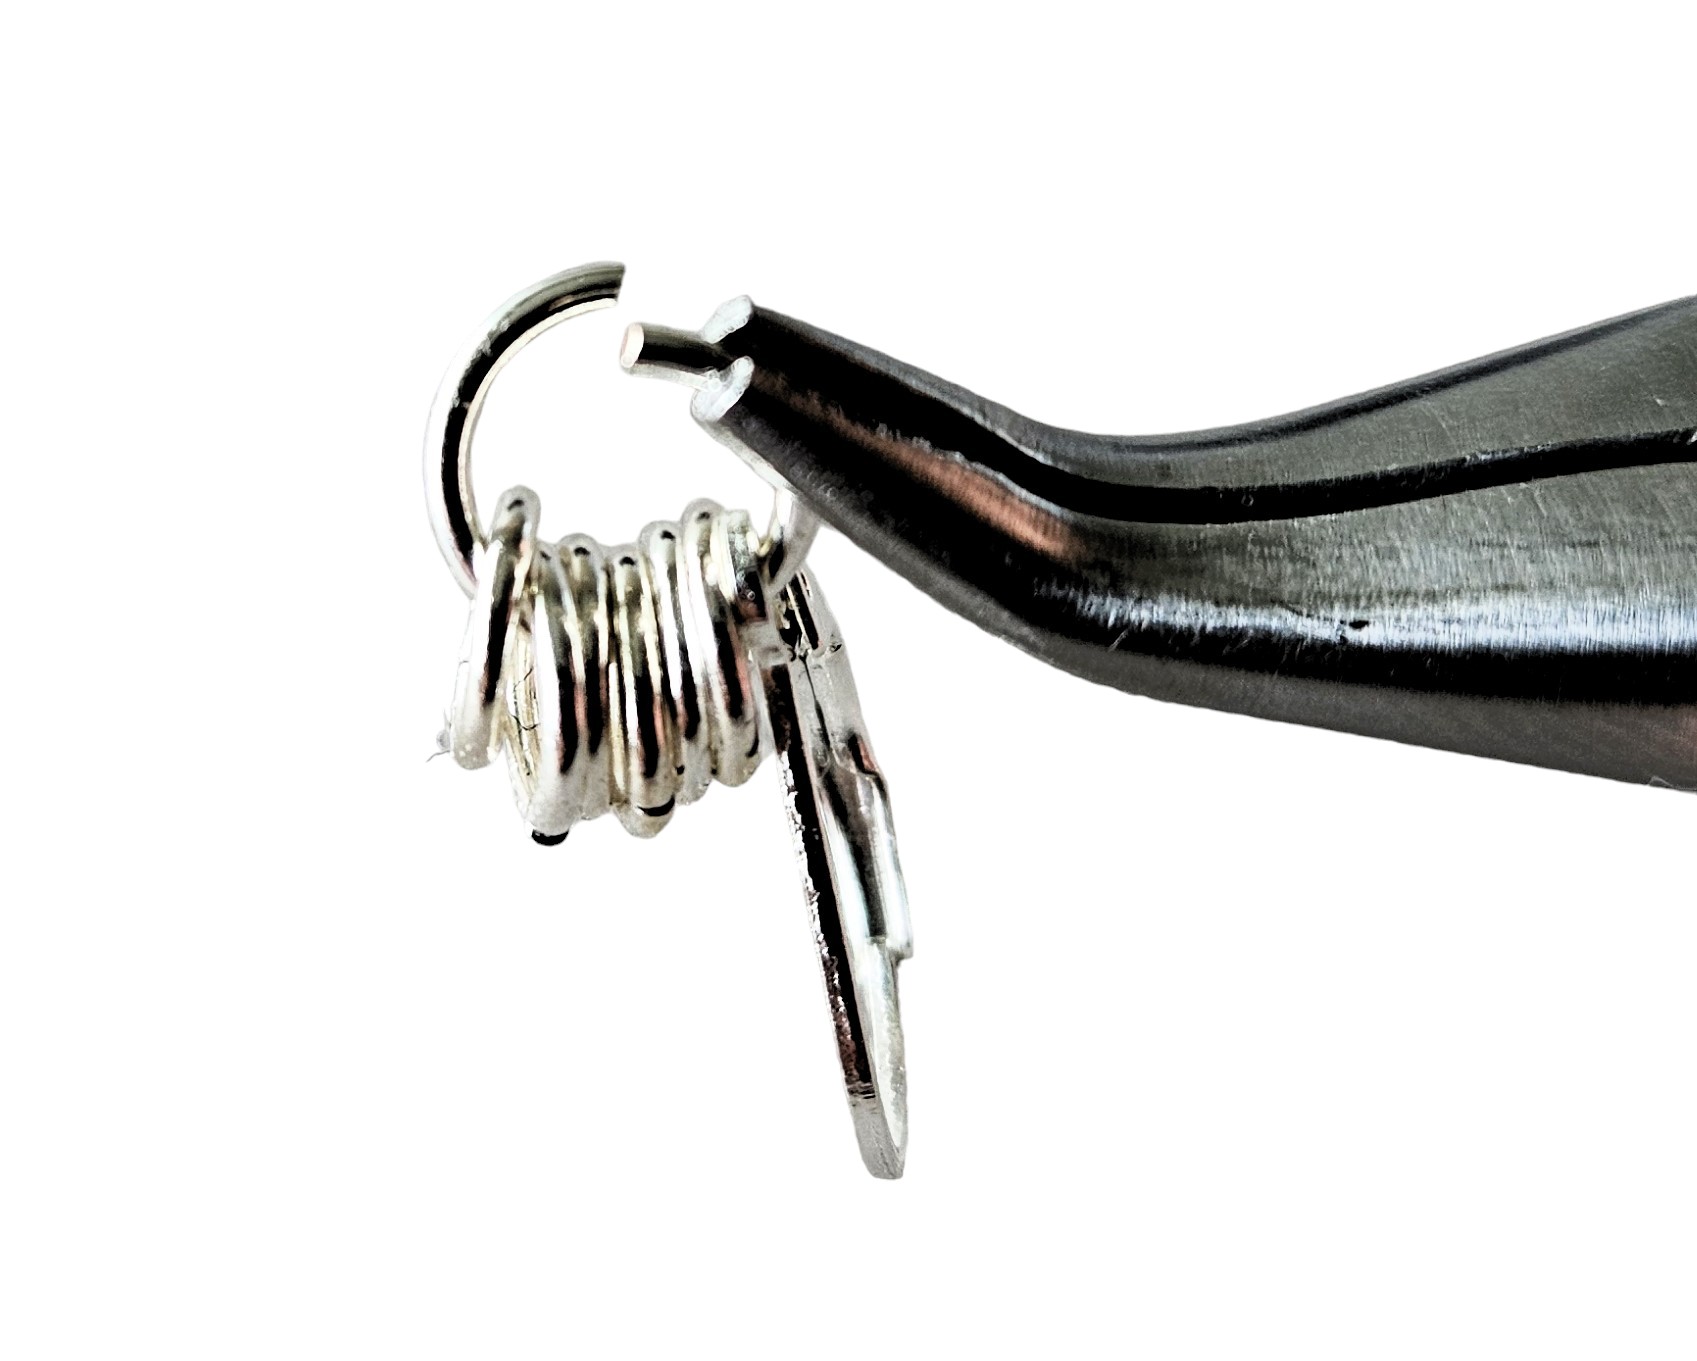
Close six 4.5mm rings and drop them onto the 6.5mm ring, then close that ring.
Step 3:
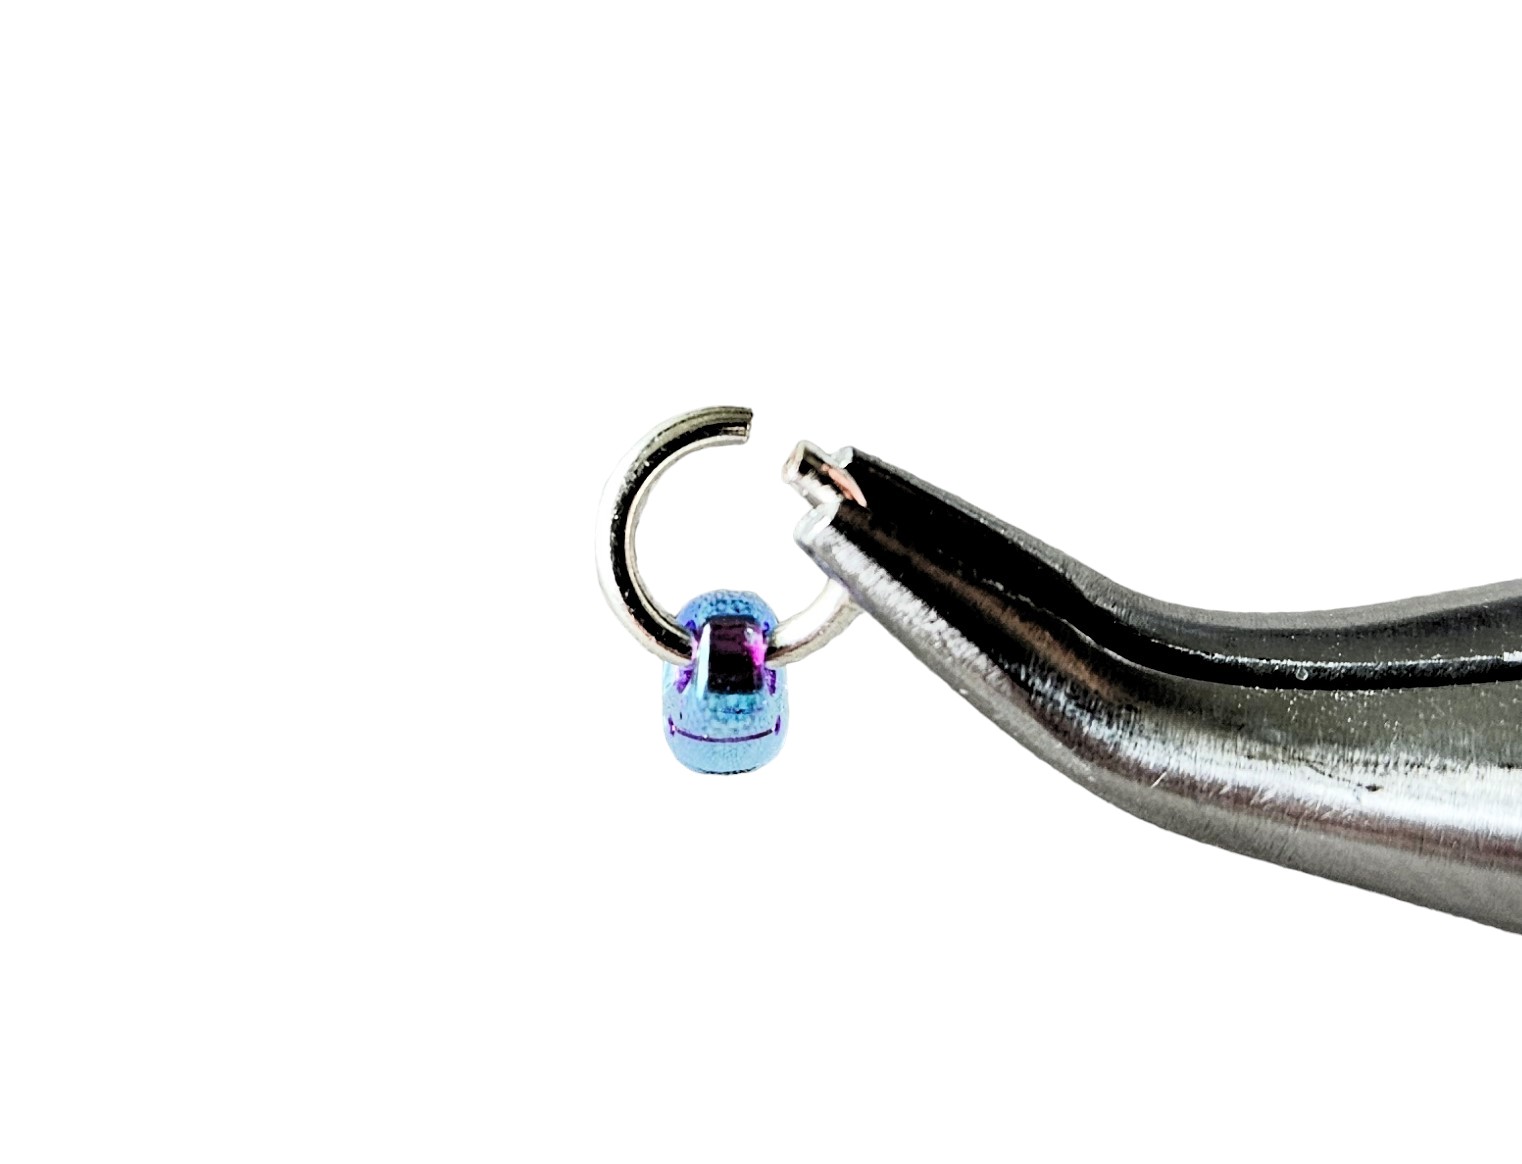
Open another 4.5mm ring and place a seed bead onto it, then weave the ring through the first two rings on the left (this bit's important!) that are already on the 6.5mm ring.
Step 4:
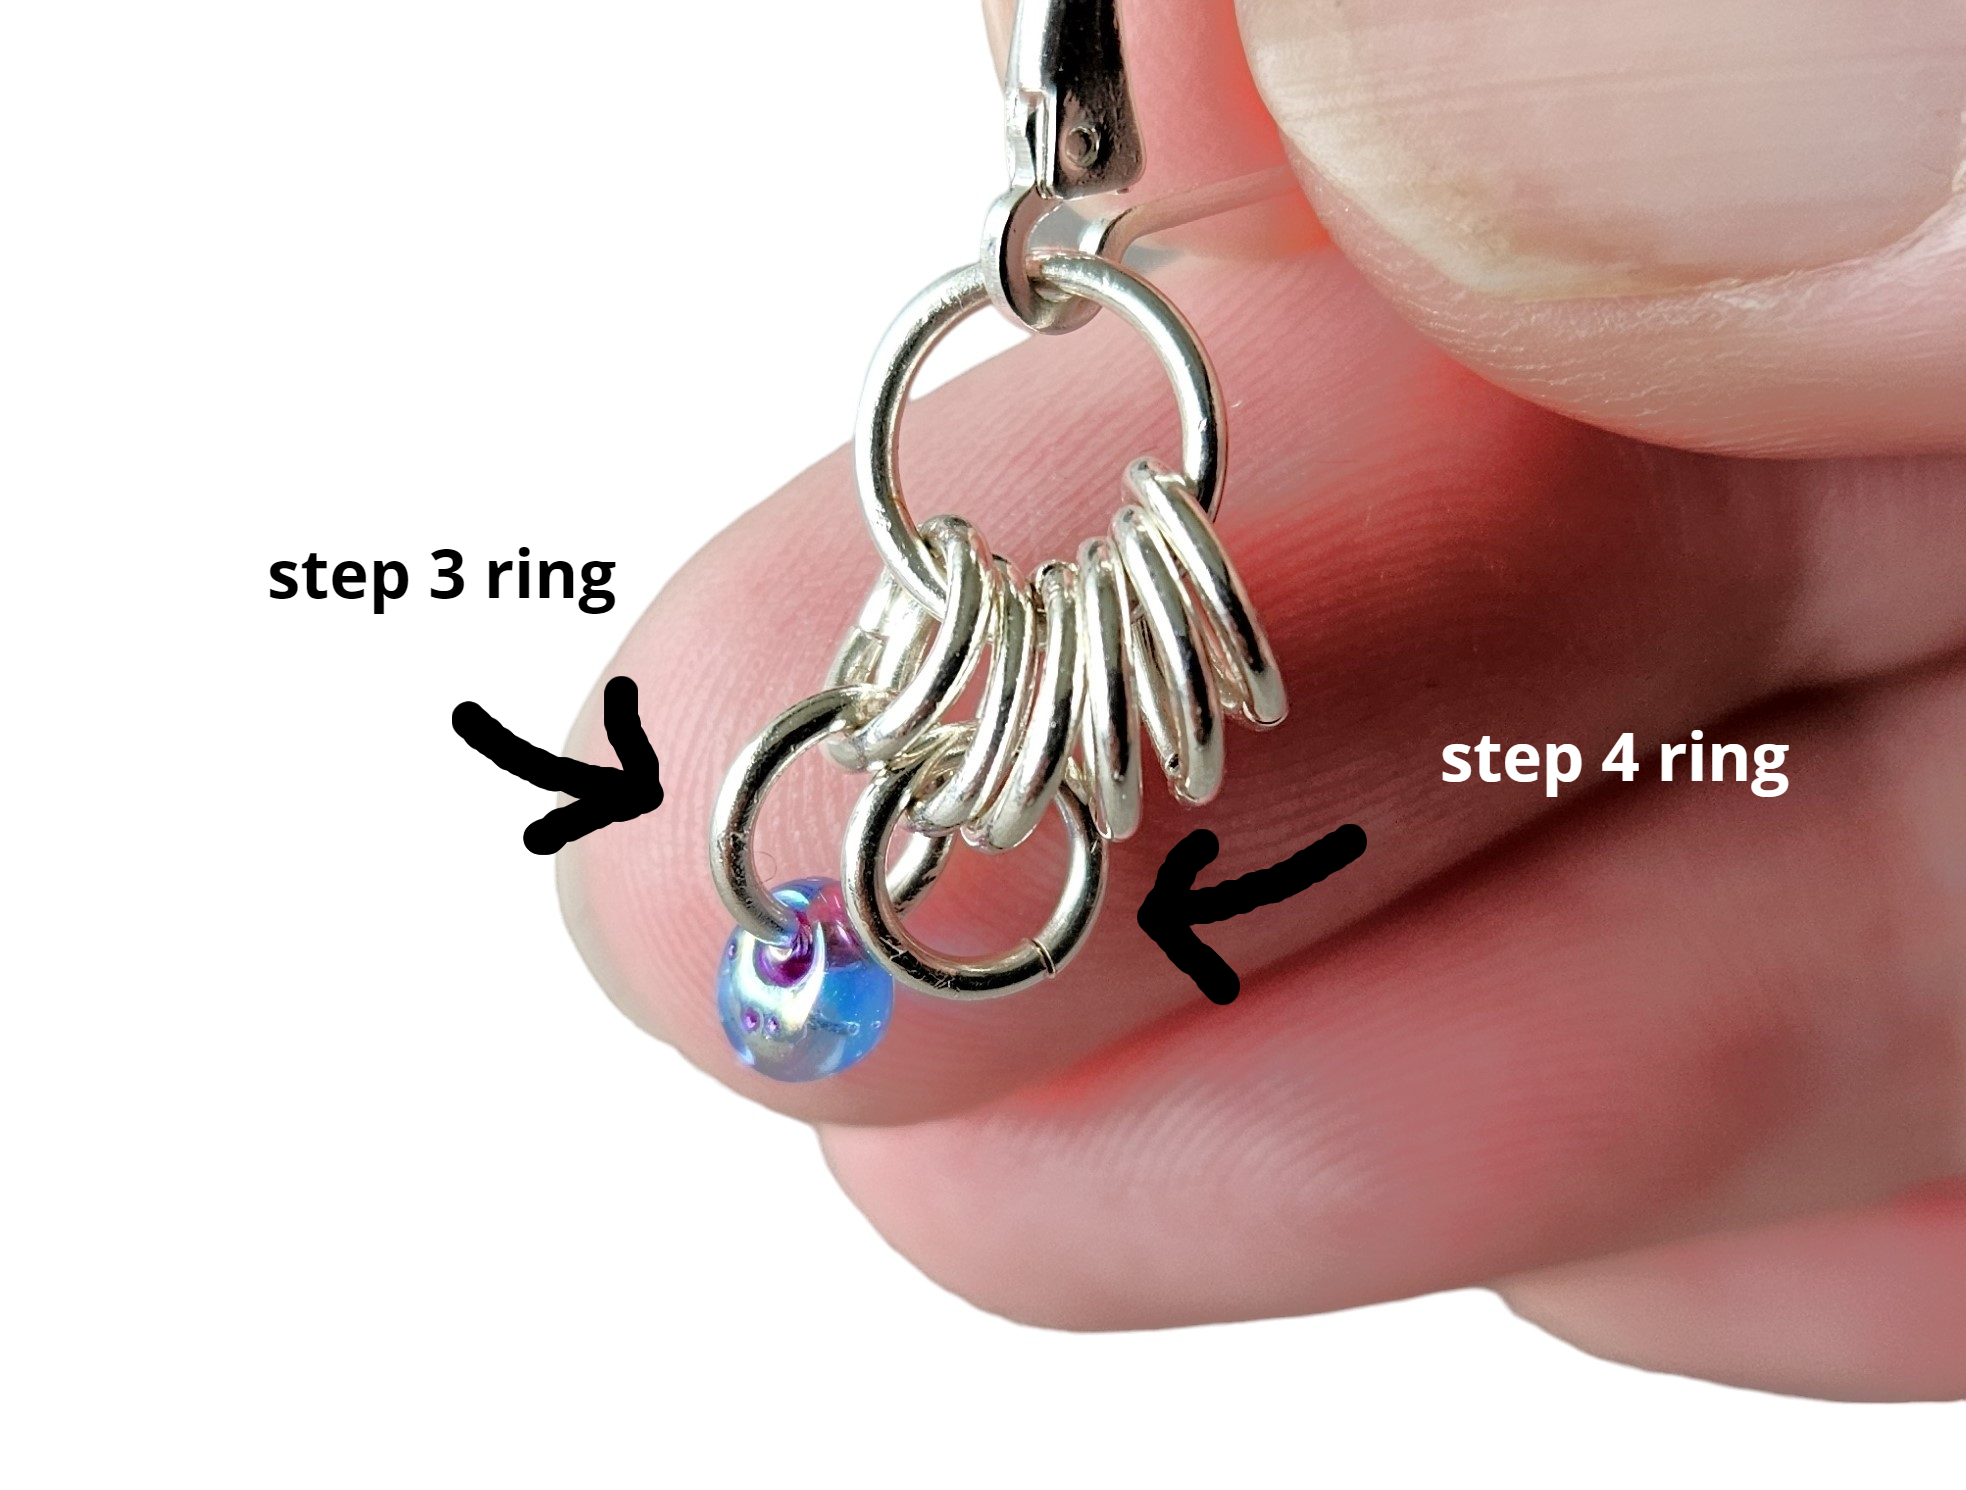
Open another ring and weave it through the 2nd and 3rd rings, so that it overlaps the beaded ring from step 3.
Step 5:
The next ring goes through rings 3 and 4 of the top row, another through rings 4 and 5, and finally a beaded ring through 5 and 6.
Step 6:
For the next row, start from the right and weave a ring though the first two rings of the row you completed in the last step. The pic above shows me in the process of weaving the second ring for this row through rings 2 and 3 of the previous row.
Step 7:

Continue as you did for the last row until you have 4 rings for this row,
Step 8:
For the next row, you will need two rings with beads and one ring without.
Step 9:
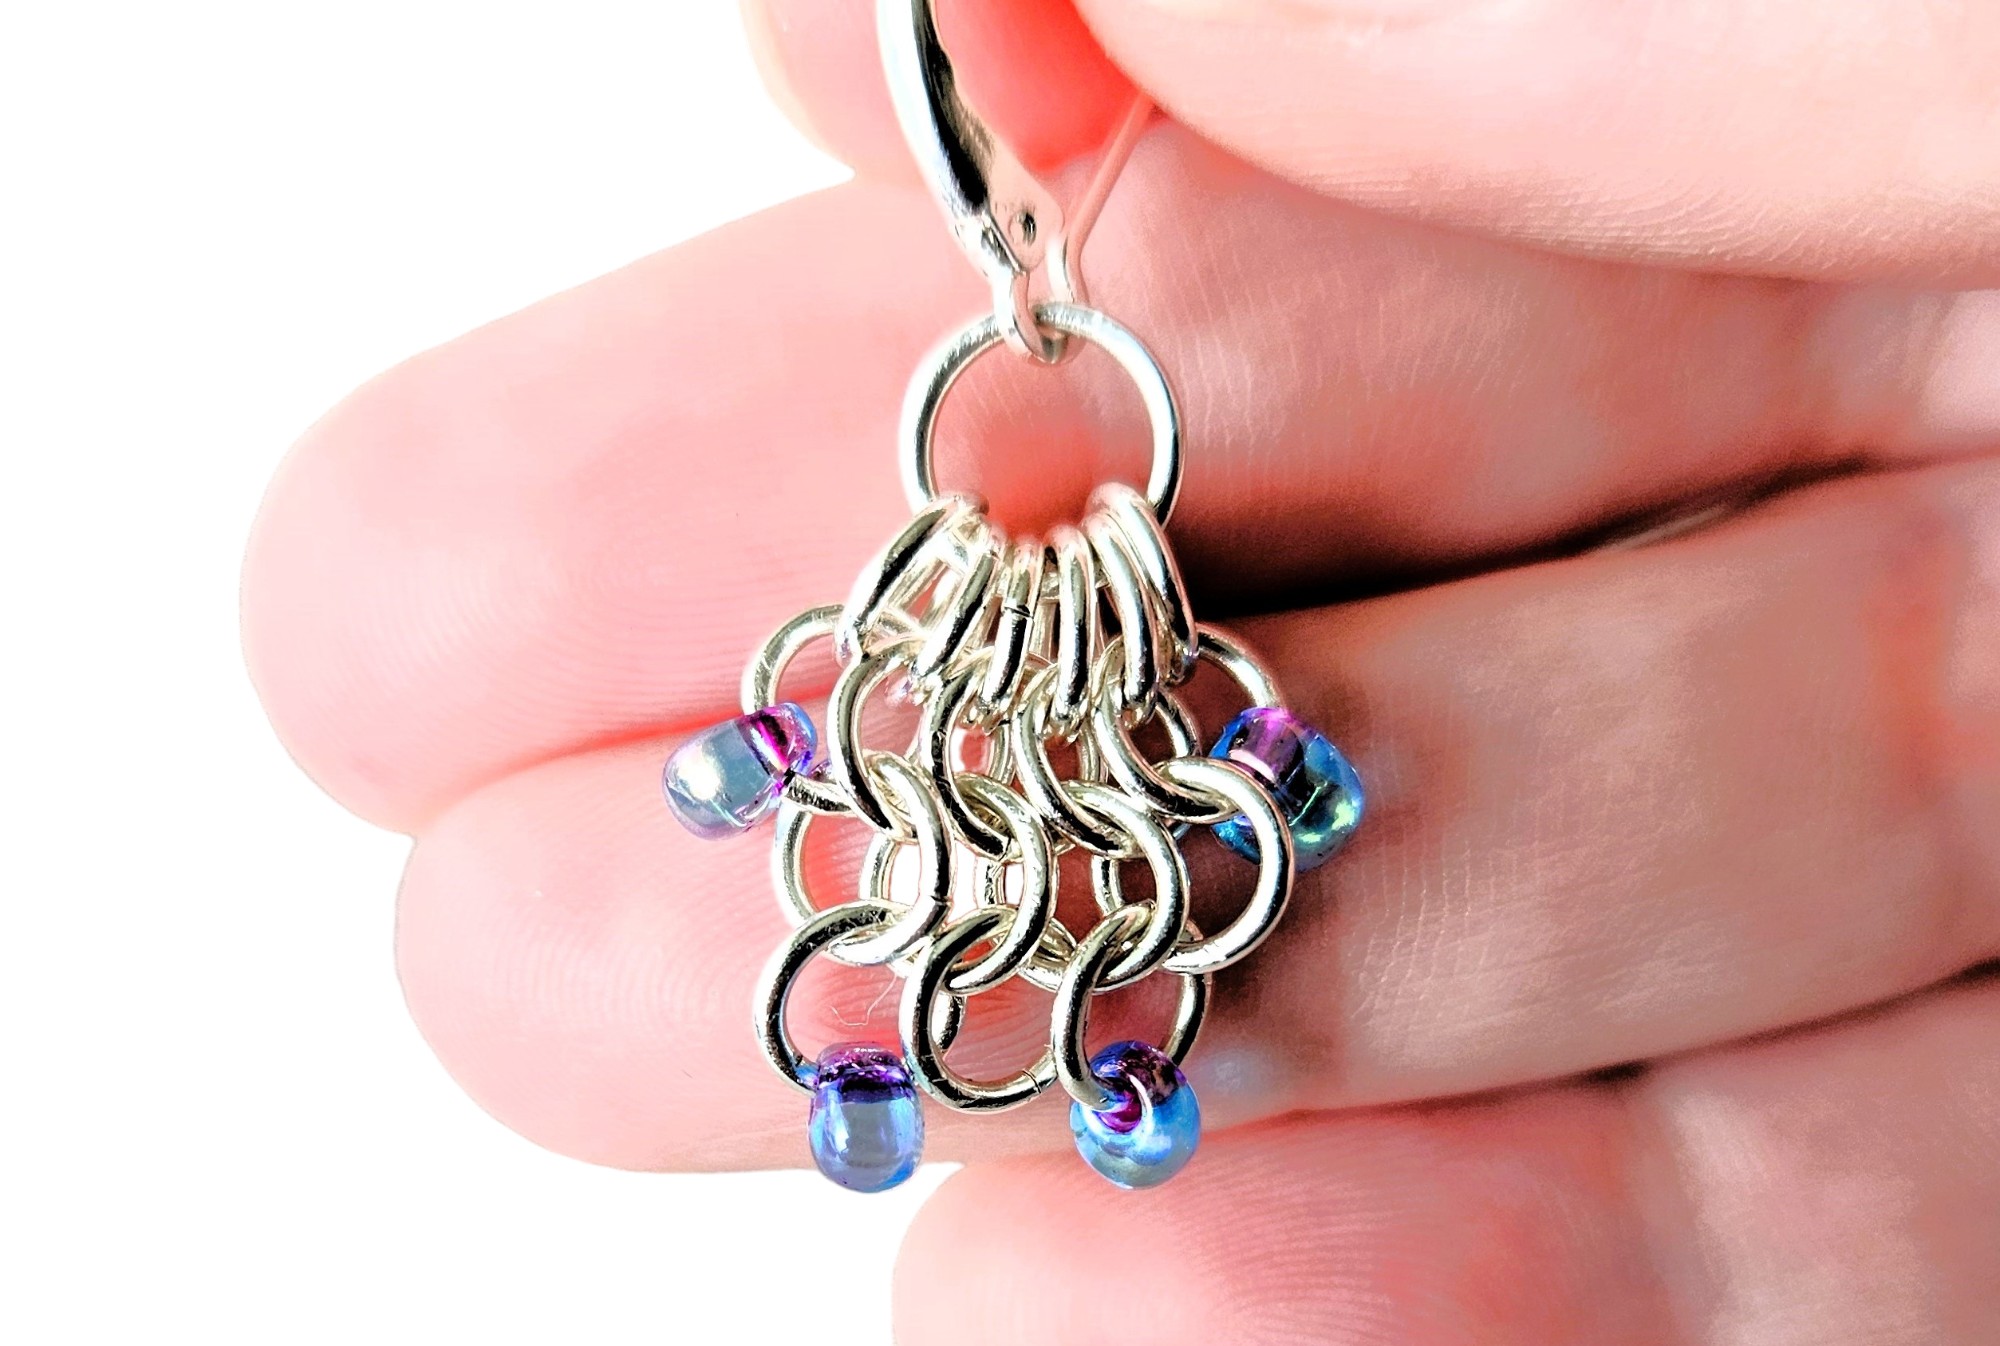
Starting from the left, weave a beaded ring though the first two rings of the row above. Next, weave the bare ring through rings 2 and 3, then the other beaded ring through rings 3 and 4.
Step 10:
The next row has just two rings without beads. Start from the right this time.
Step 11:
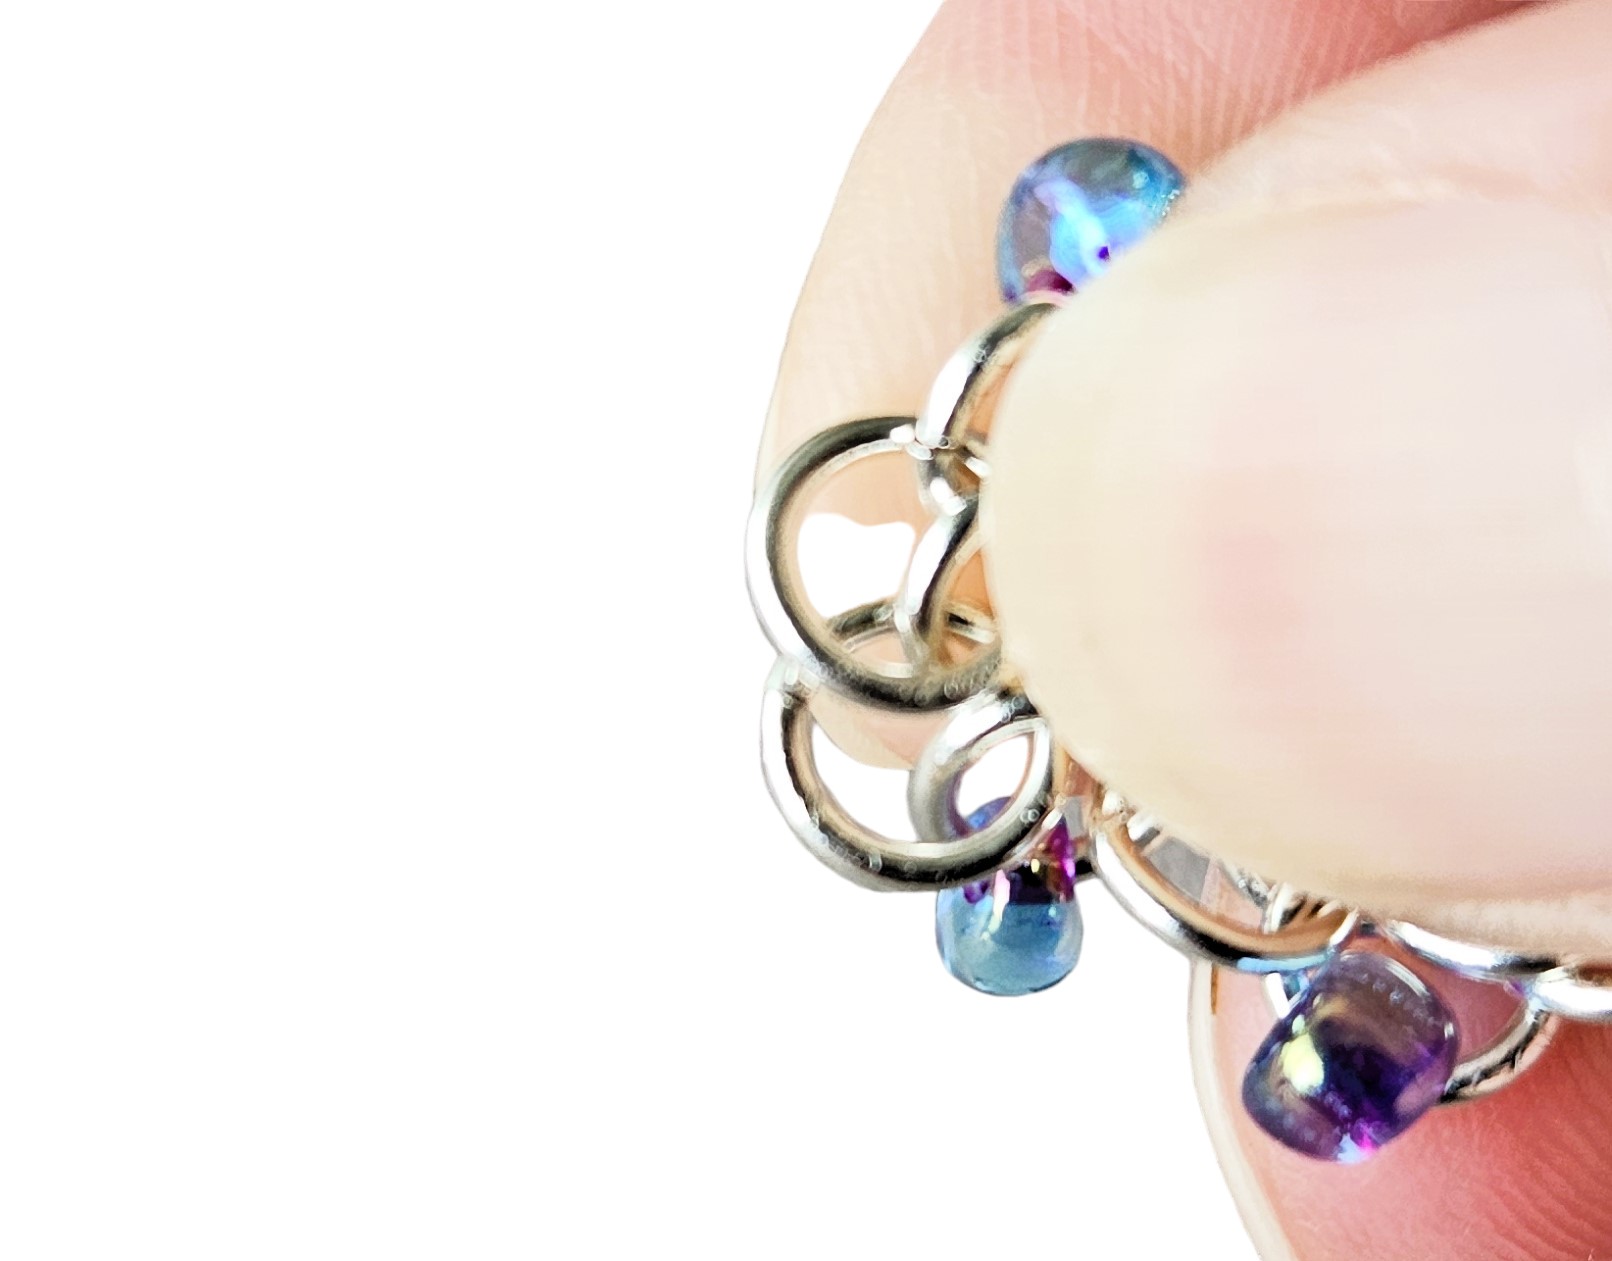
Weave a final beaded ring through those two rings to finish your first earring.
Step 12:
Now go back to step one to make the second earring :)
Want to get started straight away? You can buy the kit to make these exact earrings by clicking the button below:
Did you miss the first design in the seed bead dangle earrings series? Check it out here: