How to Make Rose Bud Earrings with Seed Beads and Jump Rings
Hello crafty friends,
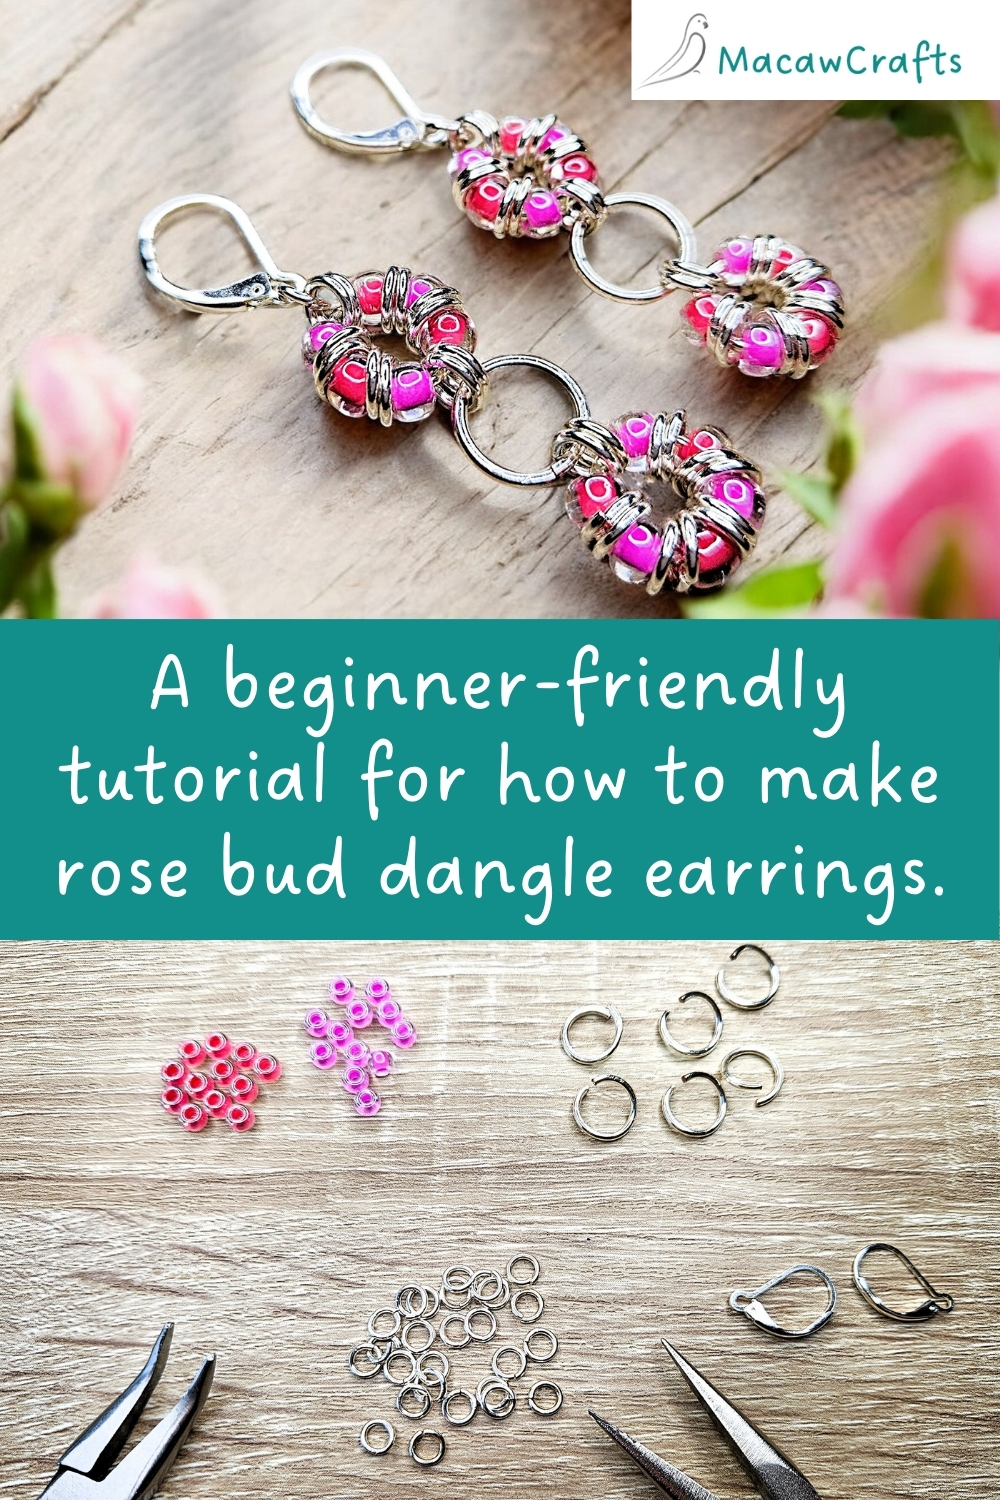
Today, I'm unveiling the 4th design in my series: dangle earrings with seed beads. I'm calling these Rose Buds, and anyone can give this a go - even if you've never picked up a pair of jewellery pliers before!
If you haven't, I recommend taking a look at my short video on how to open and close jump rings before you get started. Just click this button to open it in a new tab...
You will need:
- 24 x size 6 seed beads - 2 complimentary colours
- 6 x 7mm jump rings (1.25mm thick wire)
- 50 x 3.5mm jump rings (1mm thick wire)
- 2 ear hooks
- 2 pairs of smooth-jawed jewellery pliers
A note about the jump rings:
I experimented with ring sizes and wire thickness, and the sizes listed above are the ones that give me the look I was going for. If you have smaller seed beads, you can try different sized rings to get a similar look.
A note about the seed beads:
I always use Miyuki seed beads, because they have uniformly sized holes of 1.5mm. This is especially important for this design, because the bigger rings are 1.25mm thick.
Rose Bud Dangle Earrings Tutorial
Step 1:
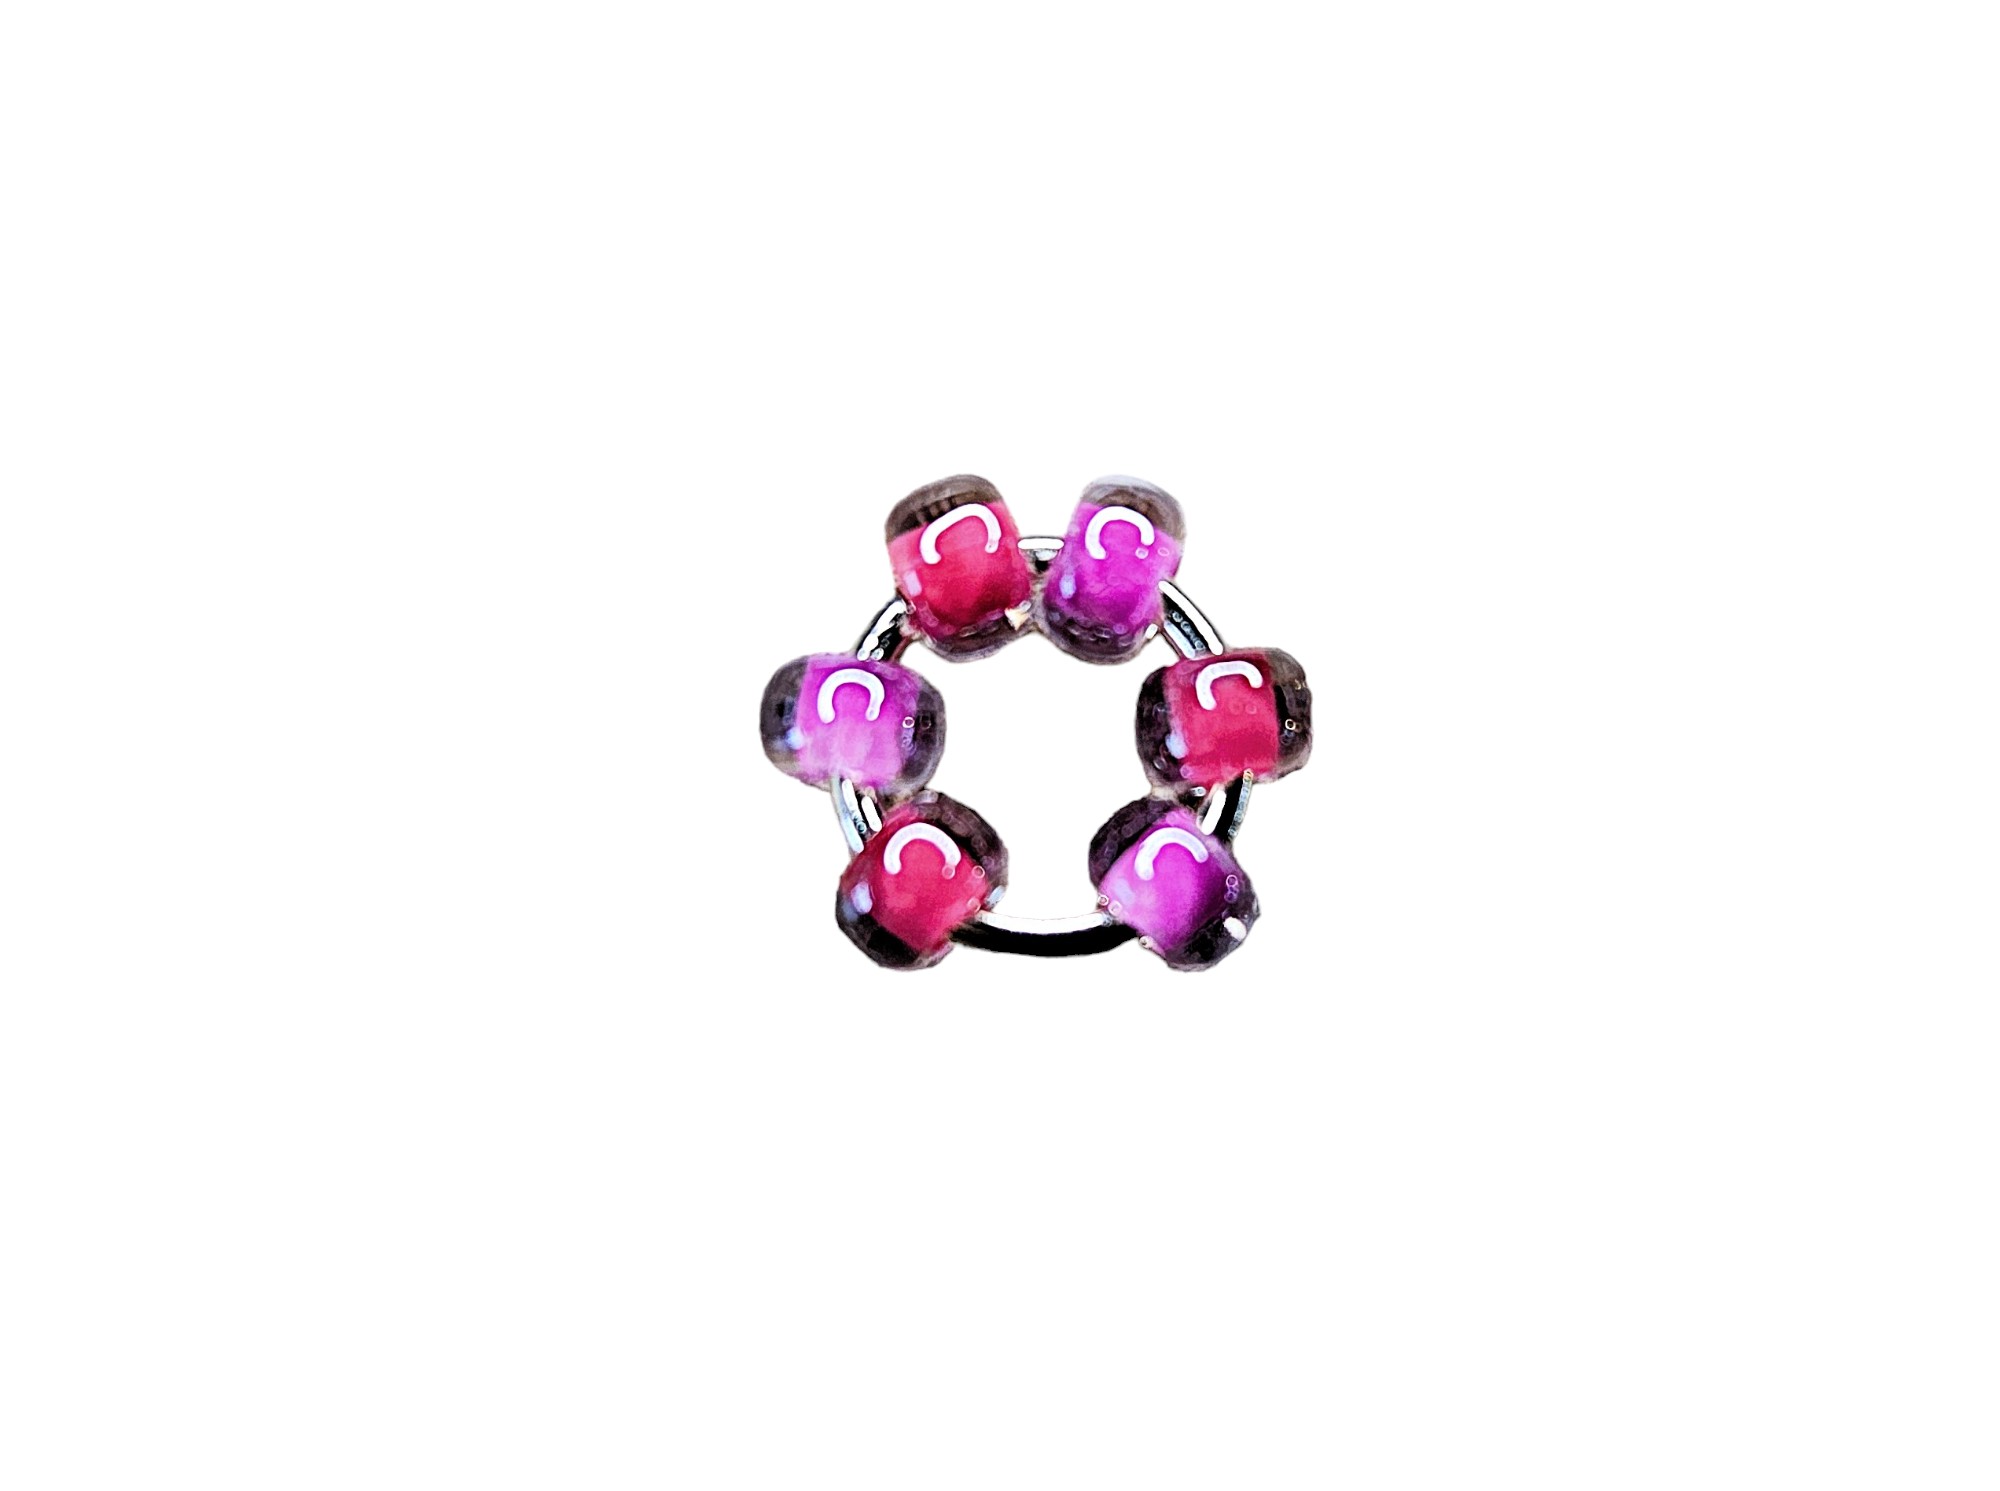
Open a large ring and add 6 seed beads, alternating the colours, then close.
Step 2:
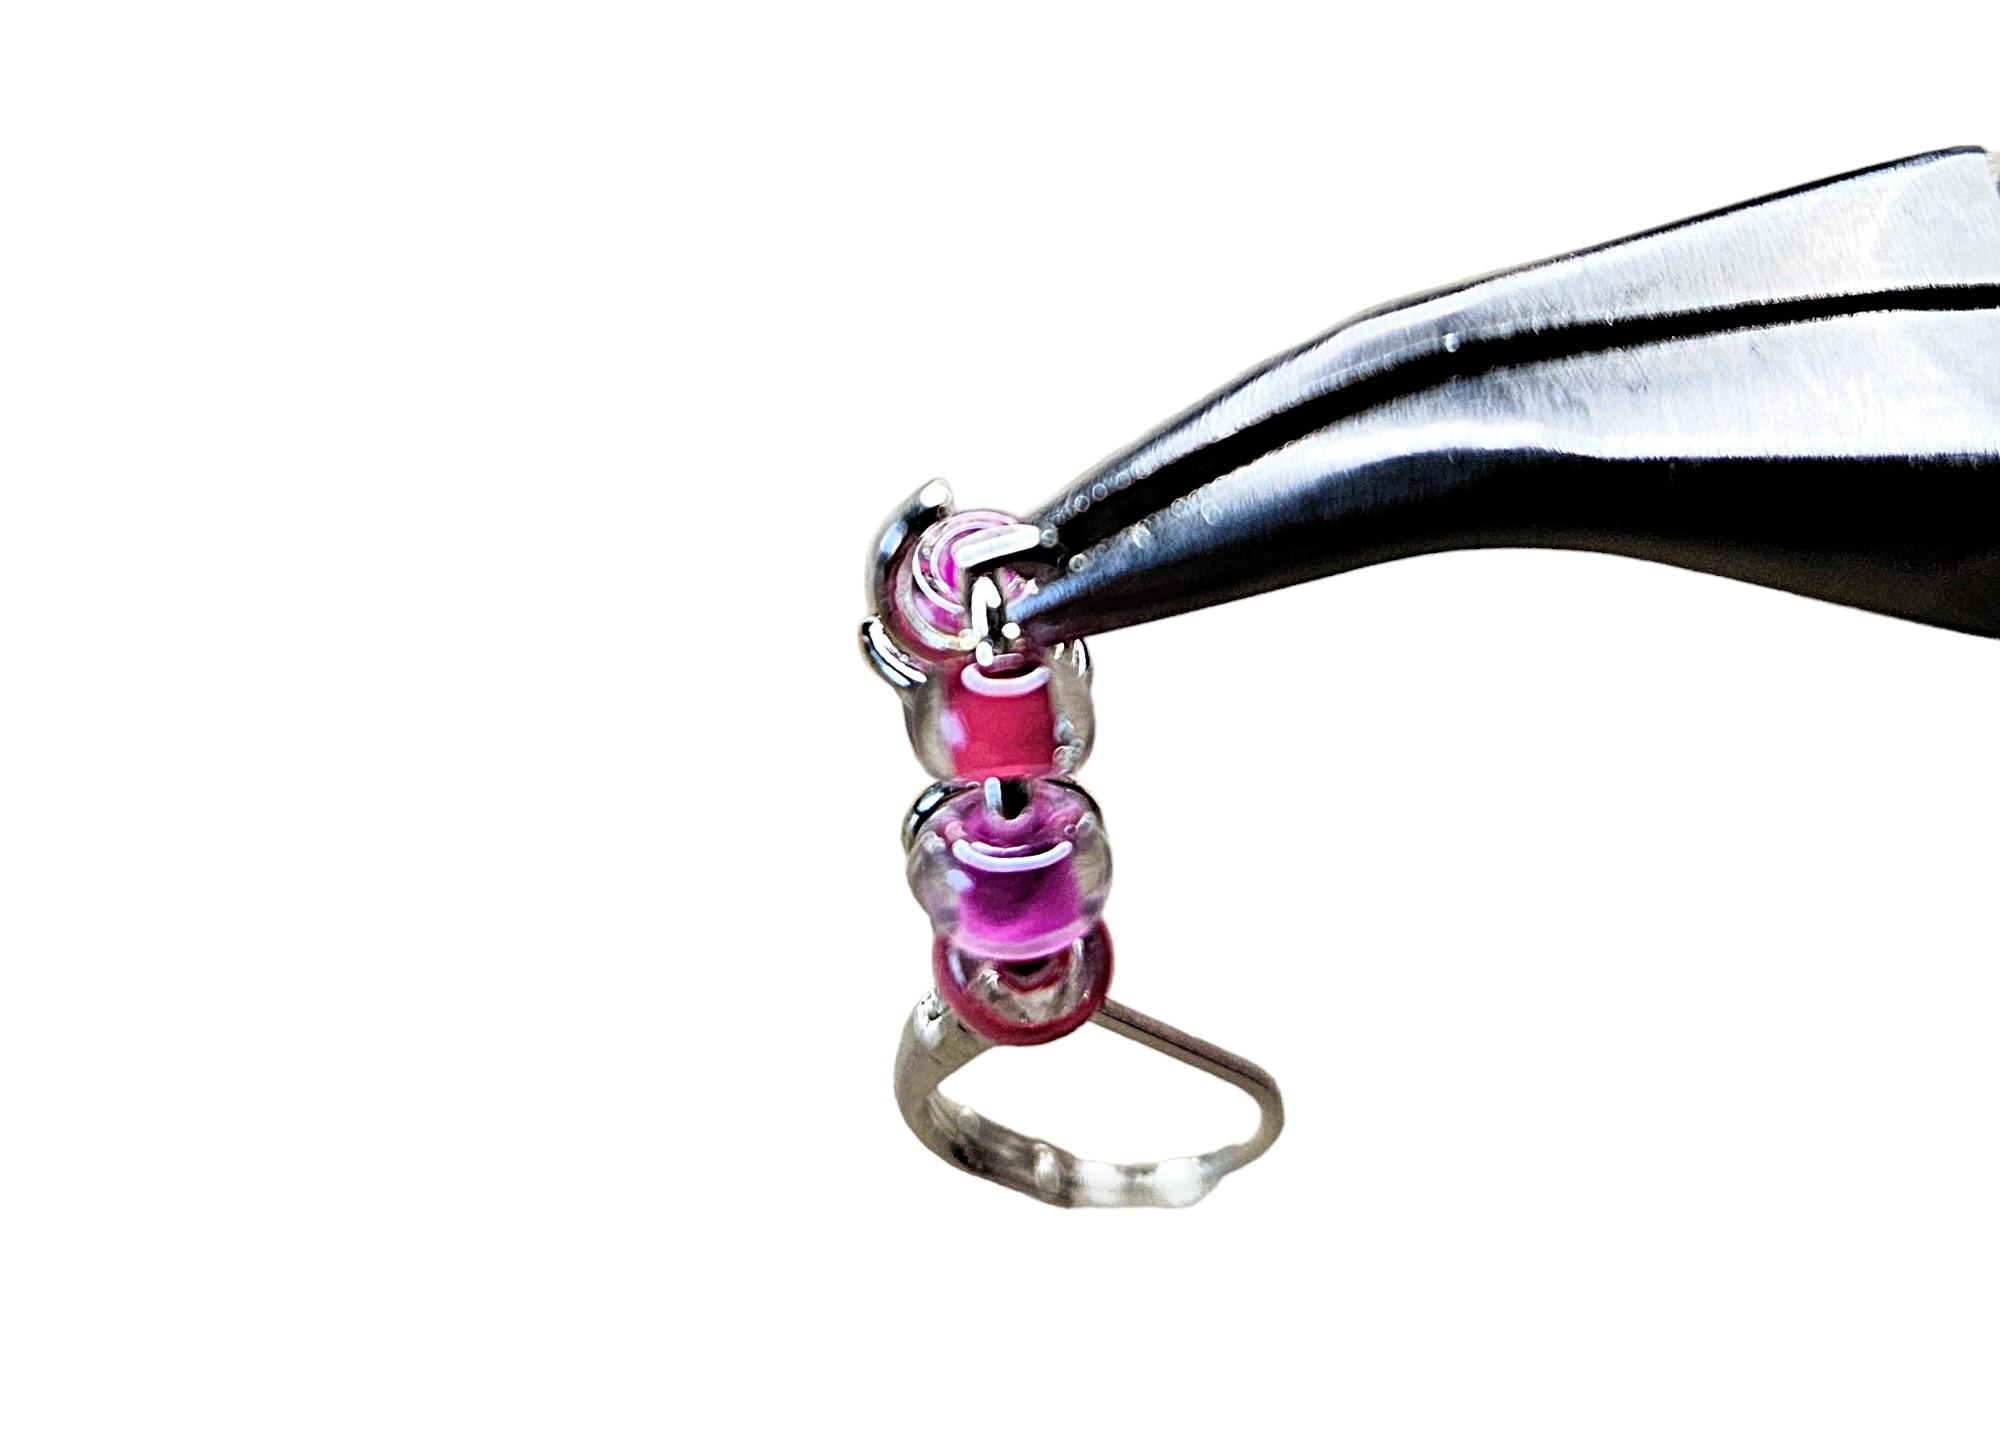
Take a small ring and loop it through the large ring, between 2 of the beads, then close.
Step 3:
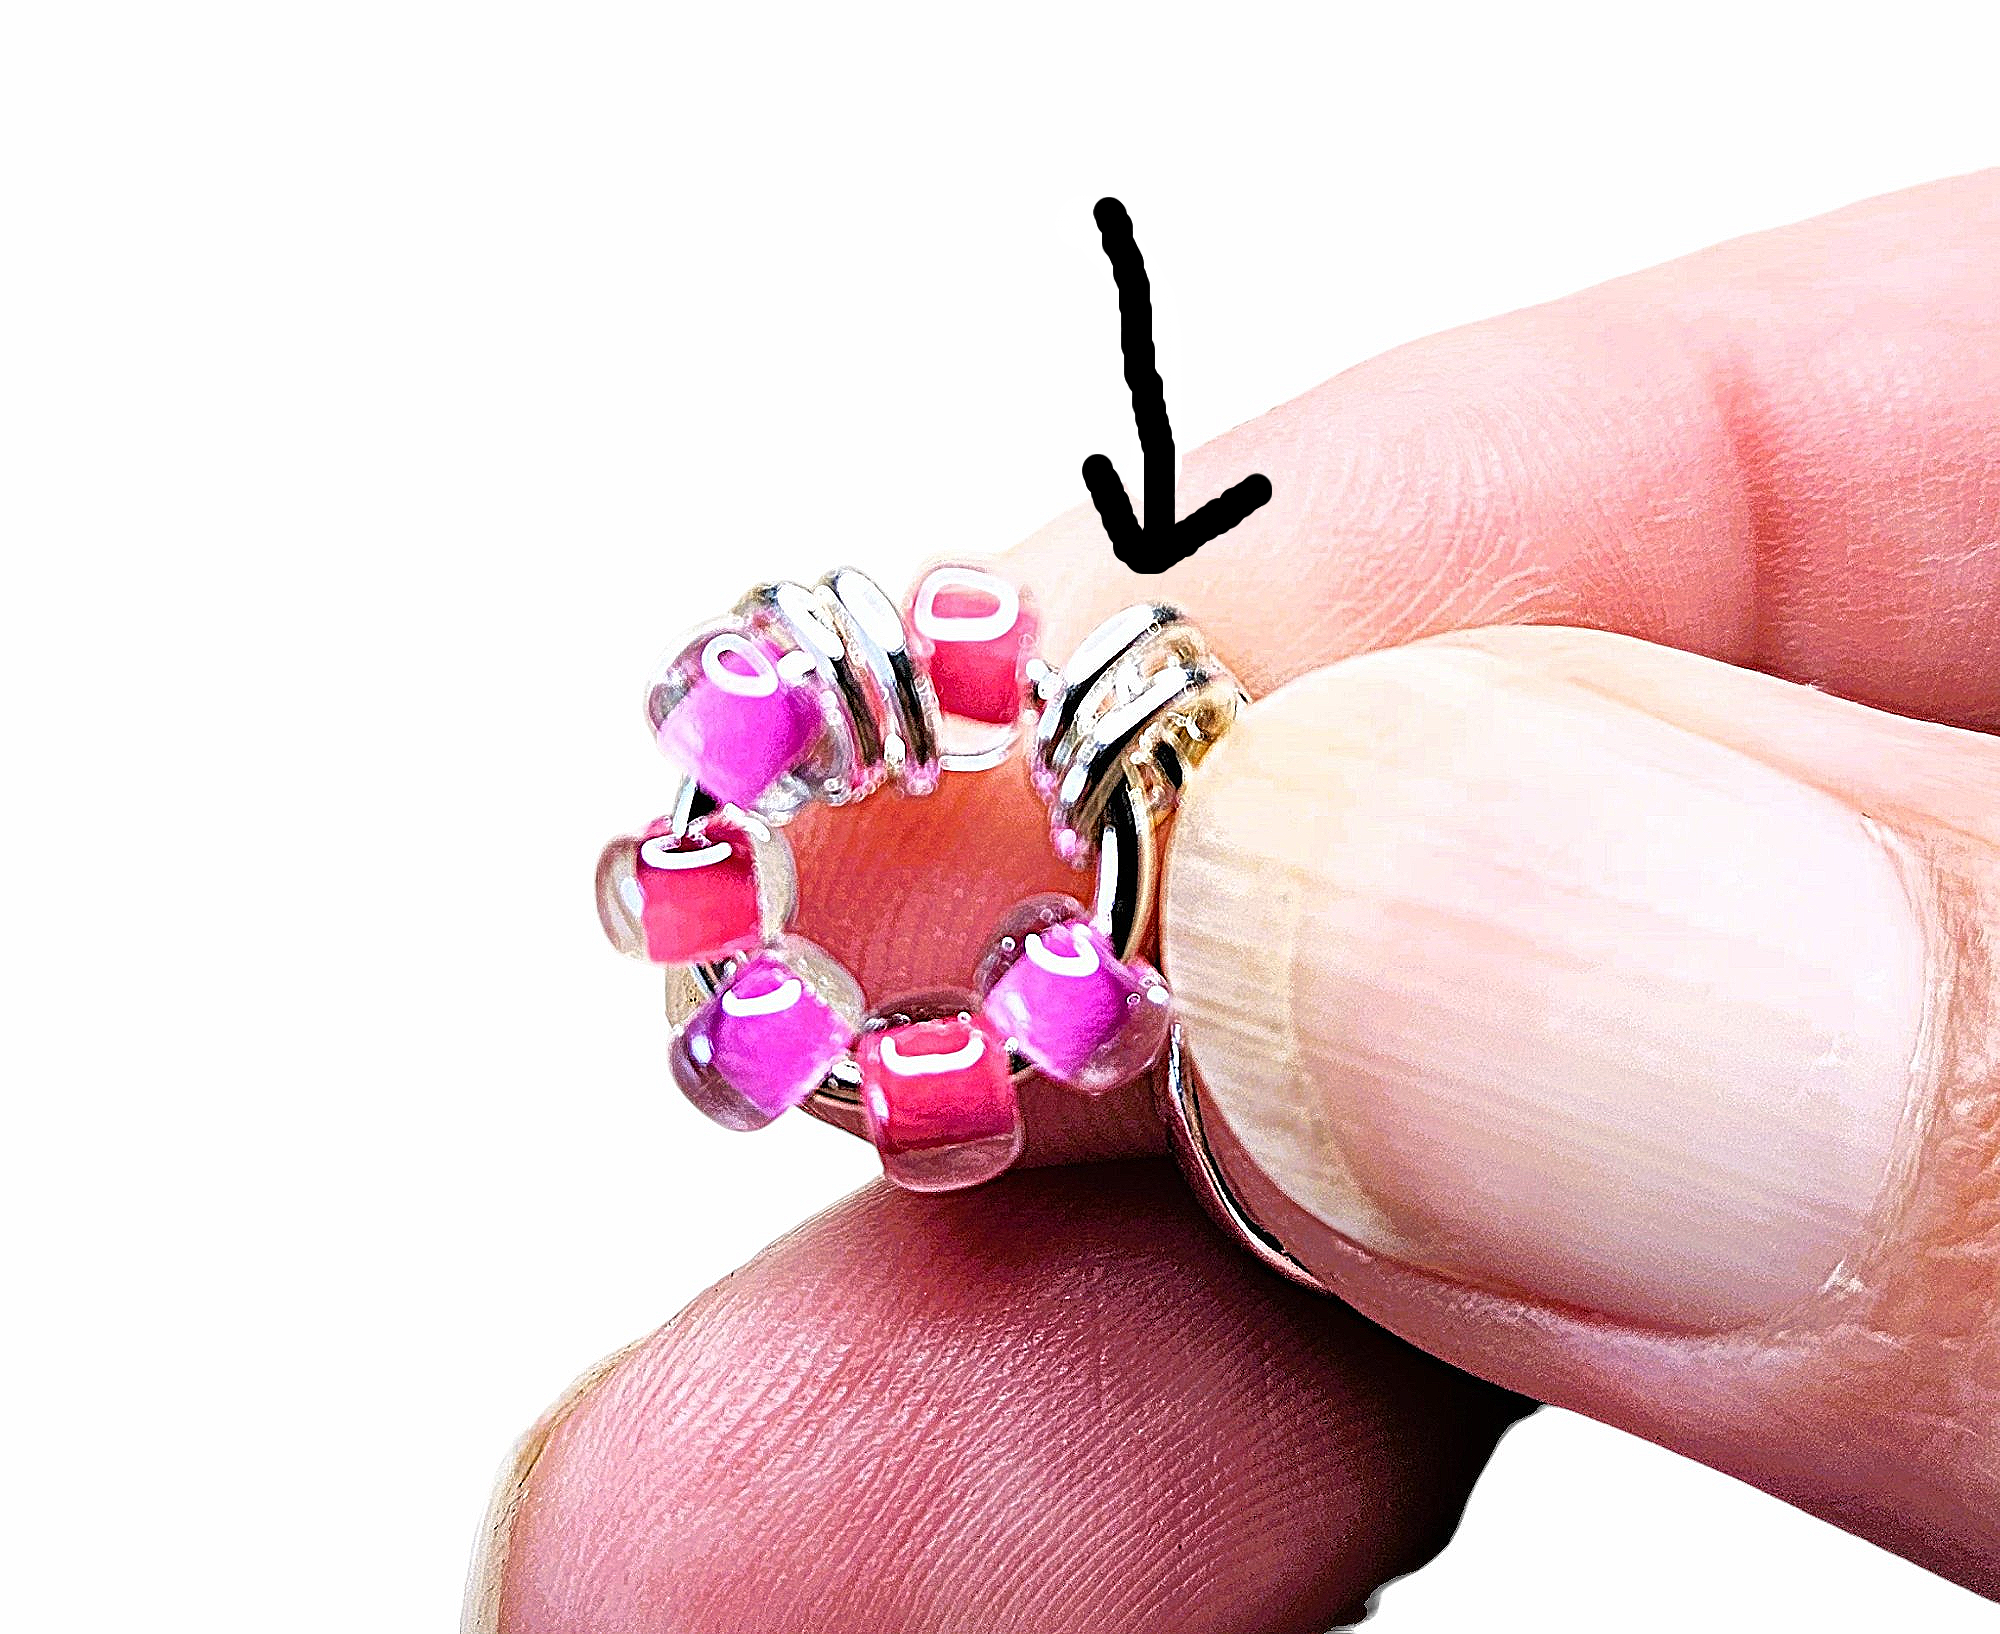
Add a second small ring next to the first one.
Step 4:
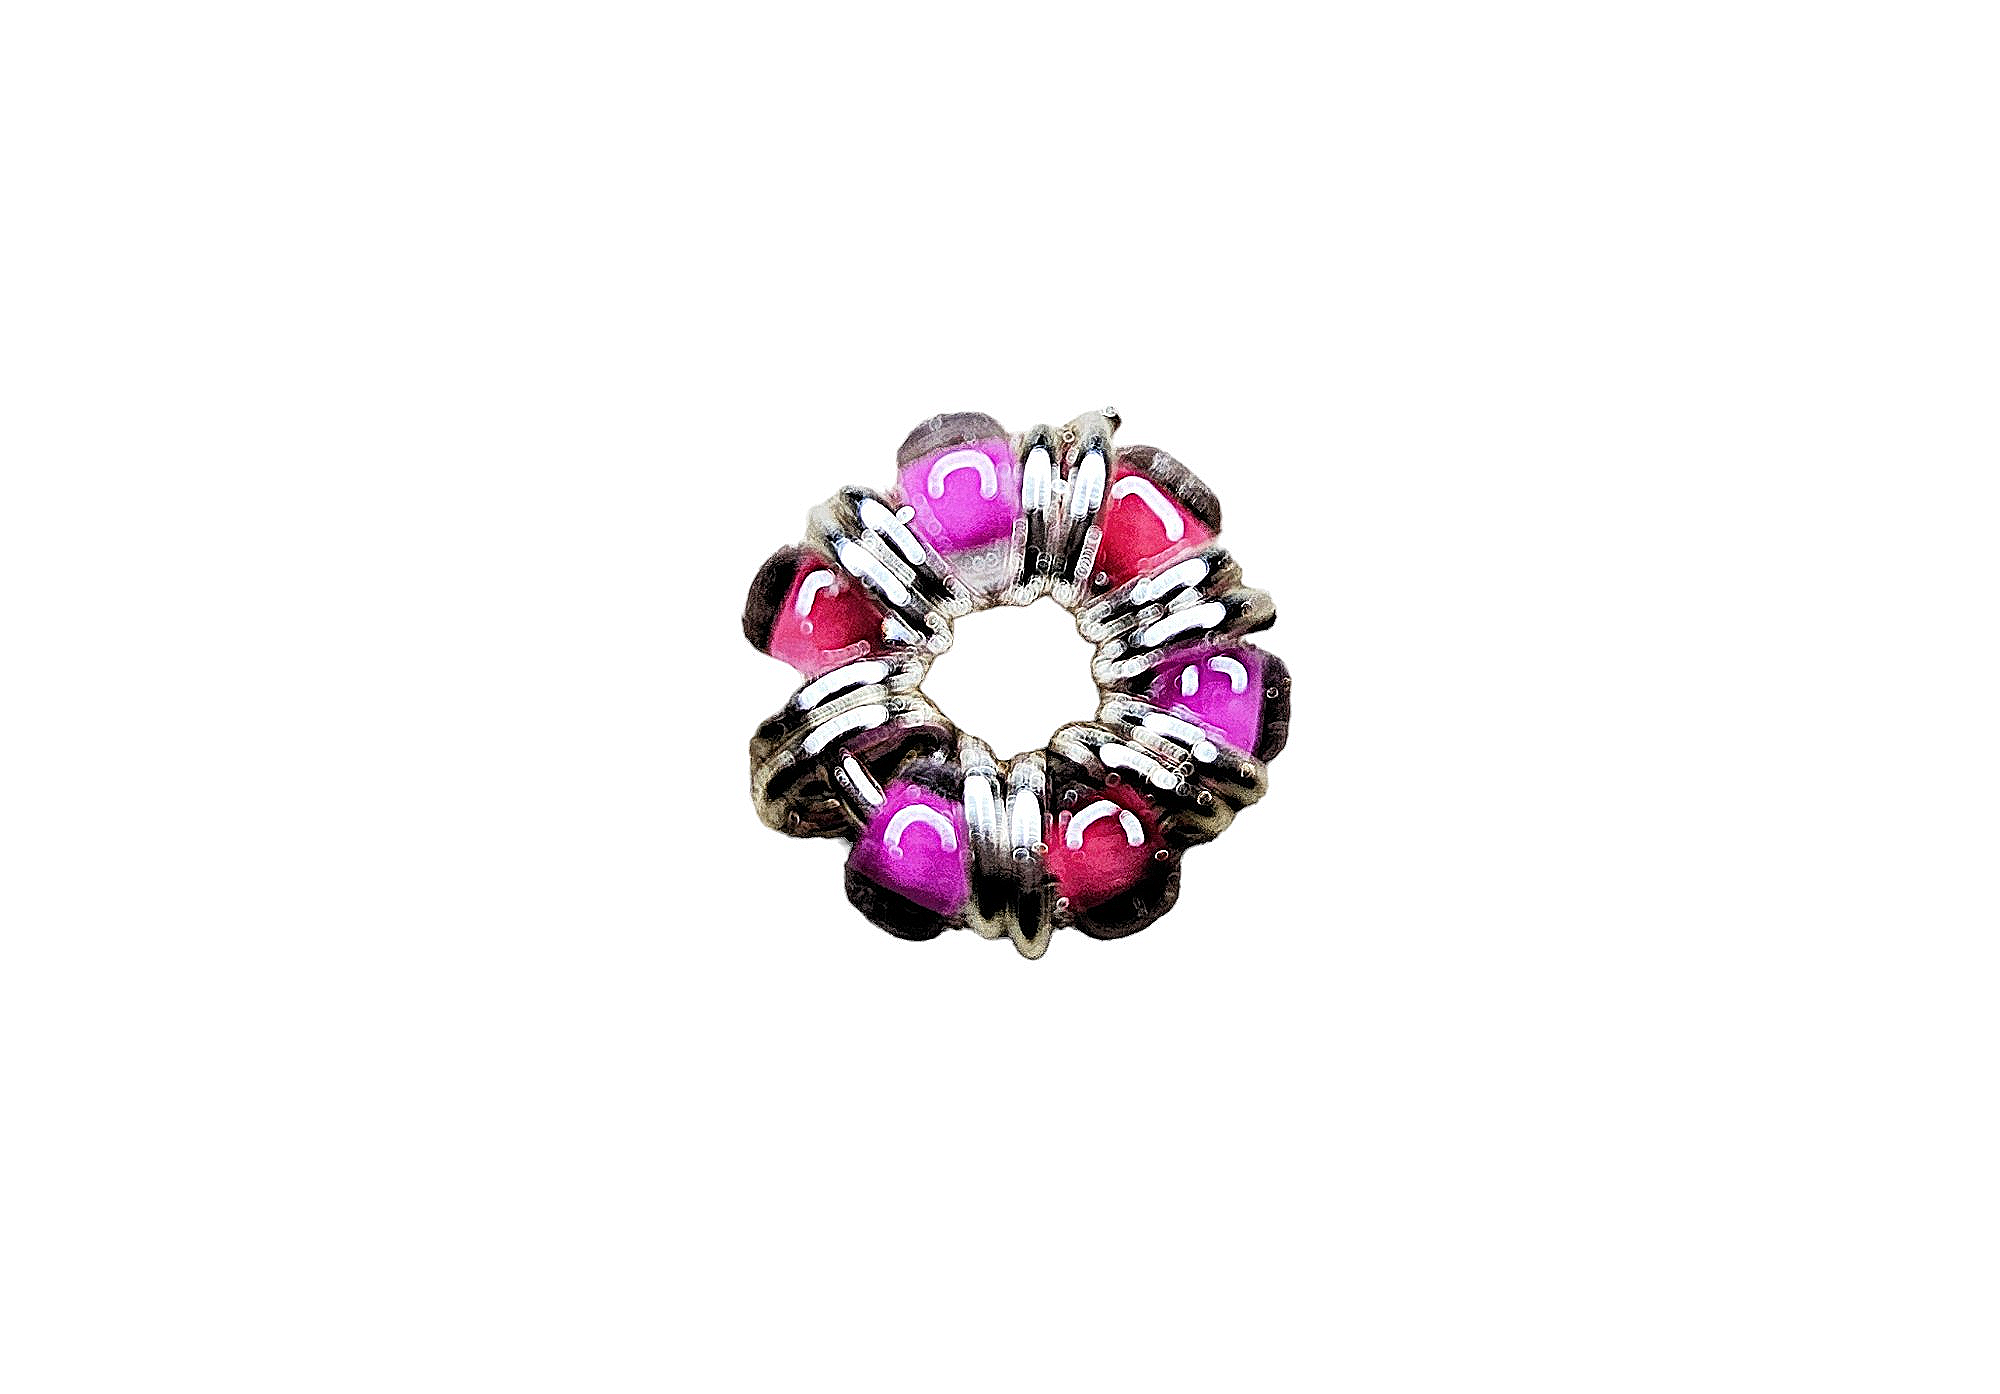
Repeat the last two steps until you have two small rings between each bead.
Step 5:
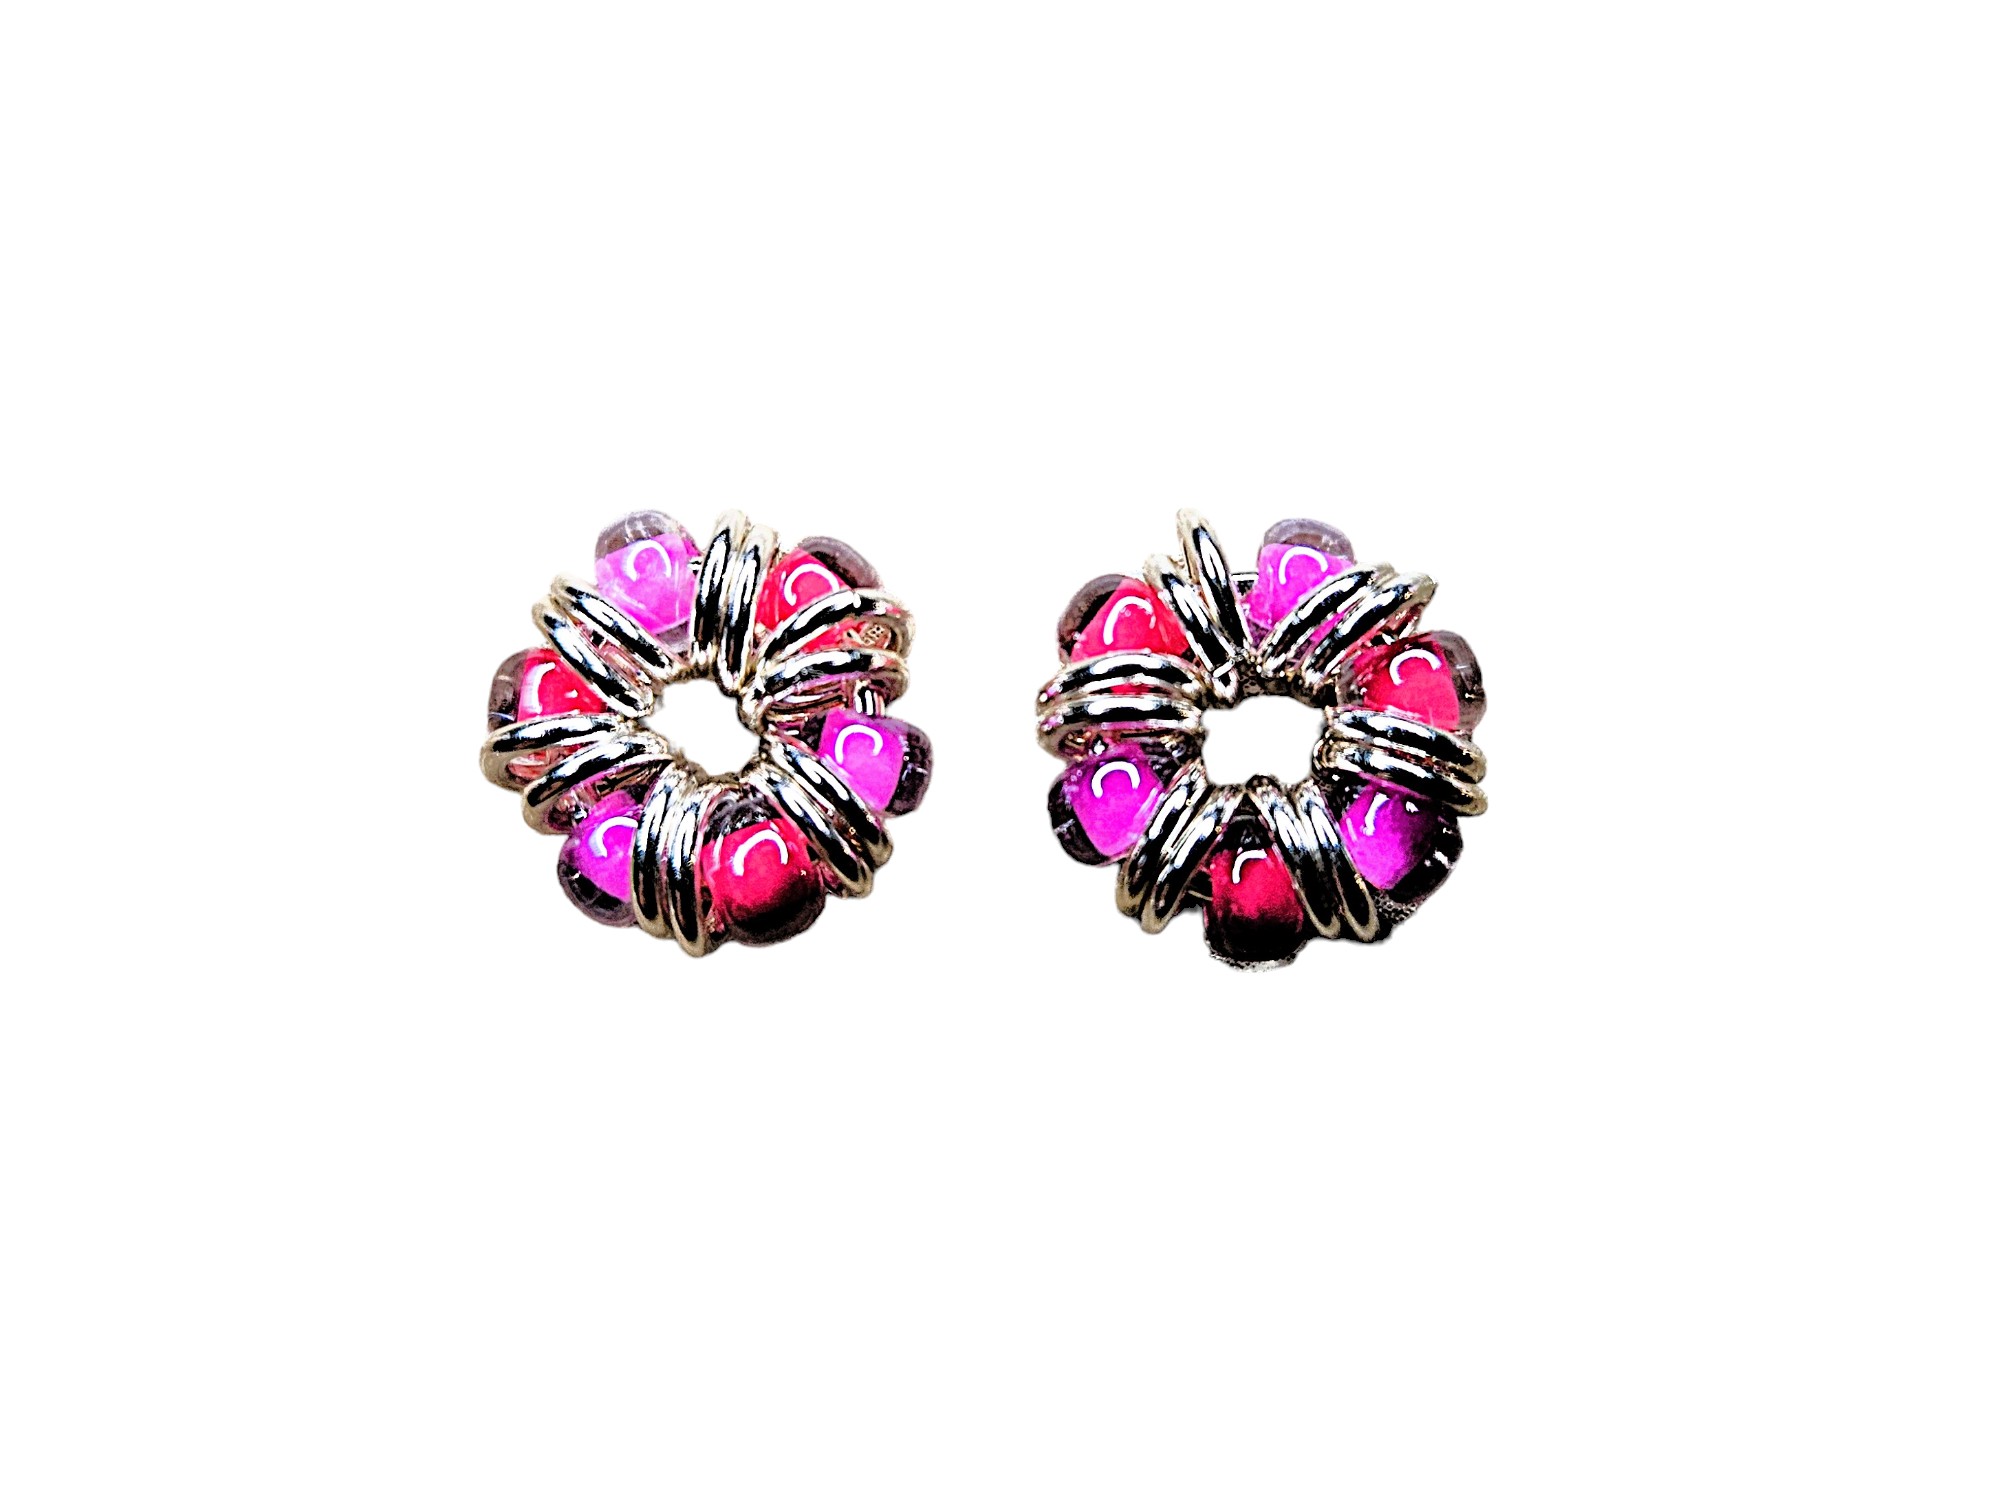
Repeat steps 1-4 to create two rose buds.
Step 6:
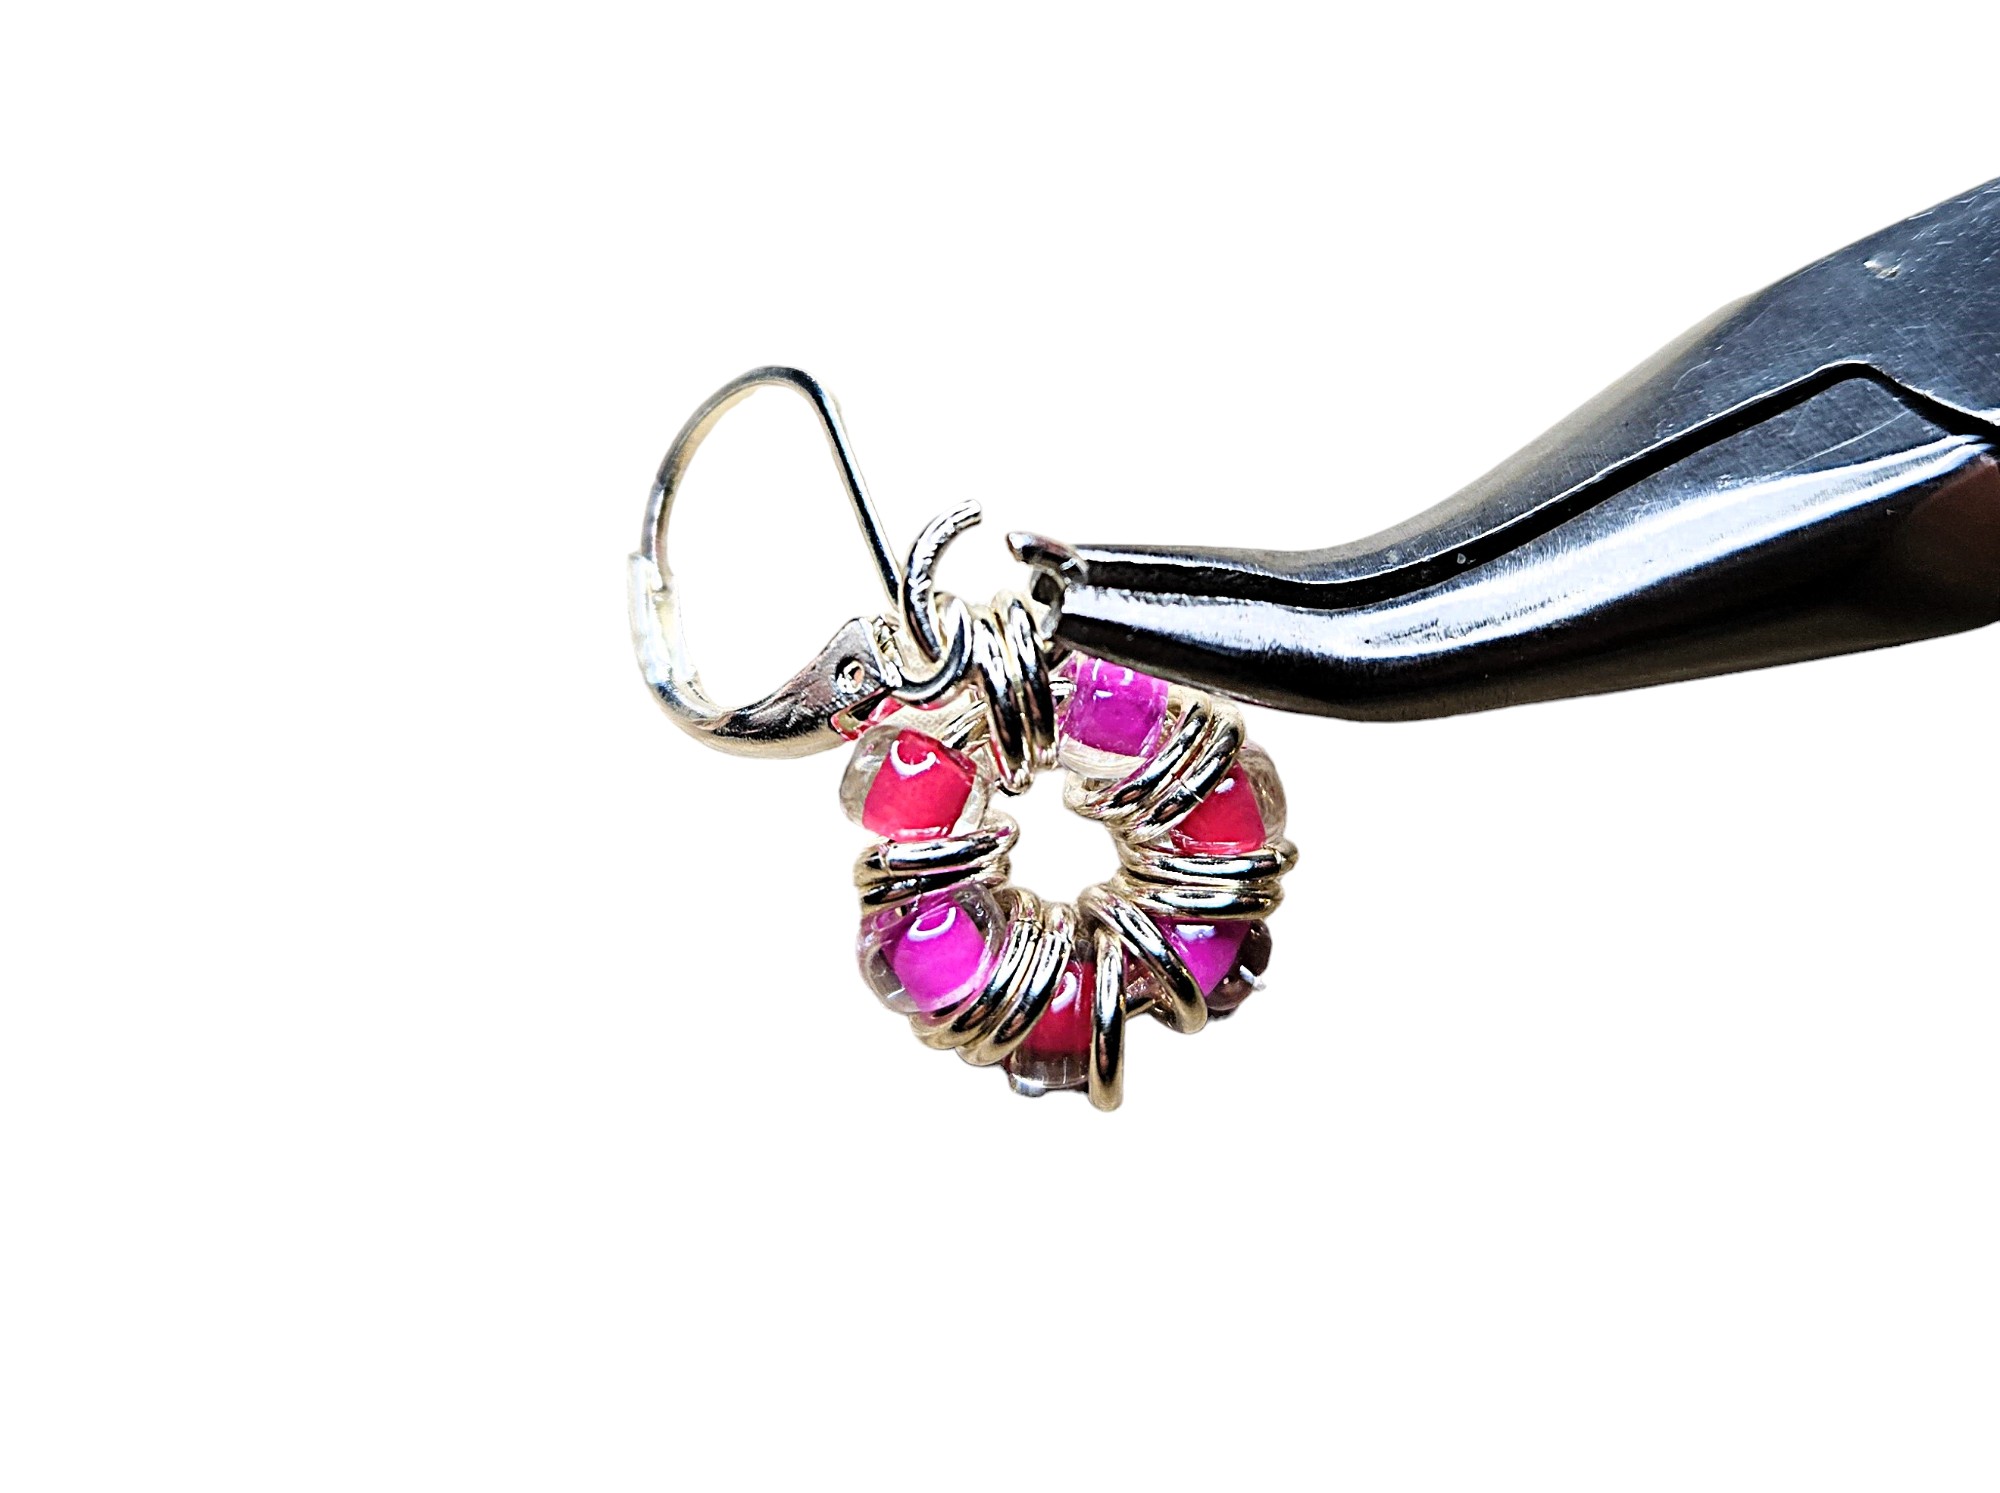
Now we can put the earring together :) Take a small ring and loop it through any two small rings on the first rose bud, then through the loop on your ear wire, then close.
Step 7:
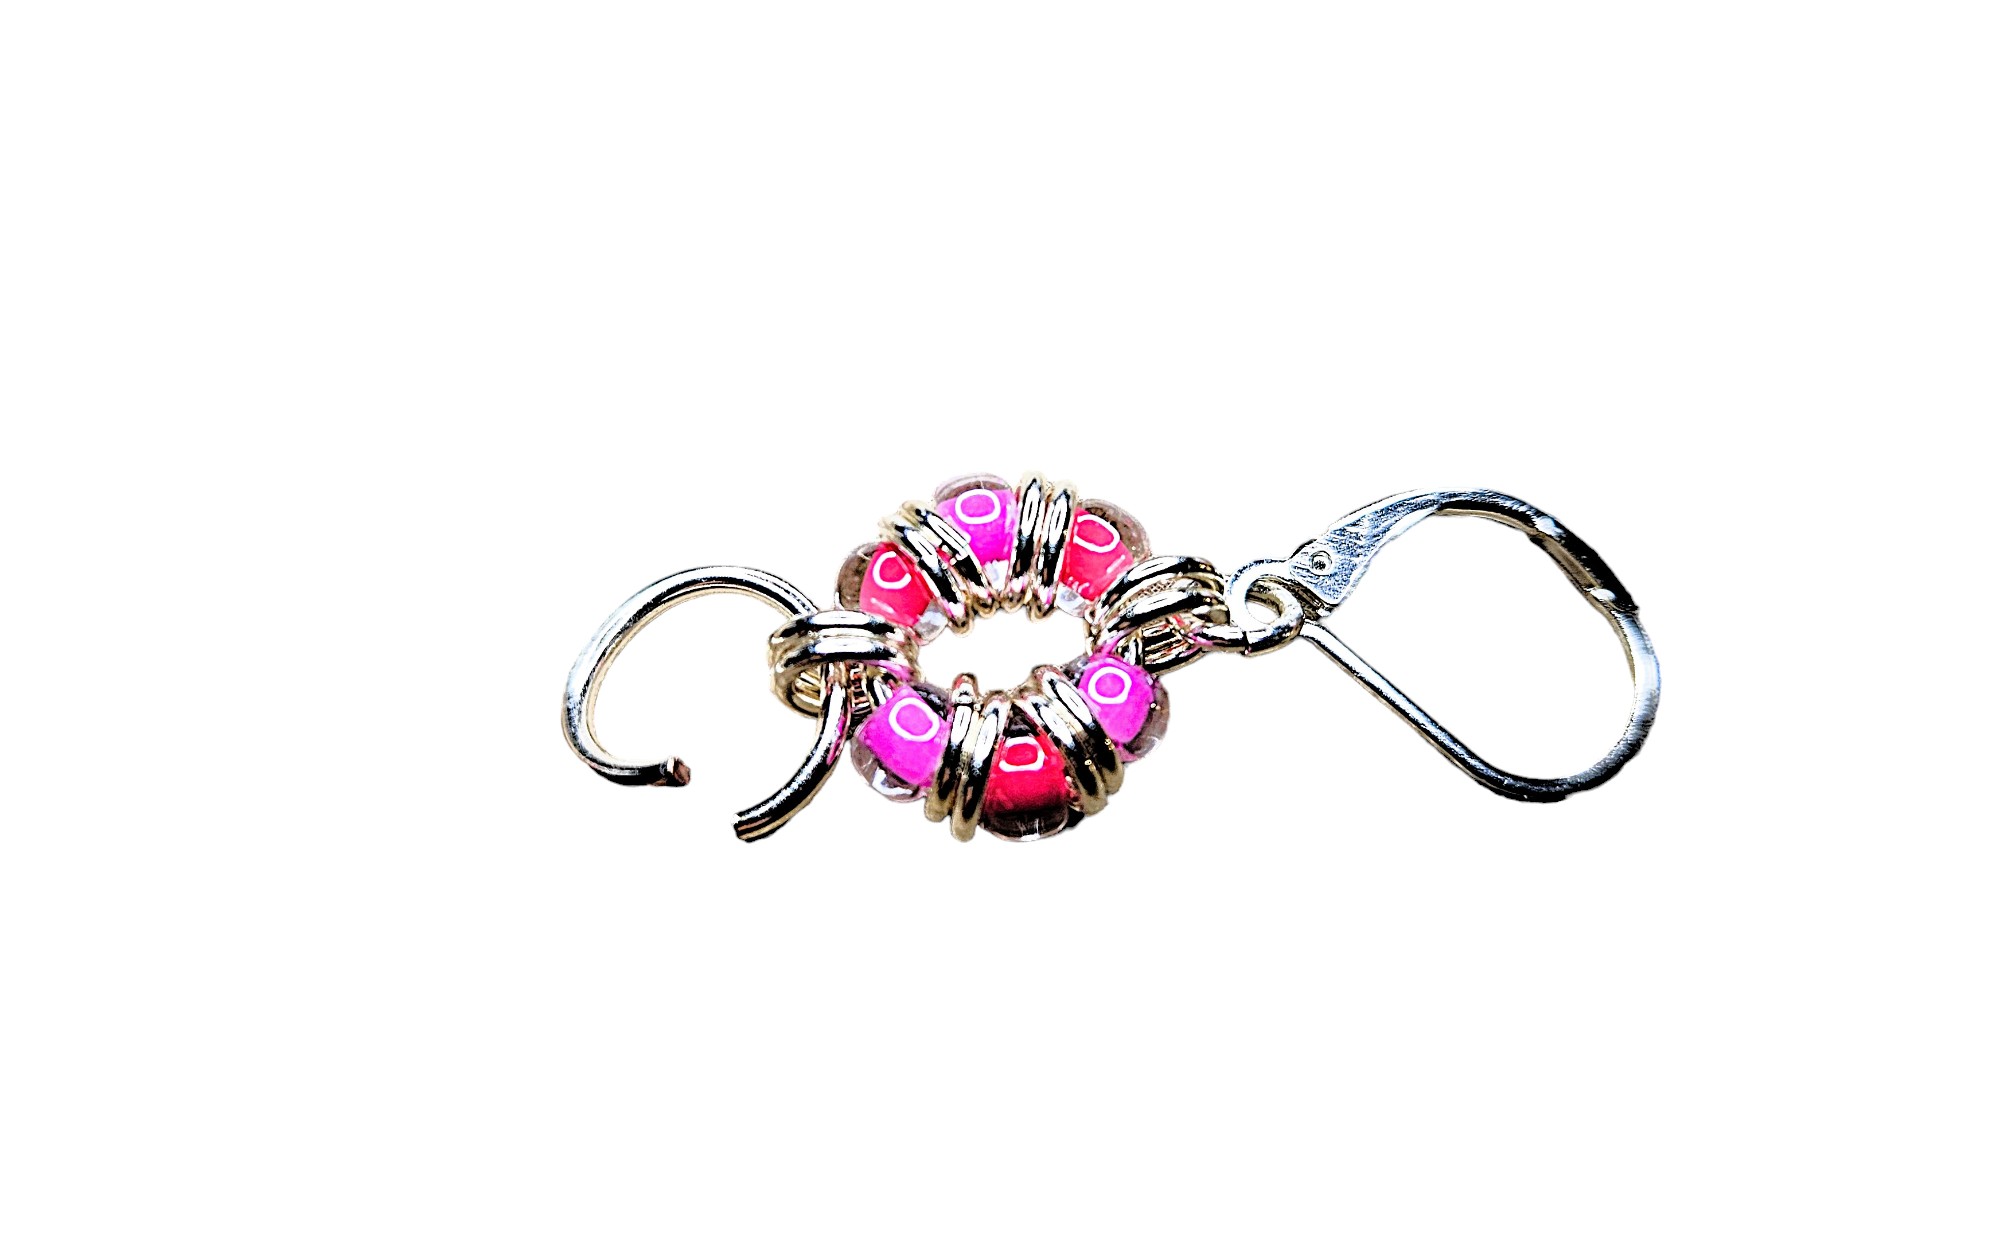
Next, add a large ring to the 2 small rings directly opposite the rings that are attached to the ear wire. Leave your large ring open for the next step...
Step 8:
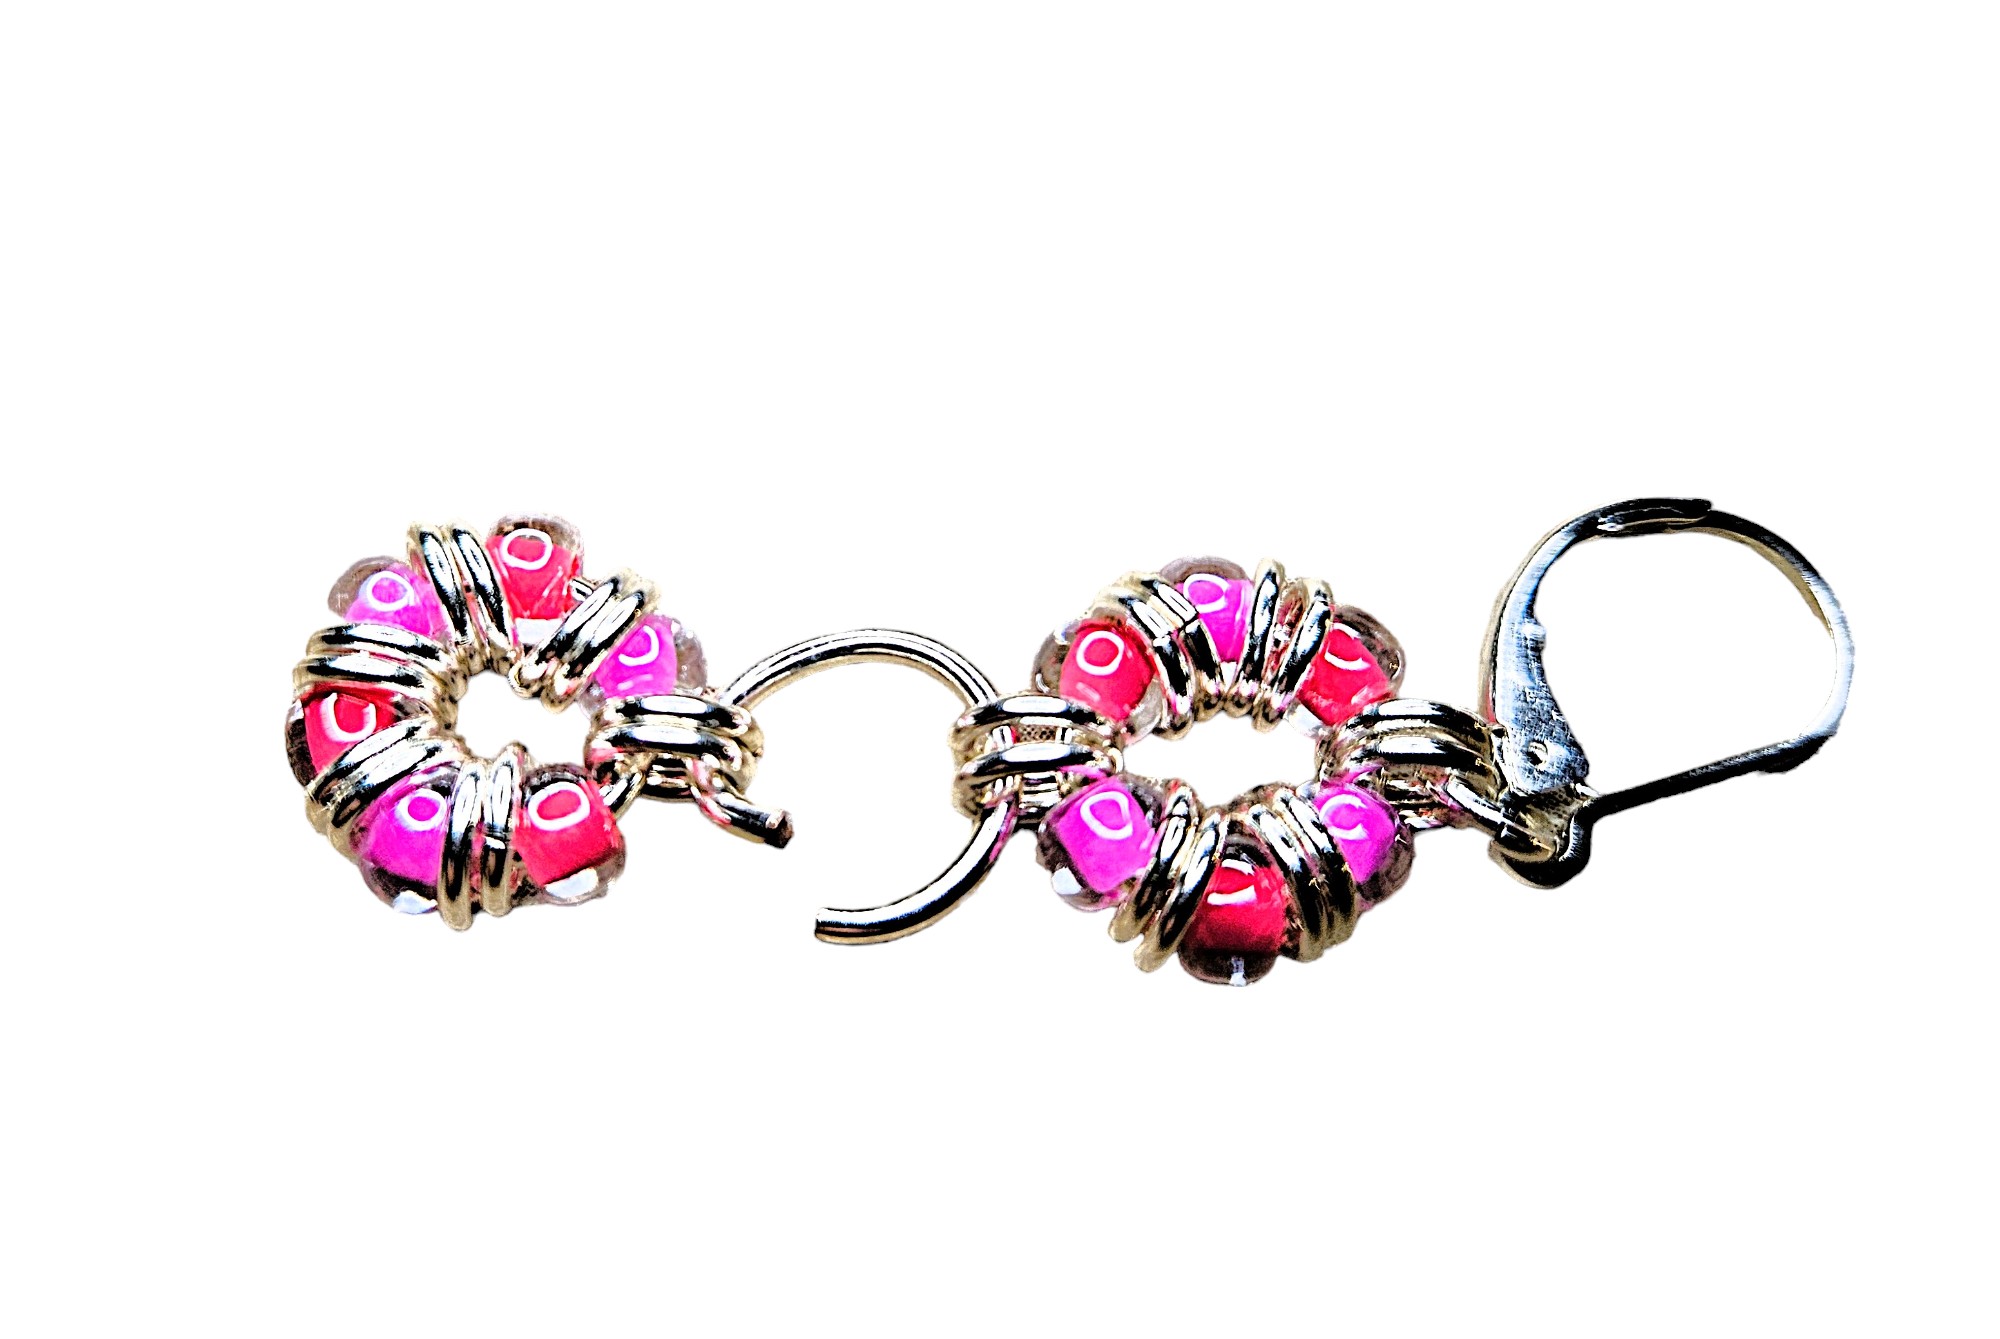
Thread any 2 small rings on the second rose bud onto the middle large ring. Now you can close the large ring, and your first earring is done! Scroll back to step 1 to do it all again :)
Want to get started straight away? You can buy the kit to make these exact earrings by clicking the button below:
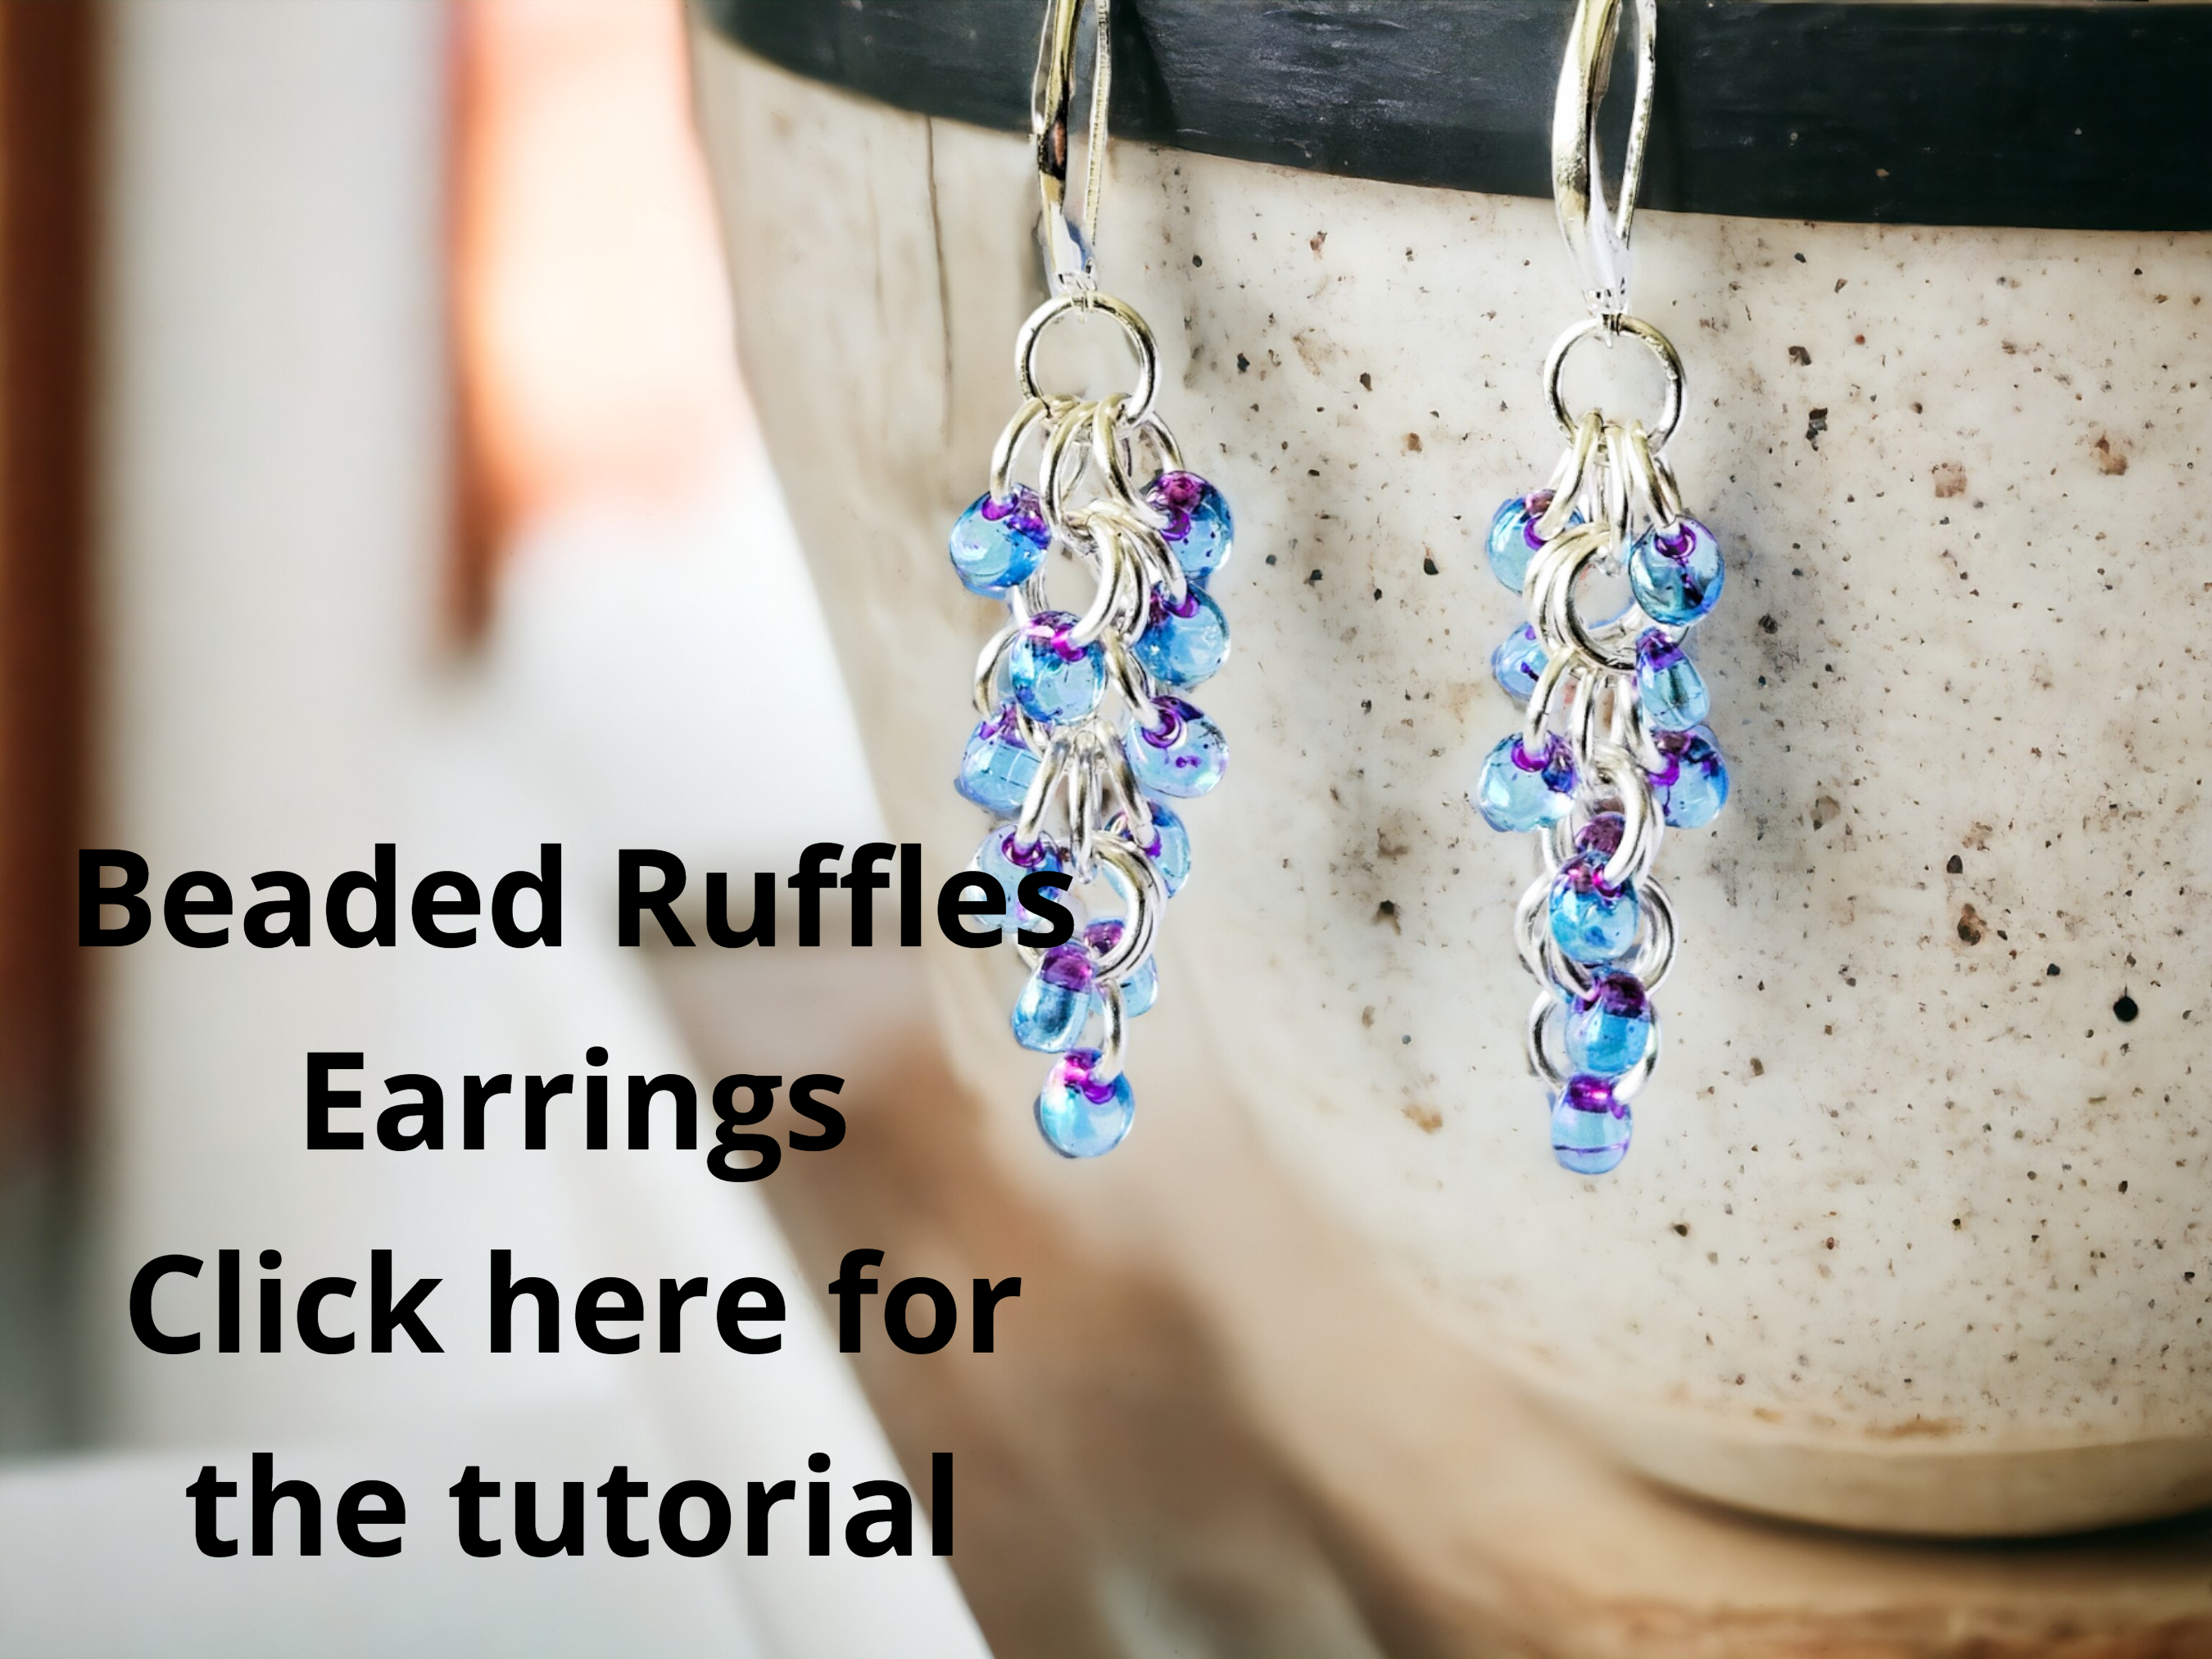
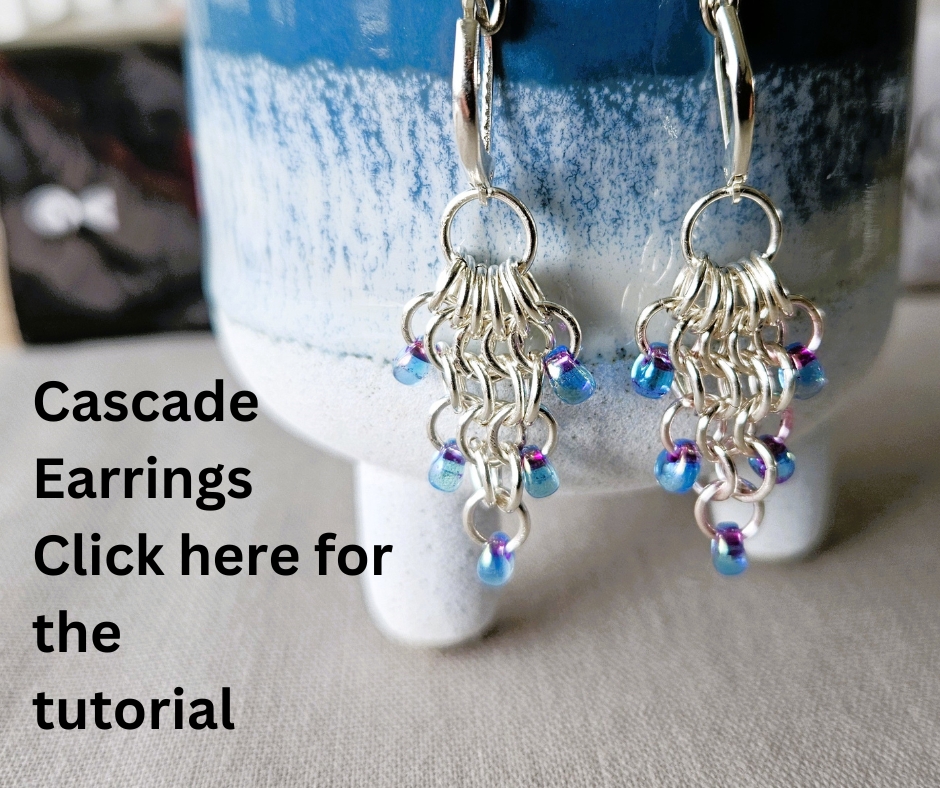
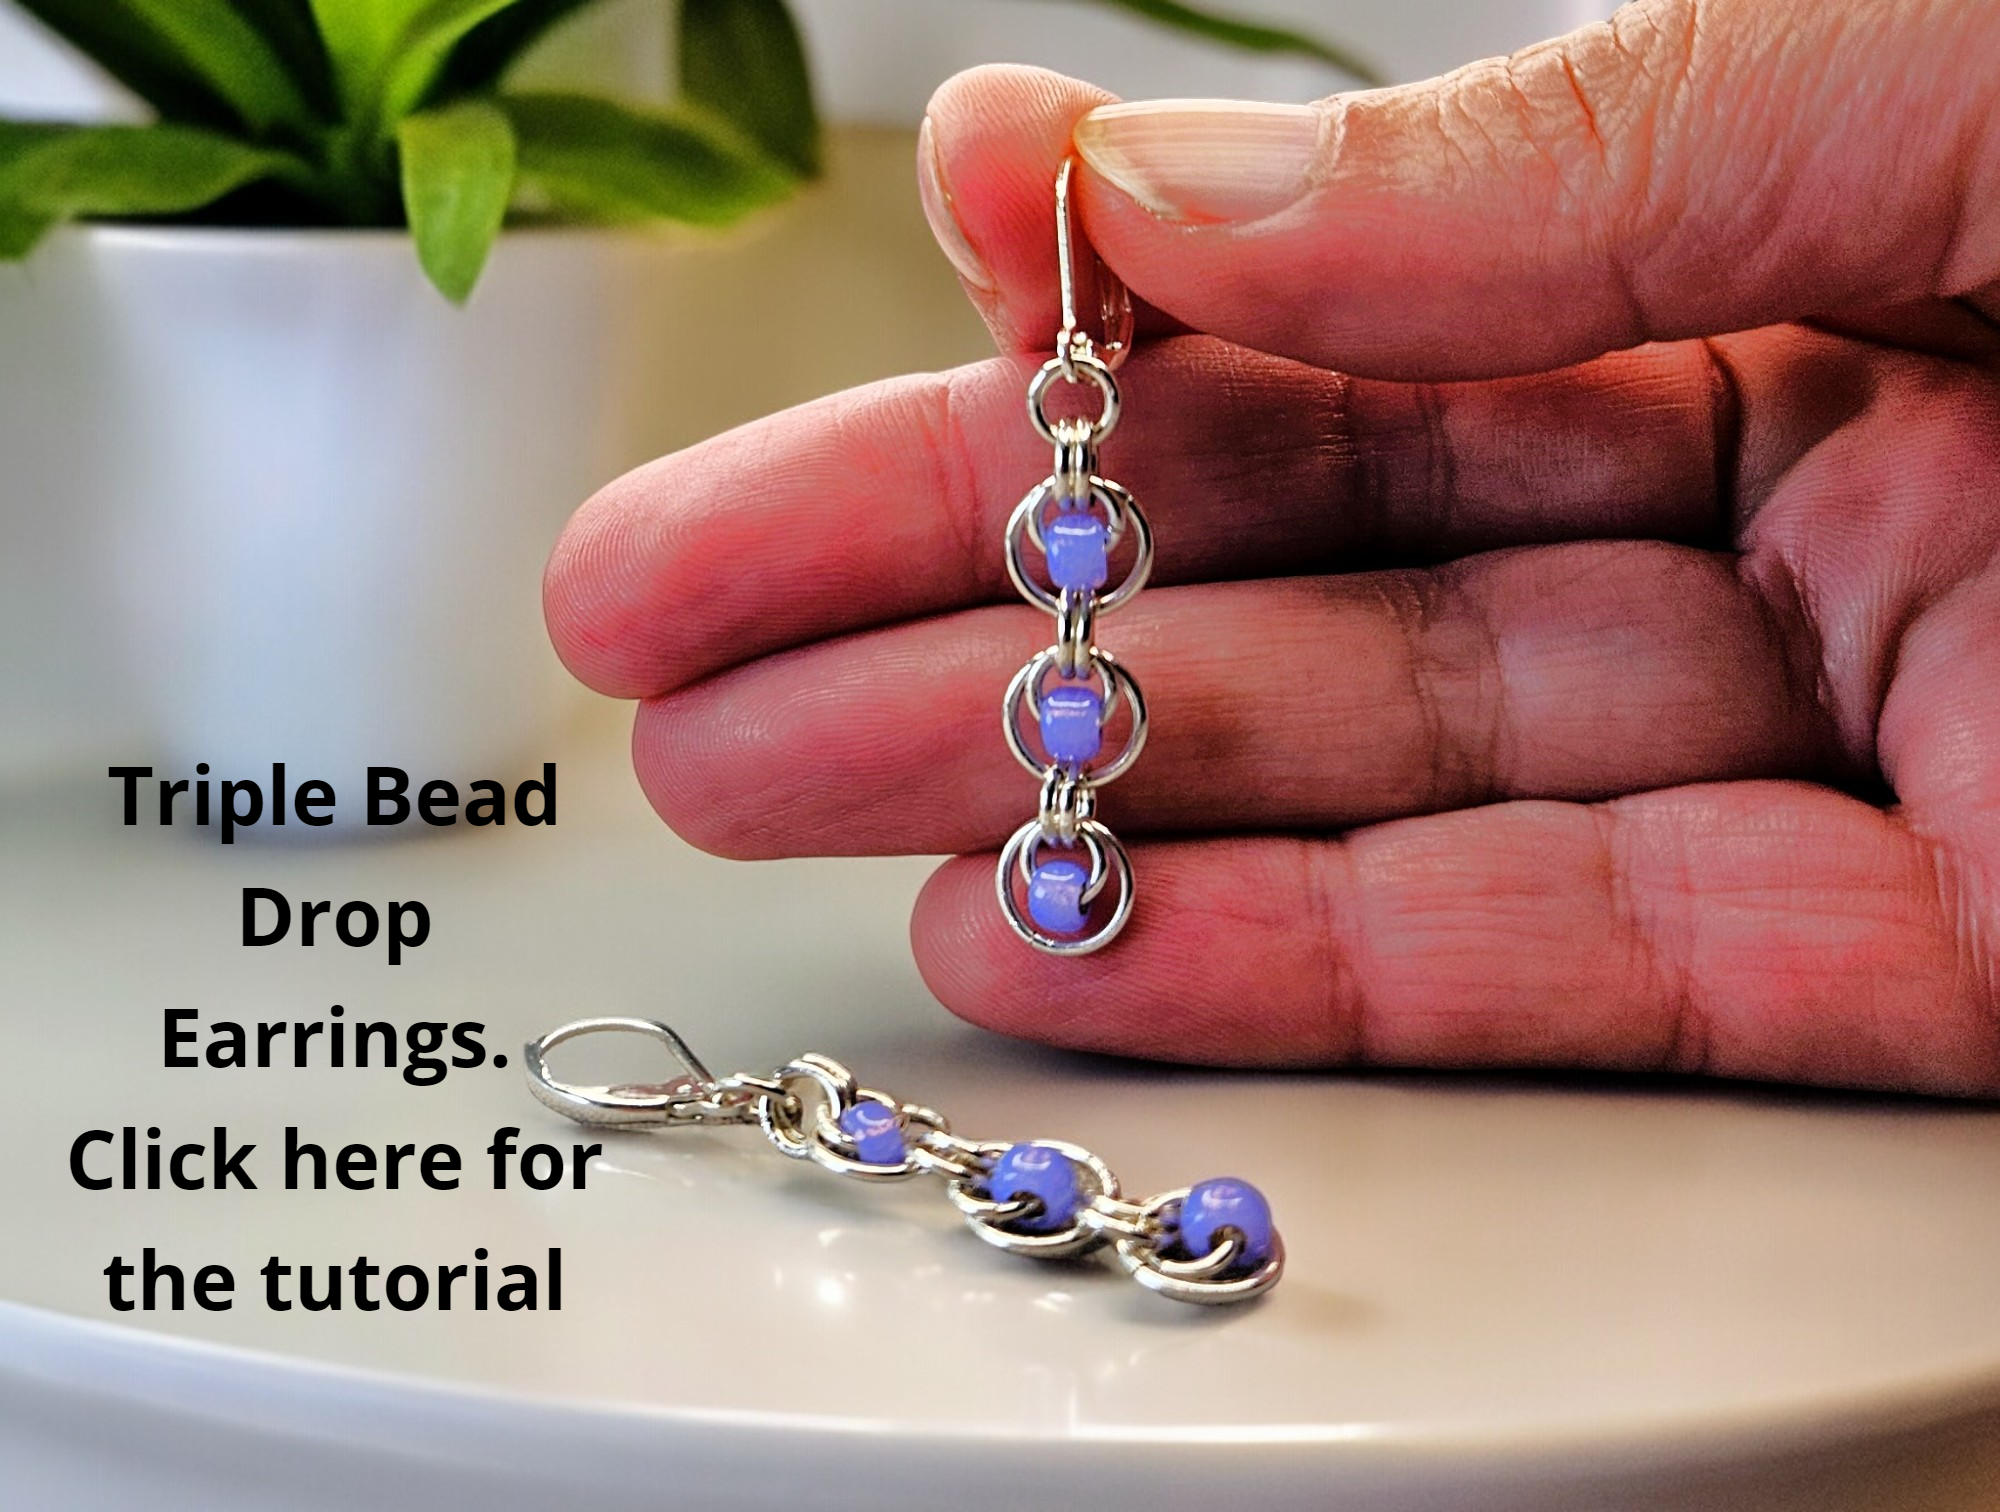
Here are the other 3 designs in the dangle earrings with seed beads series. One more left to look forward to!
